Modeling & Materials

Weekly Design Challenge Template

Karolina Krawczyk


Module 1


Pictures of the object collection, as well as my intro to 3d modelling.

Design Challenge 1
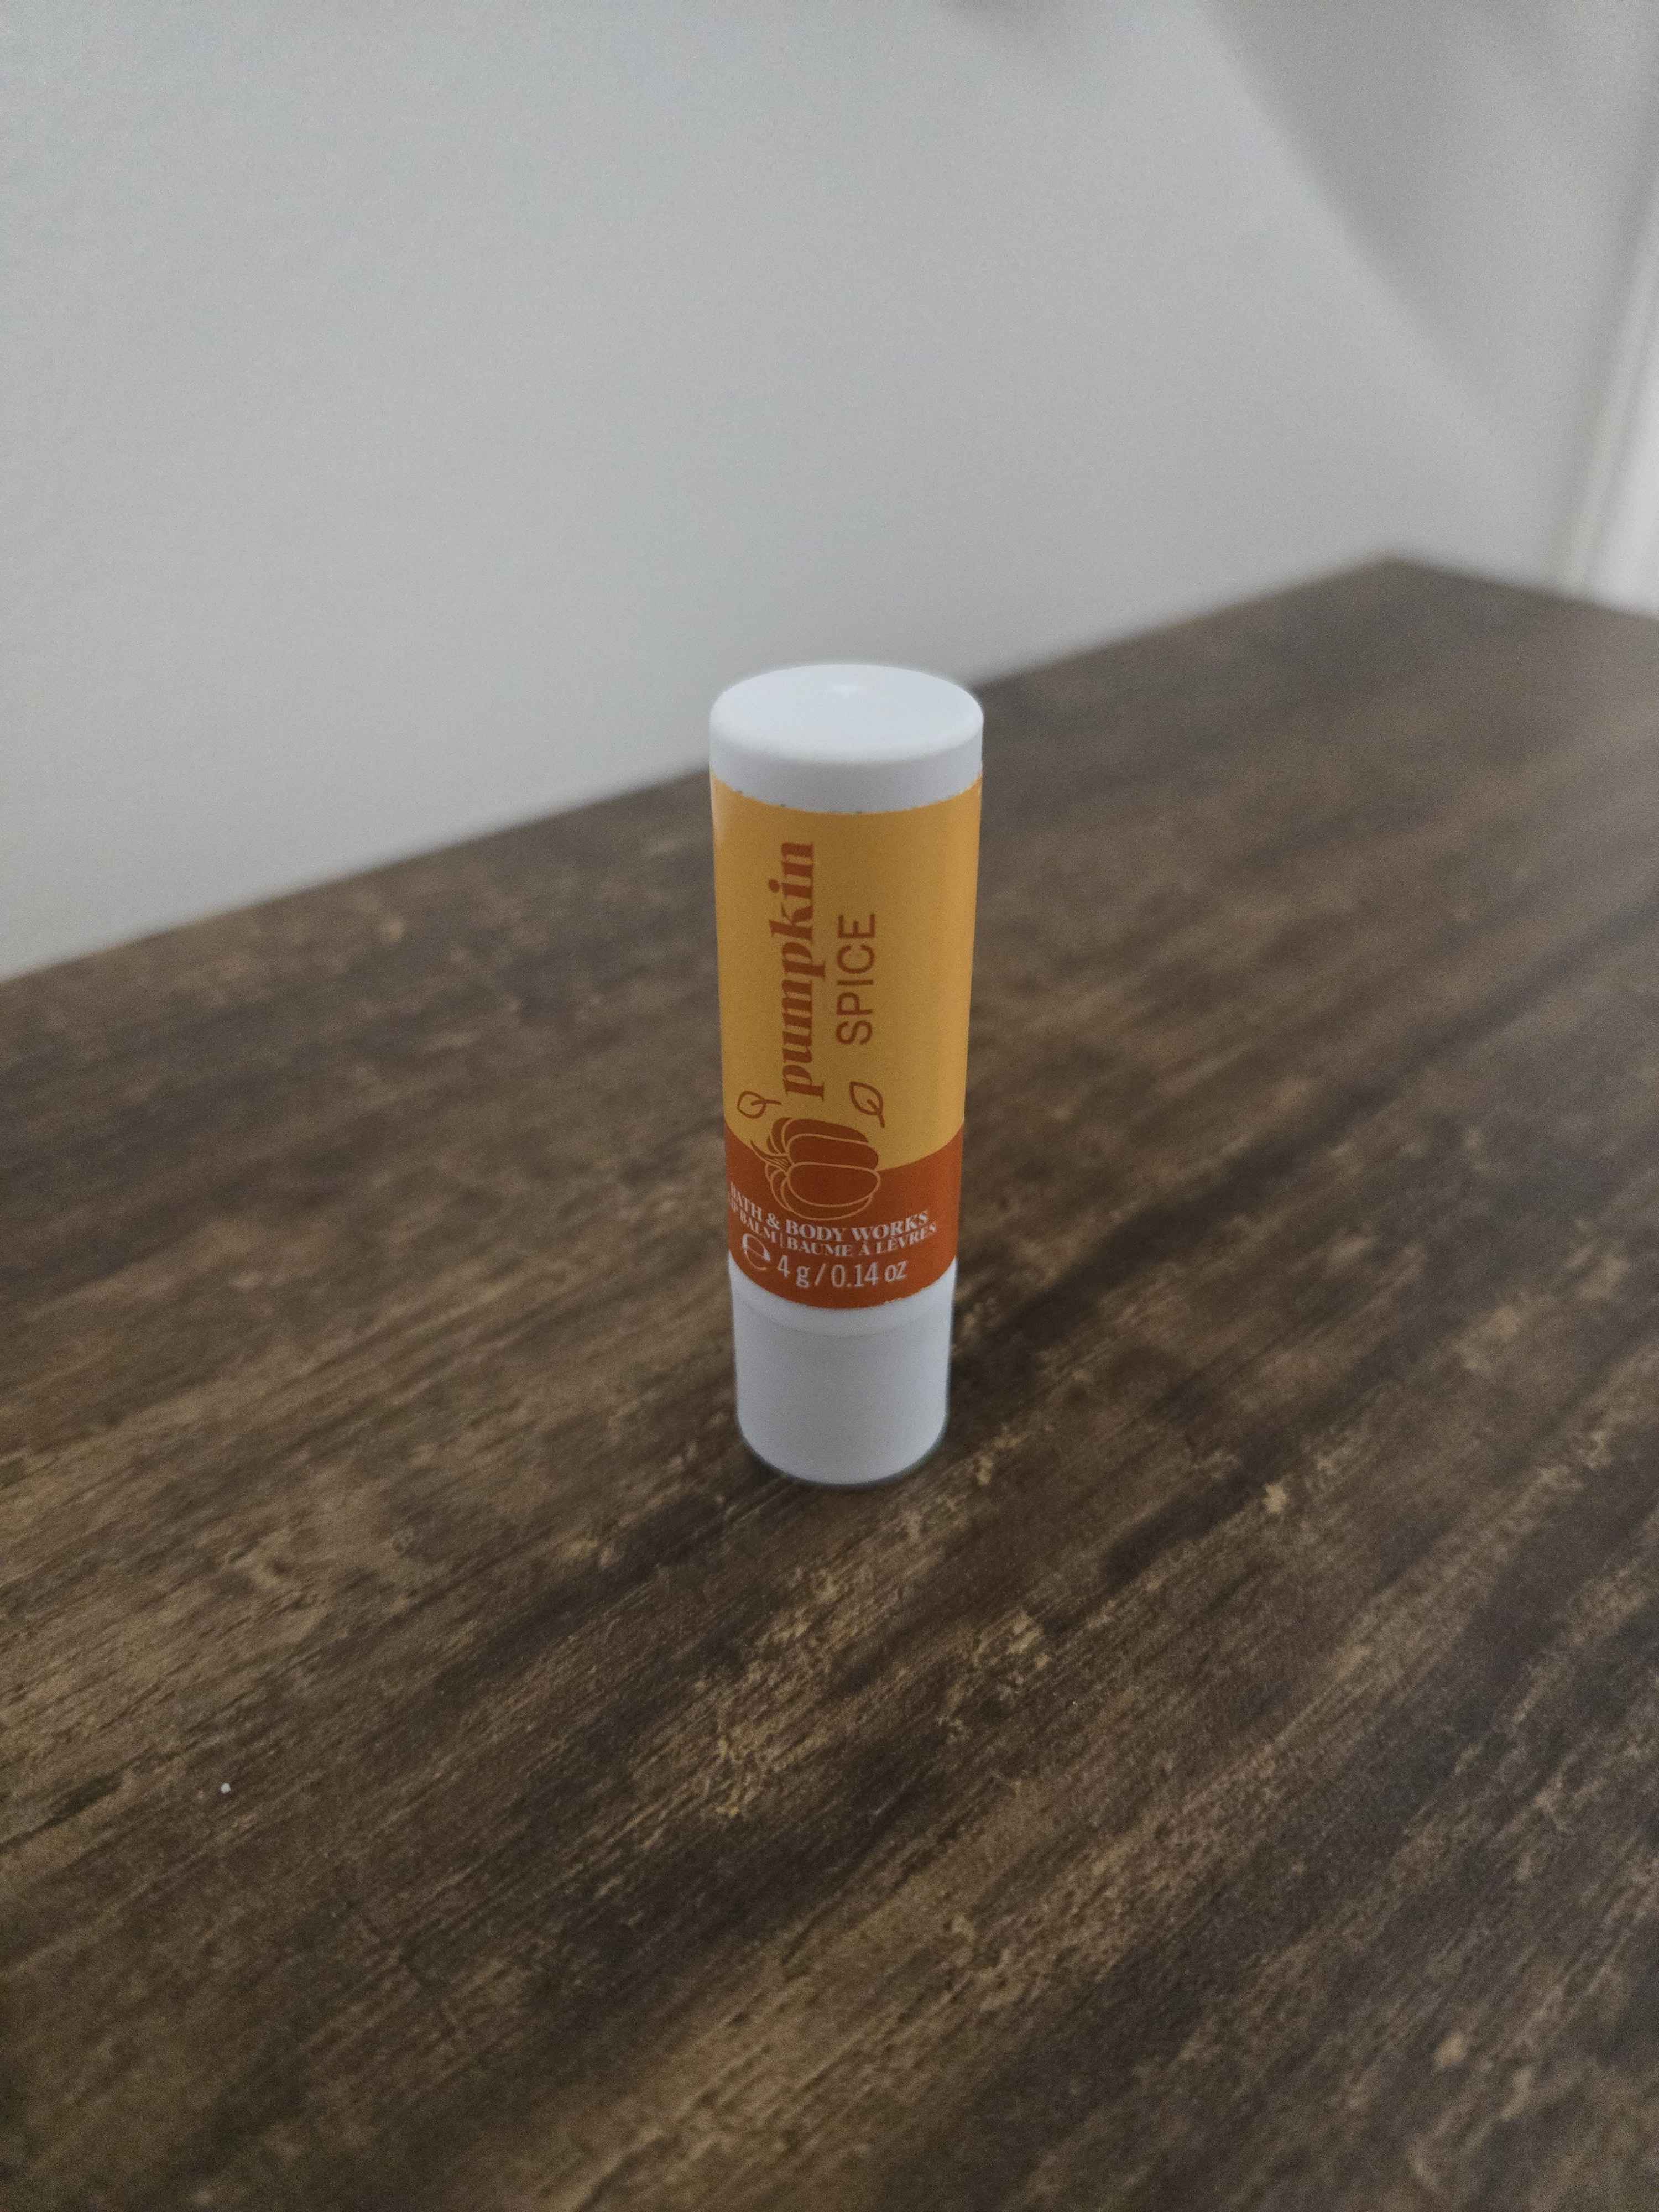
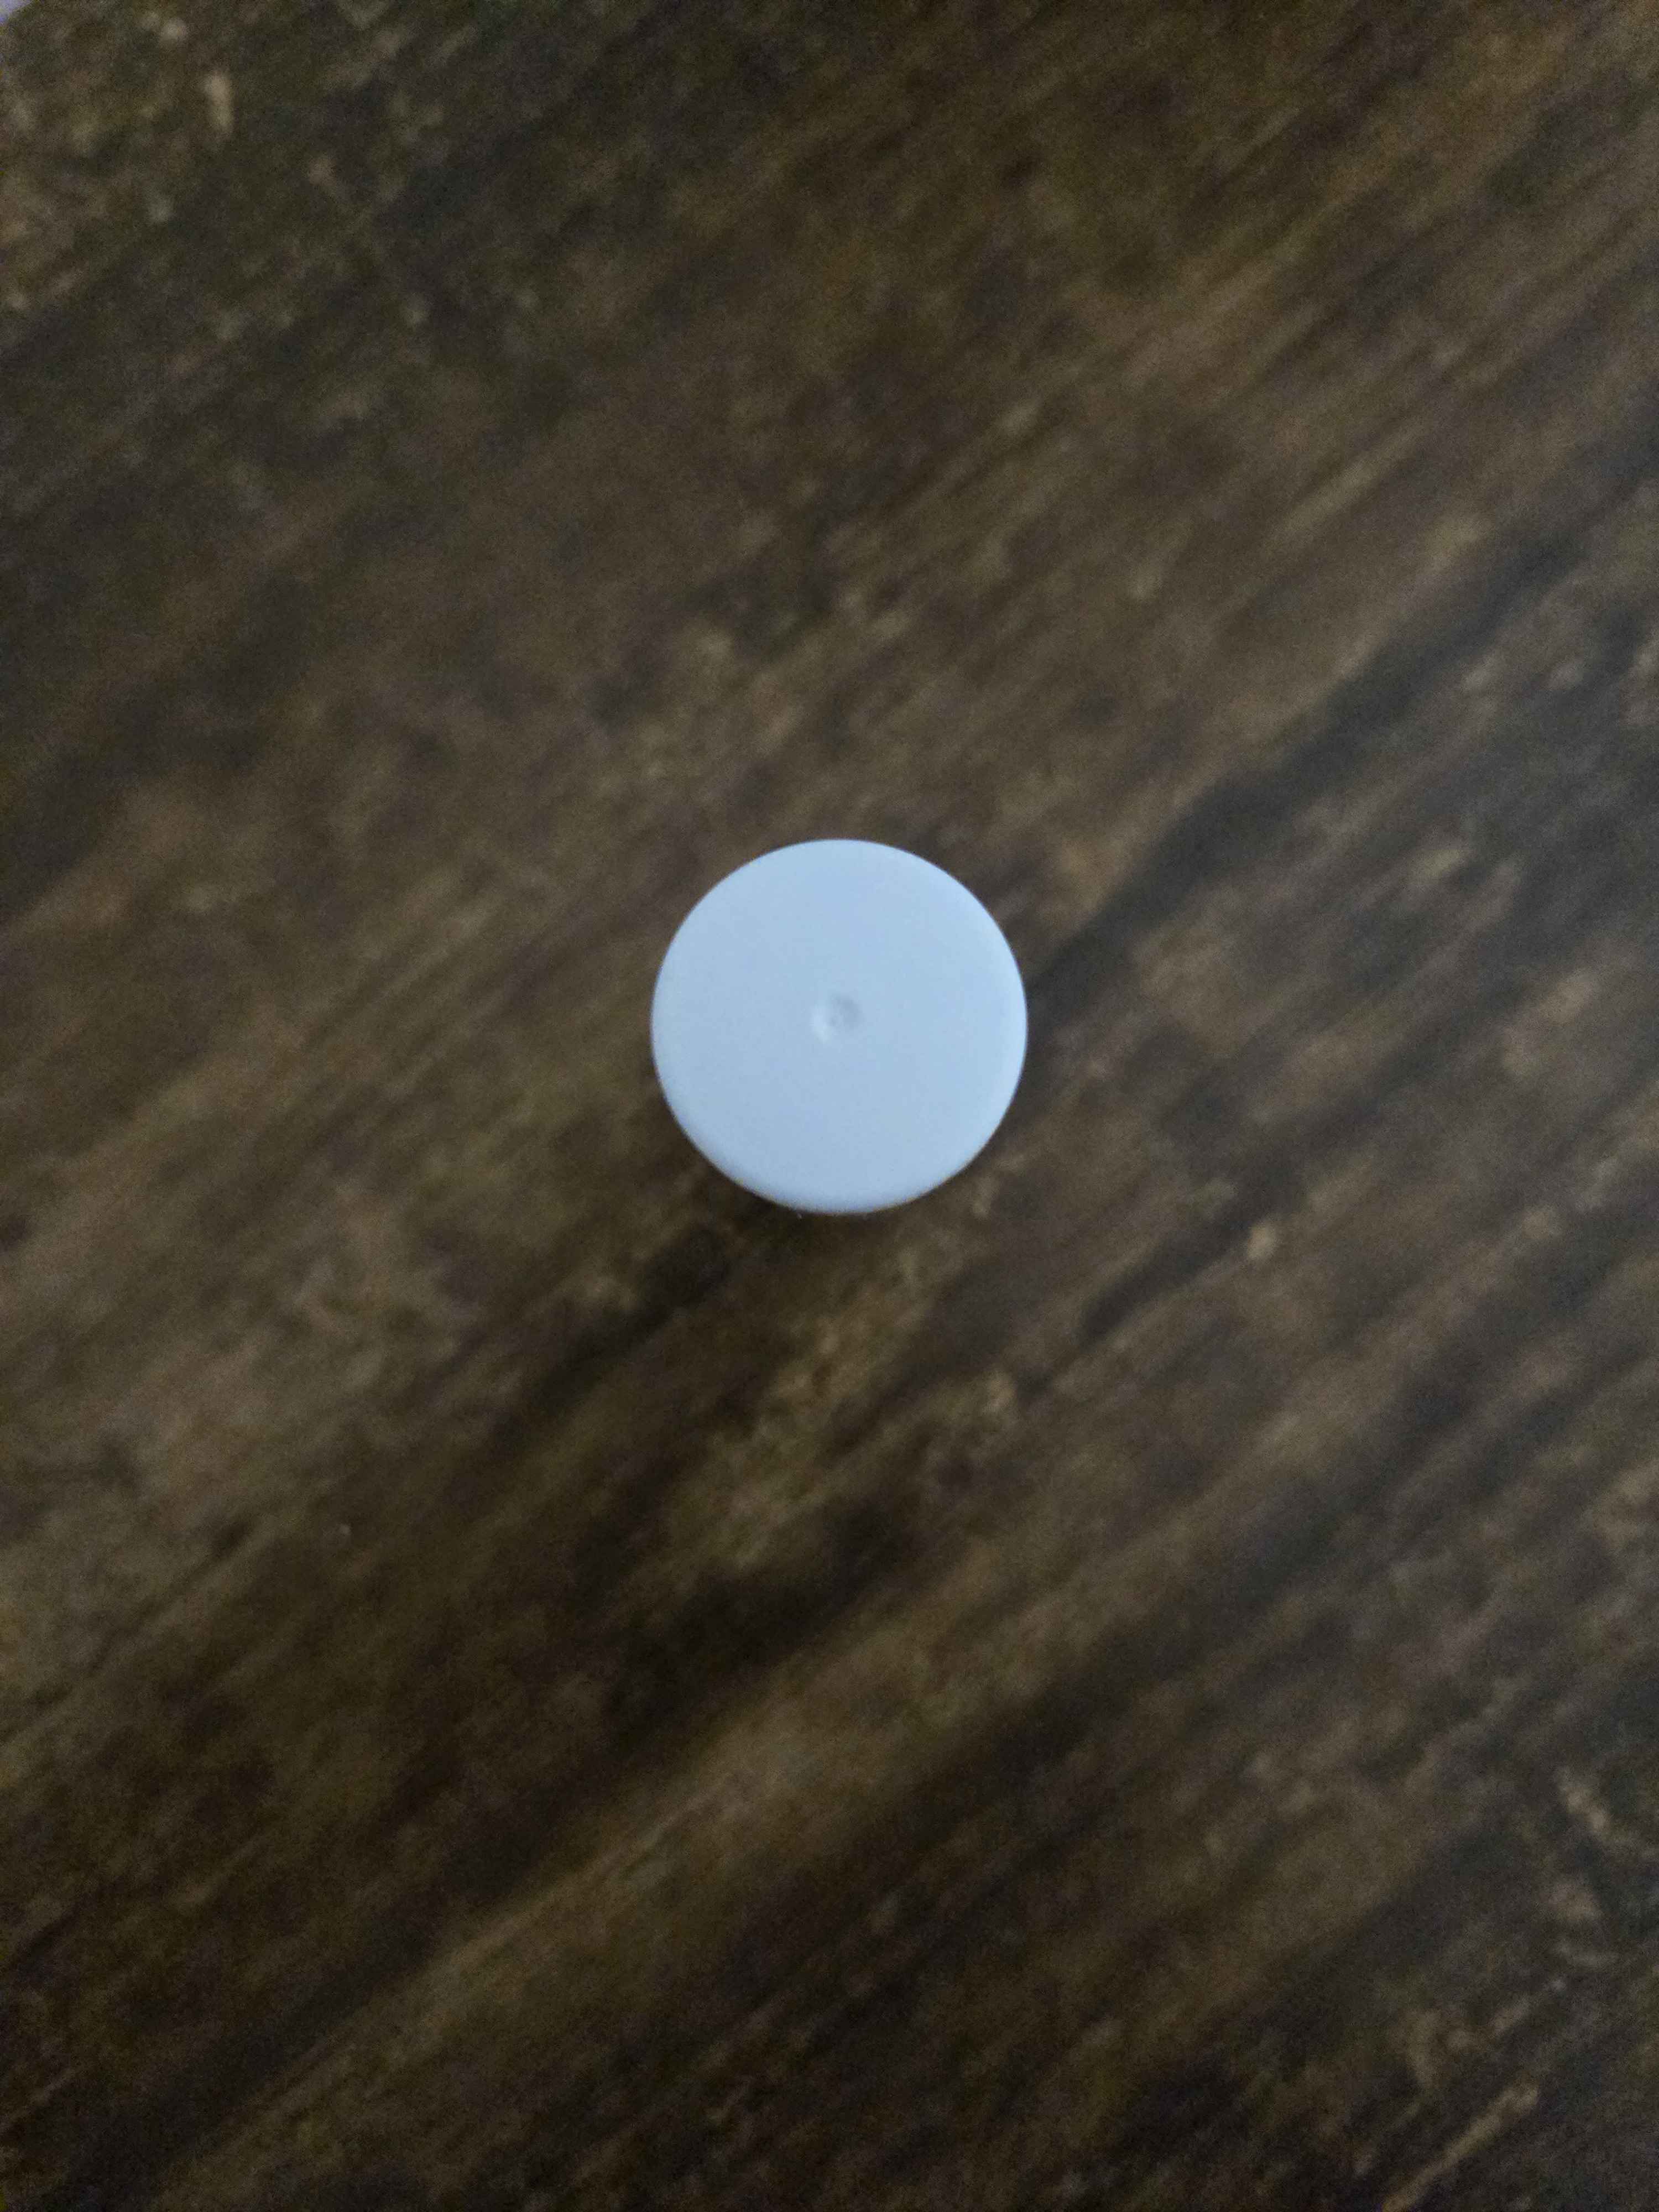
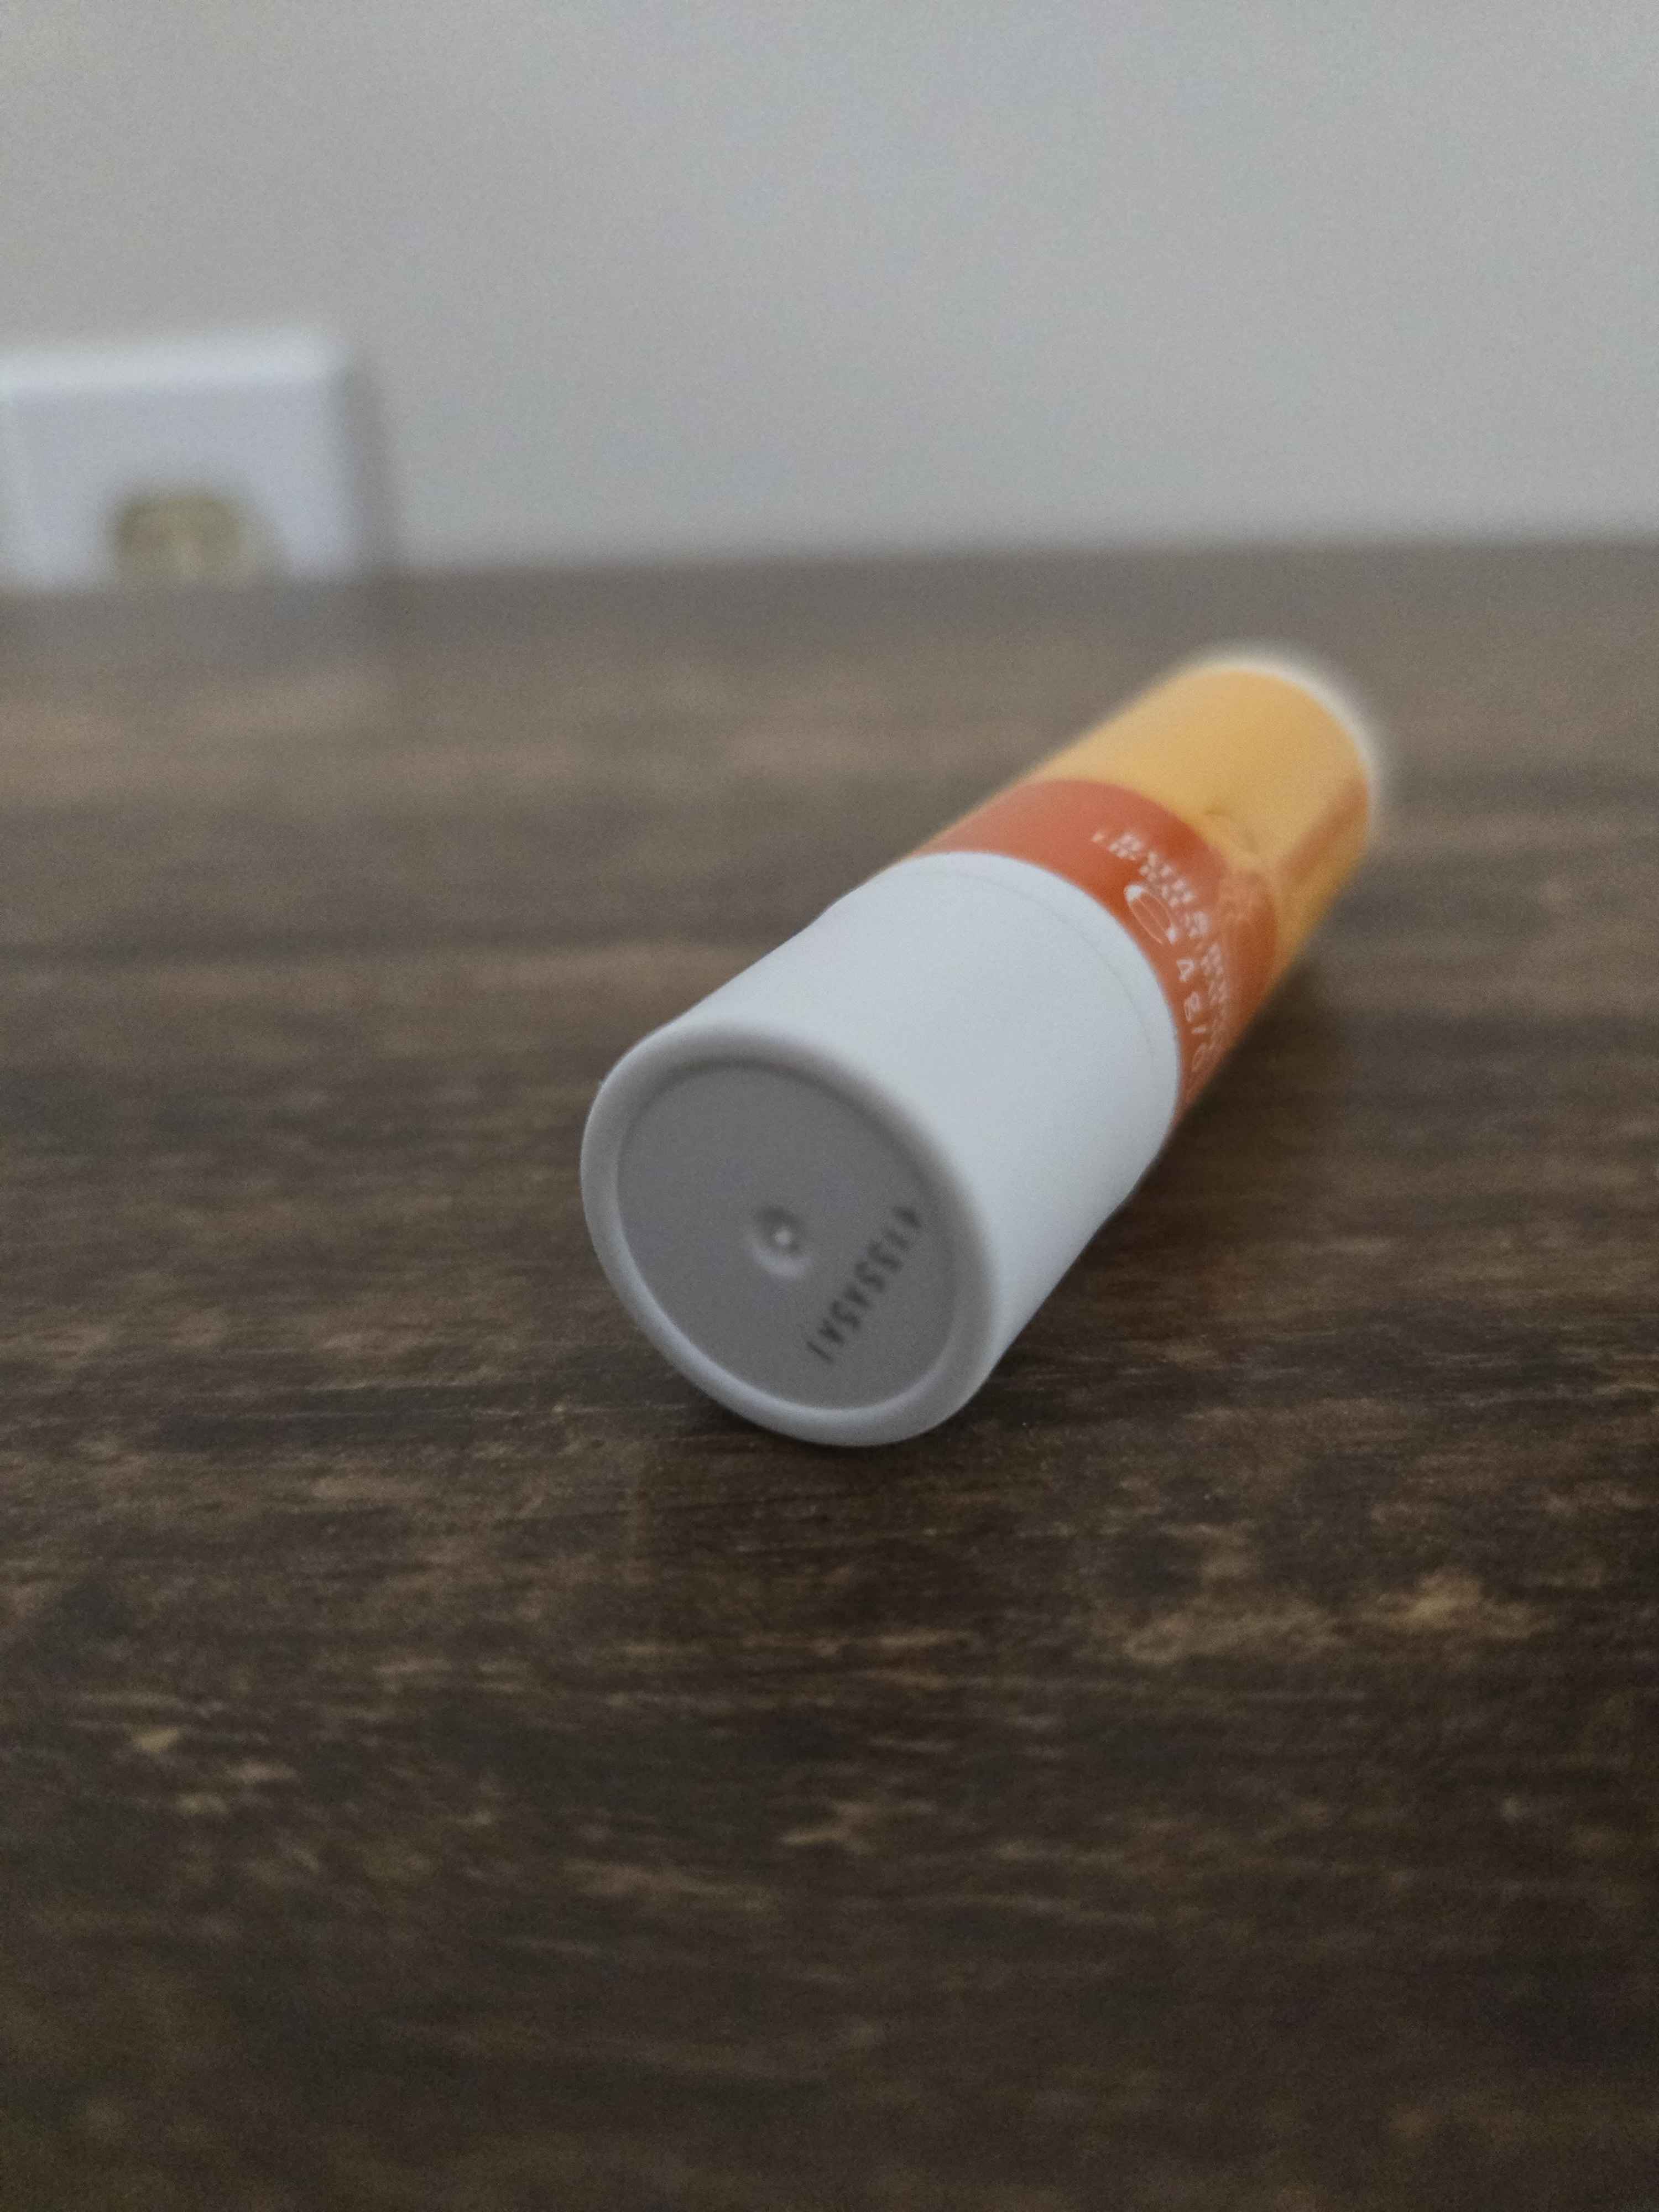
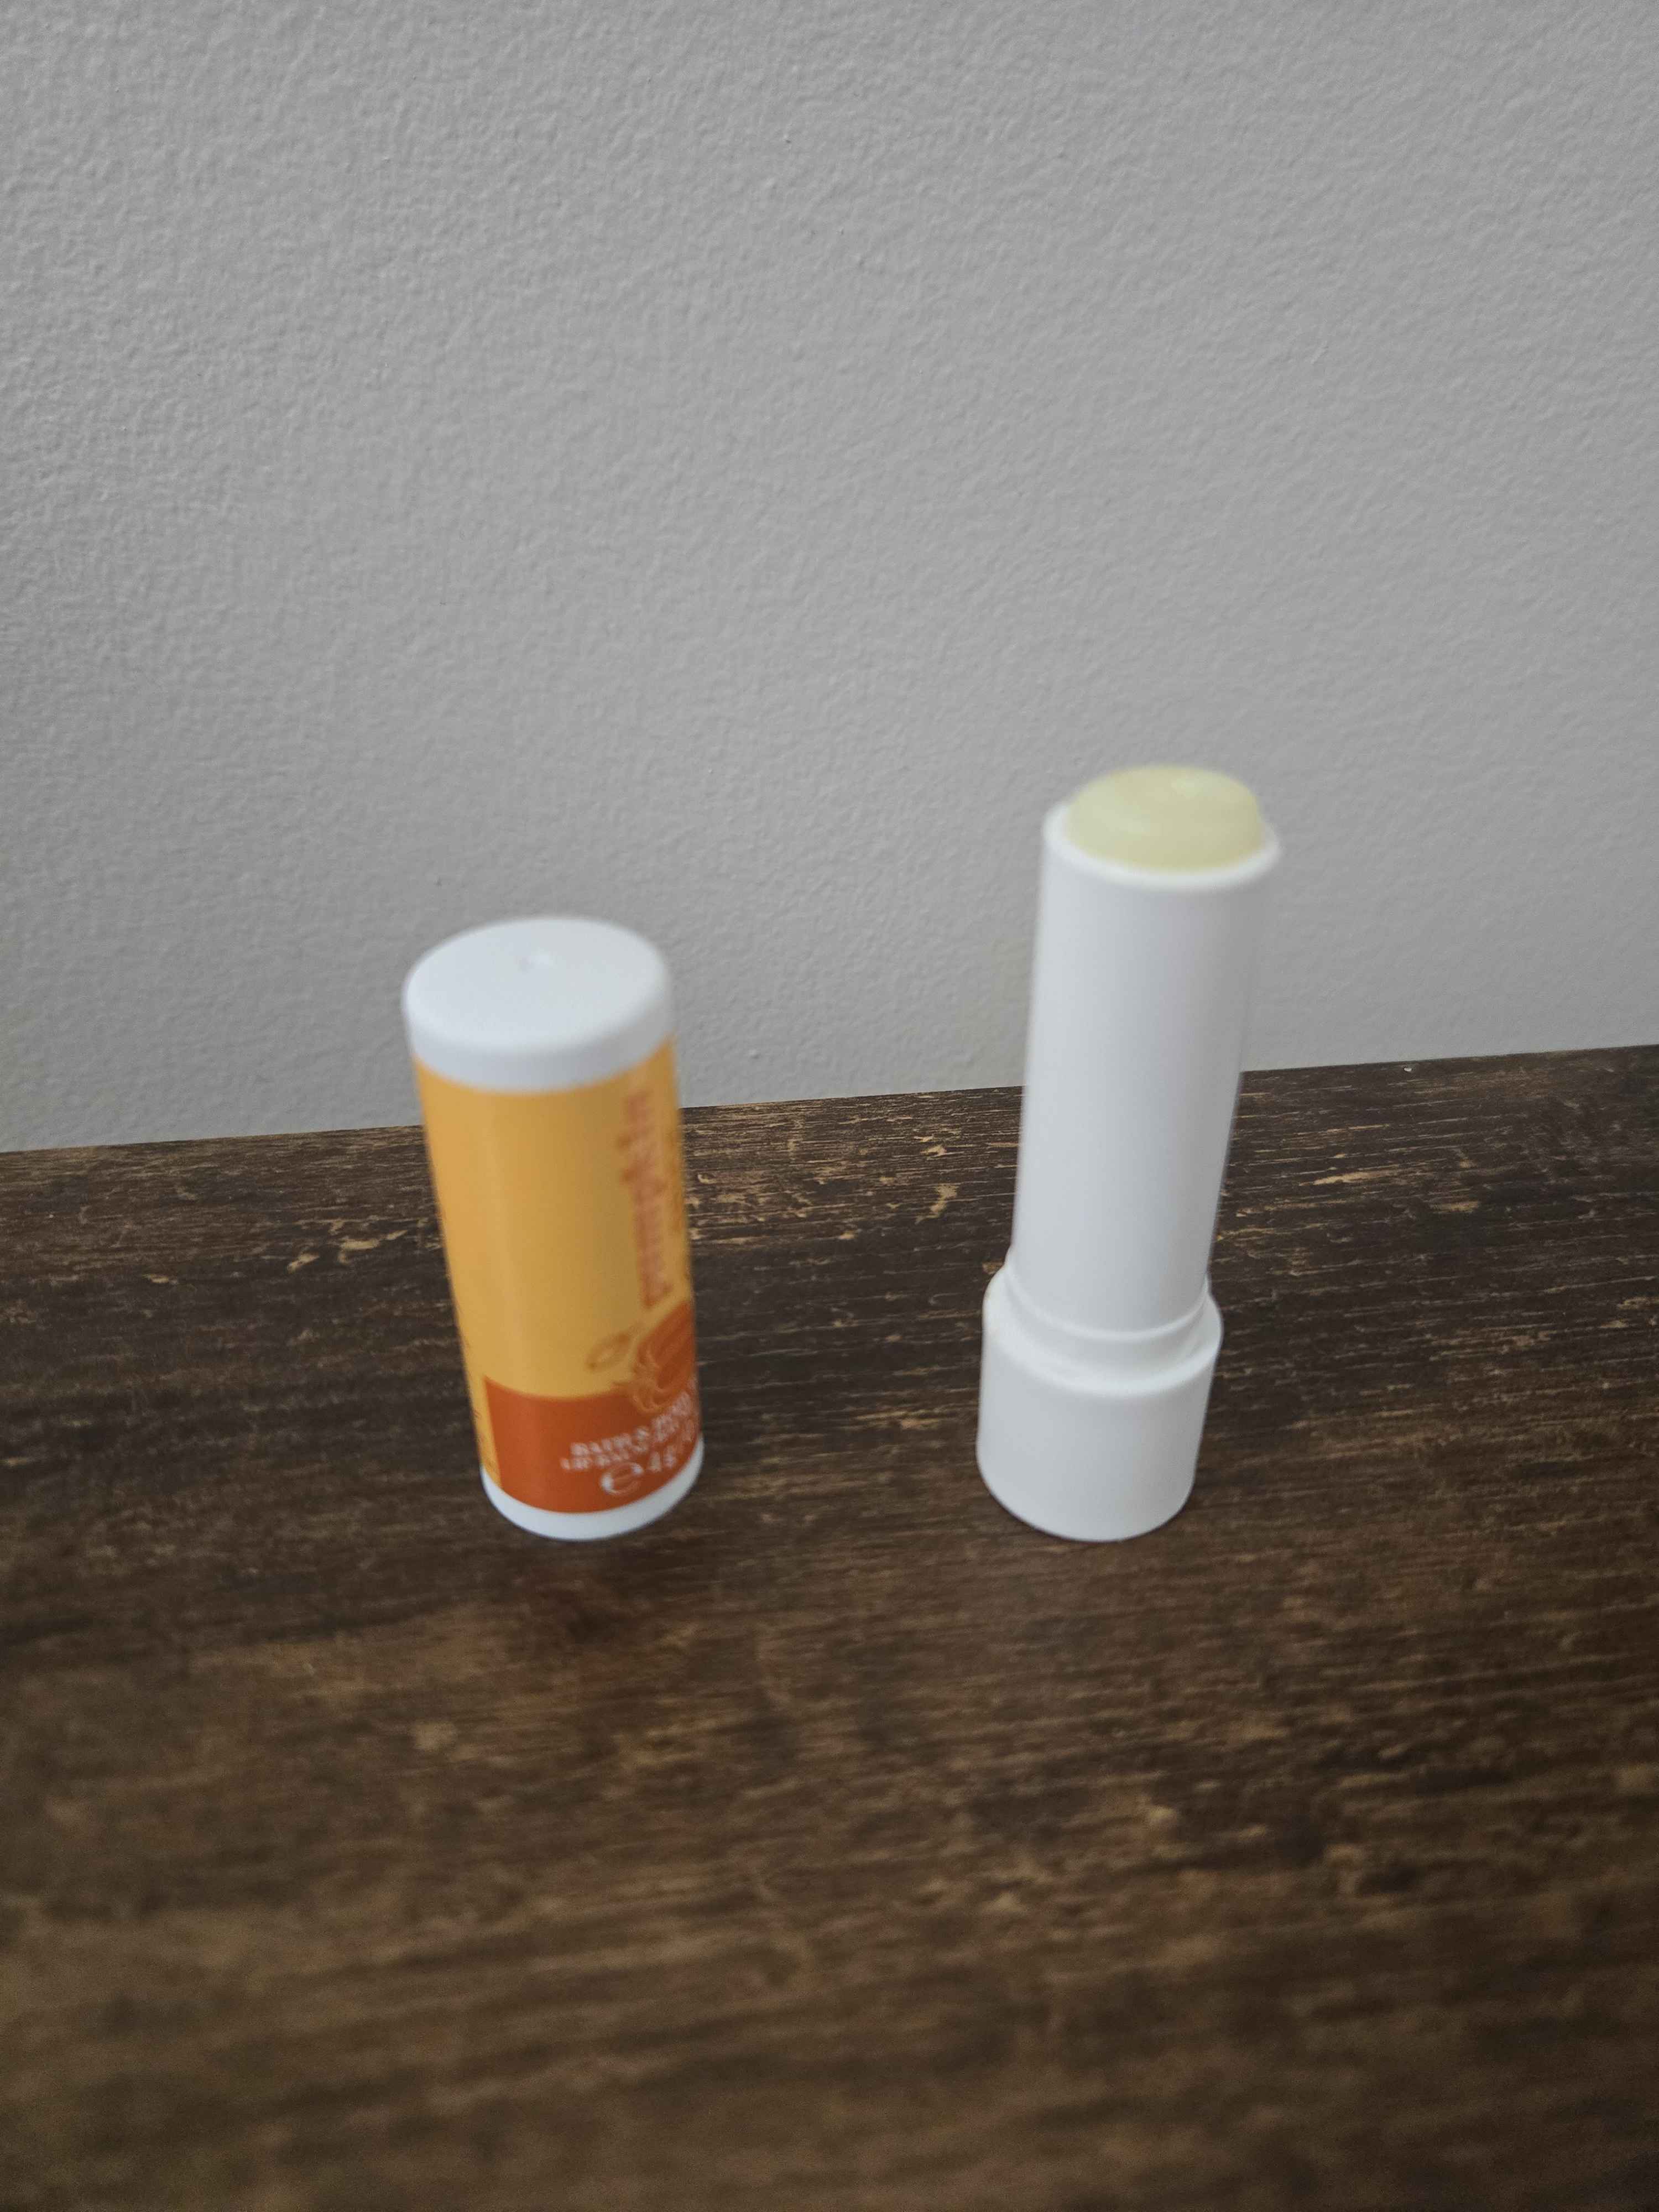
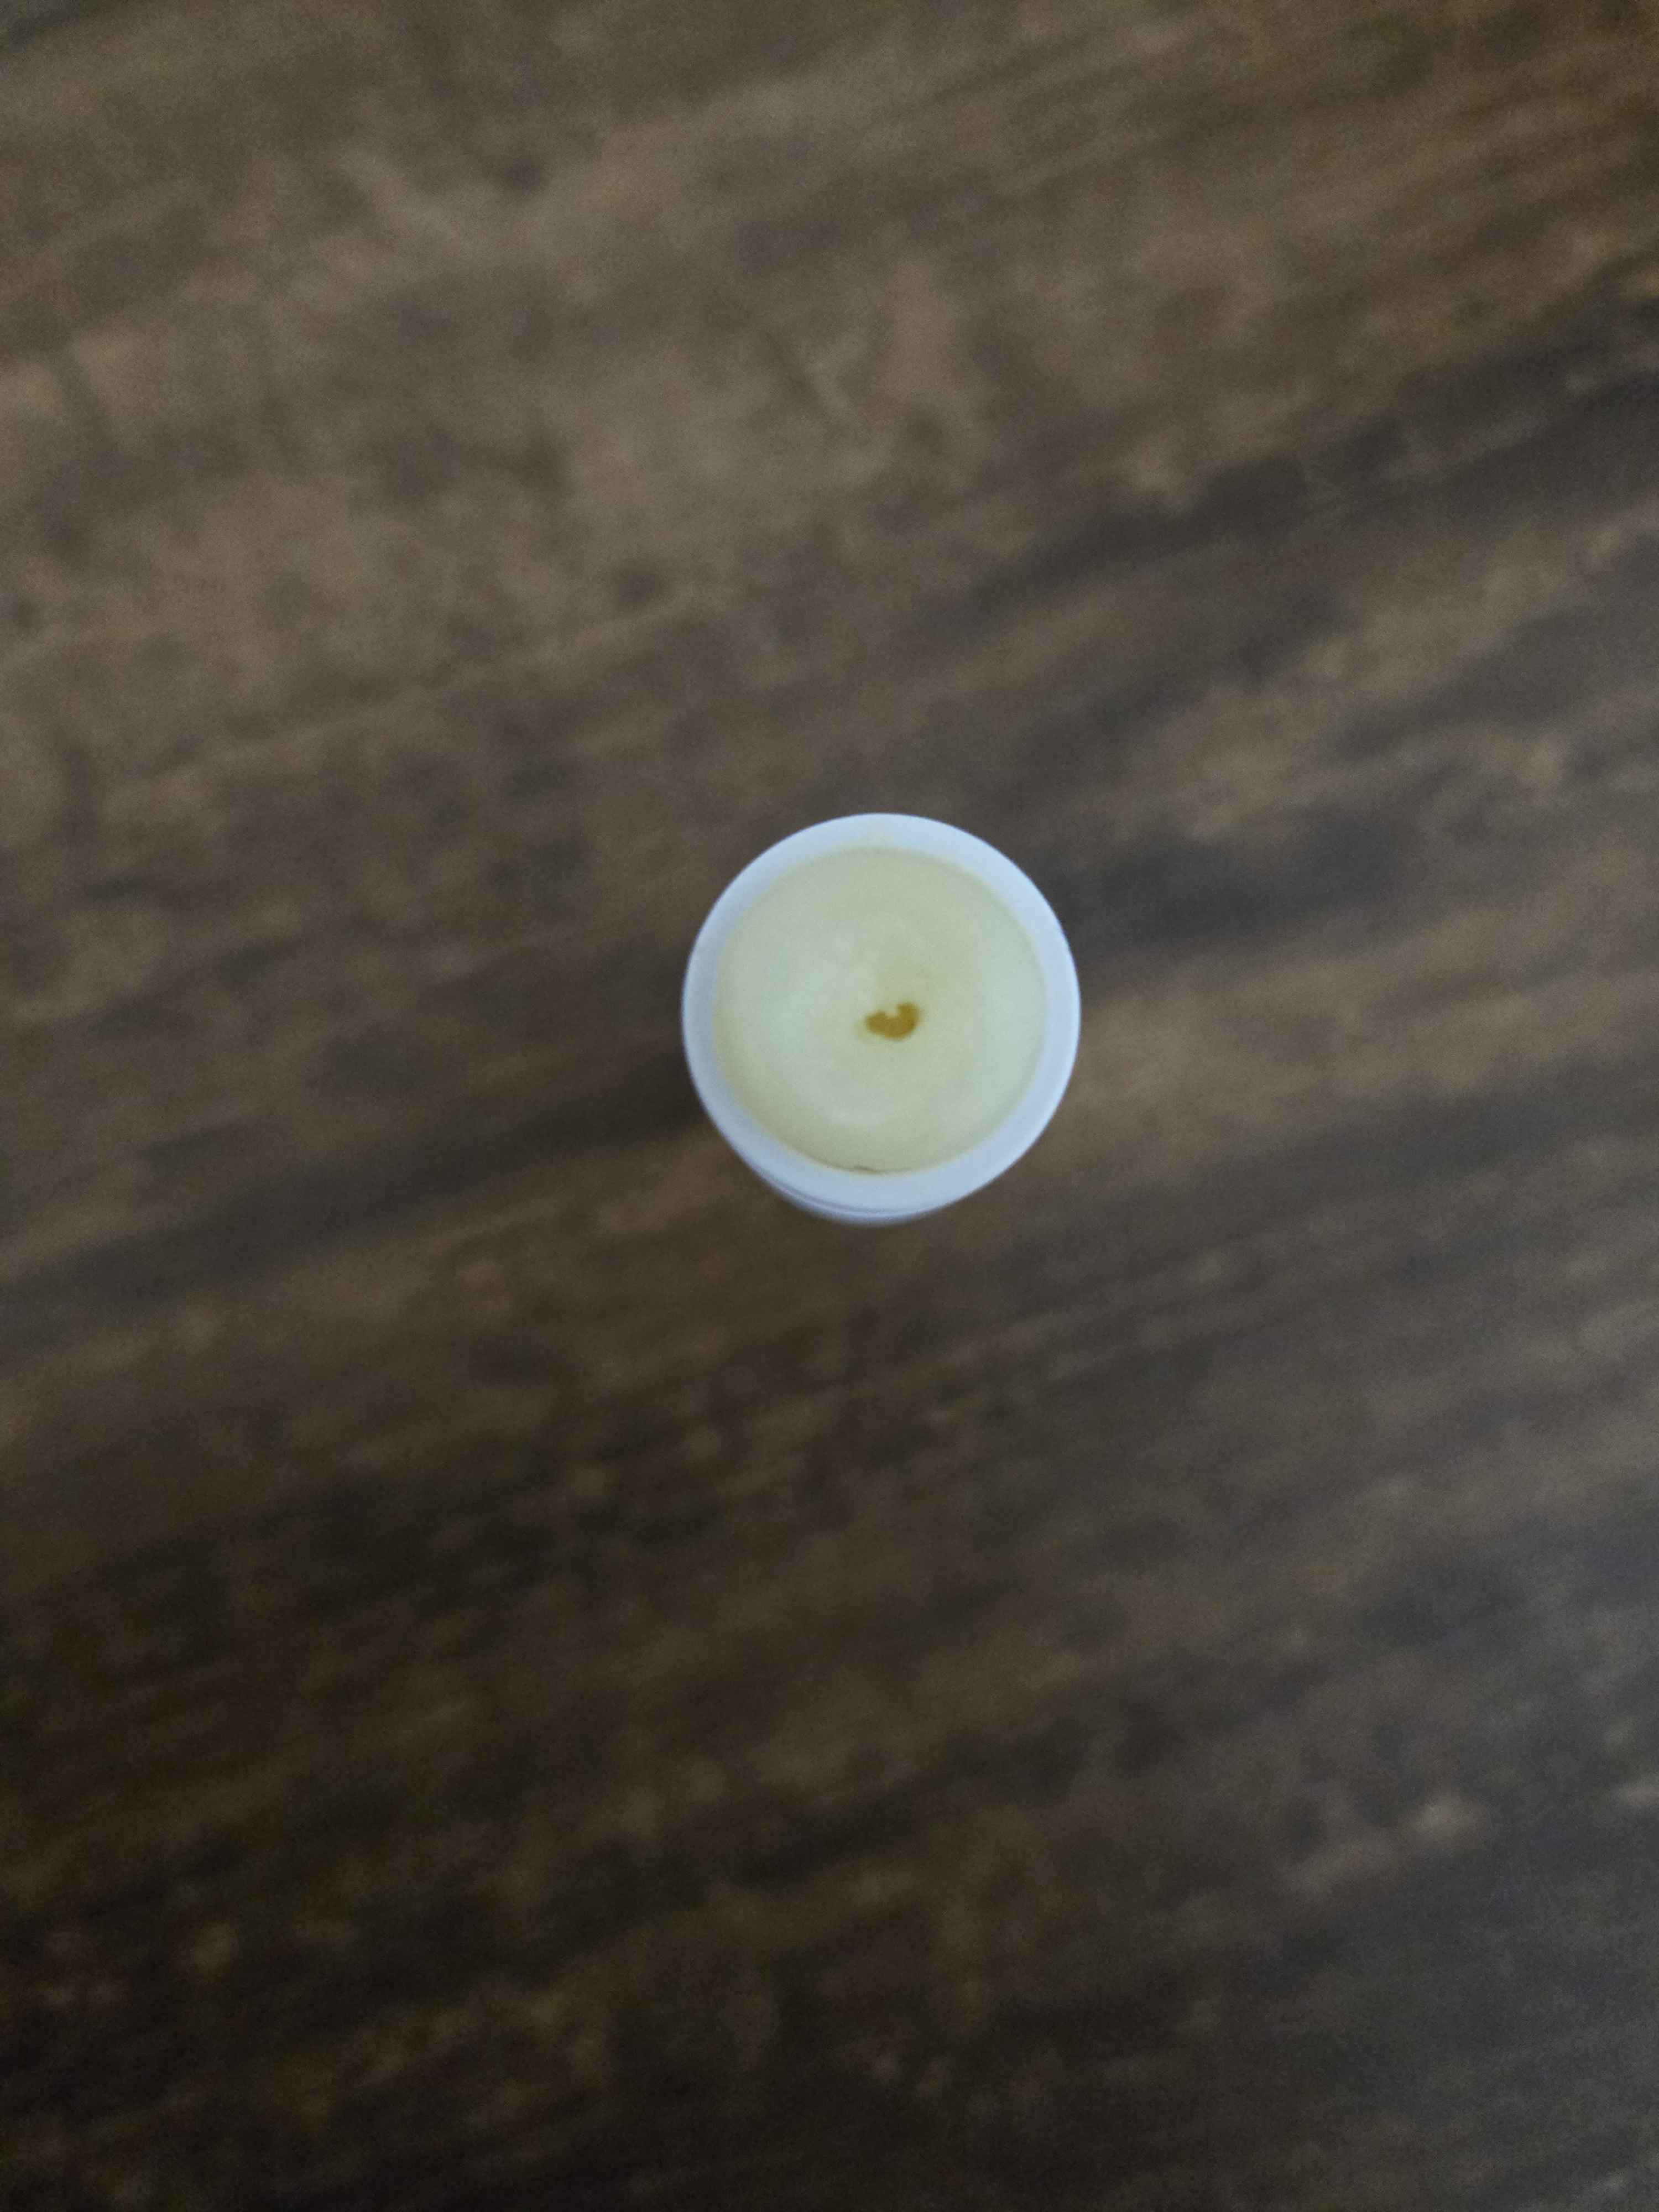
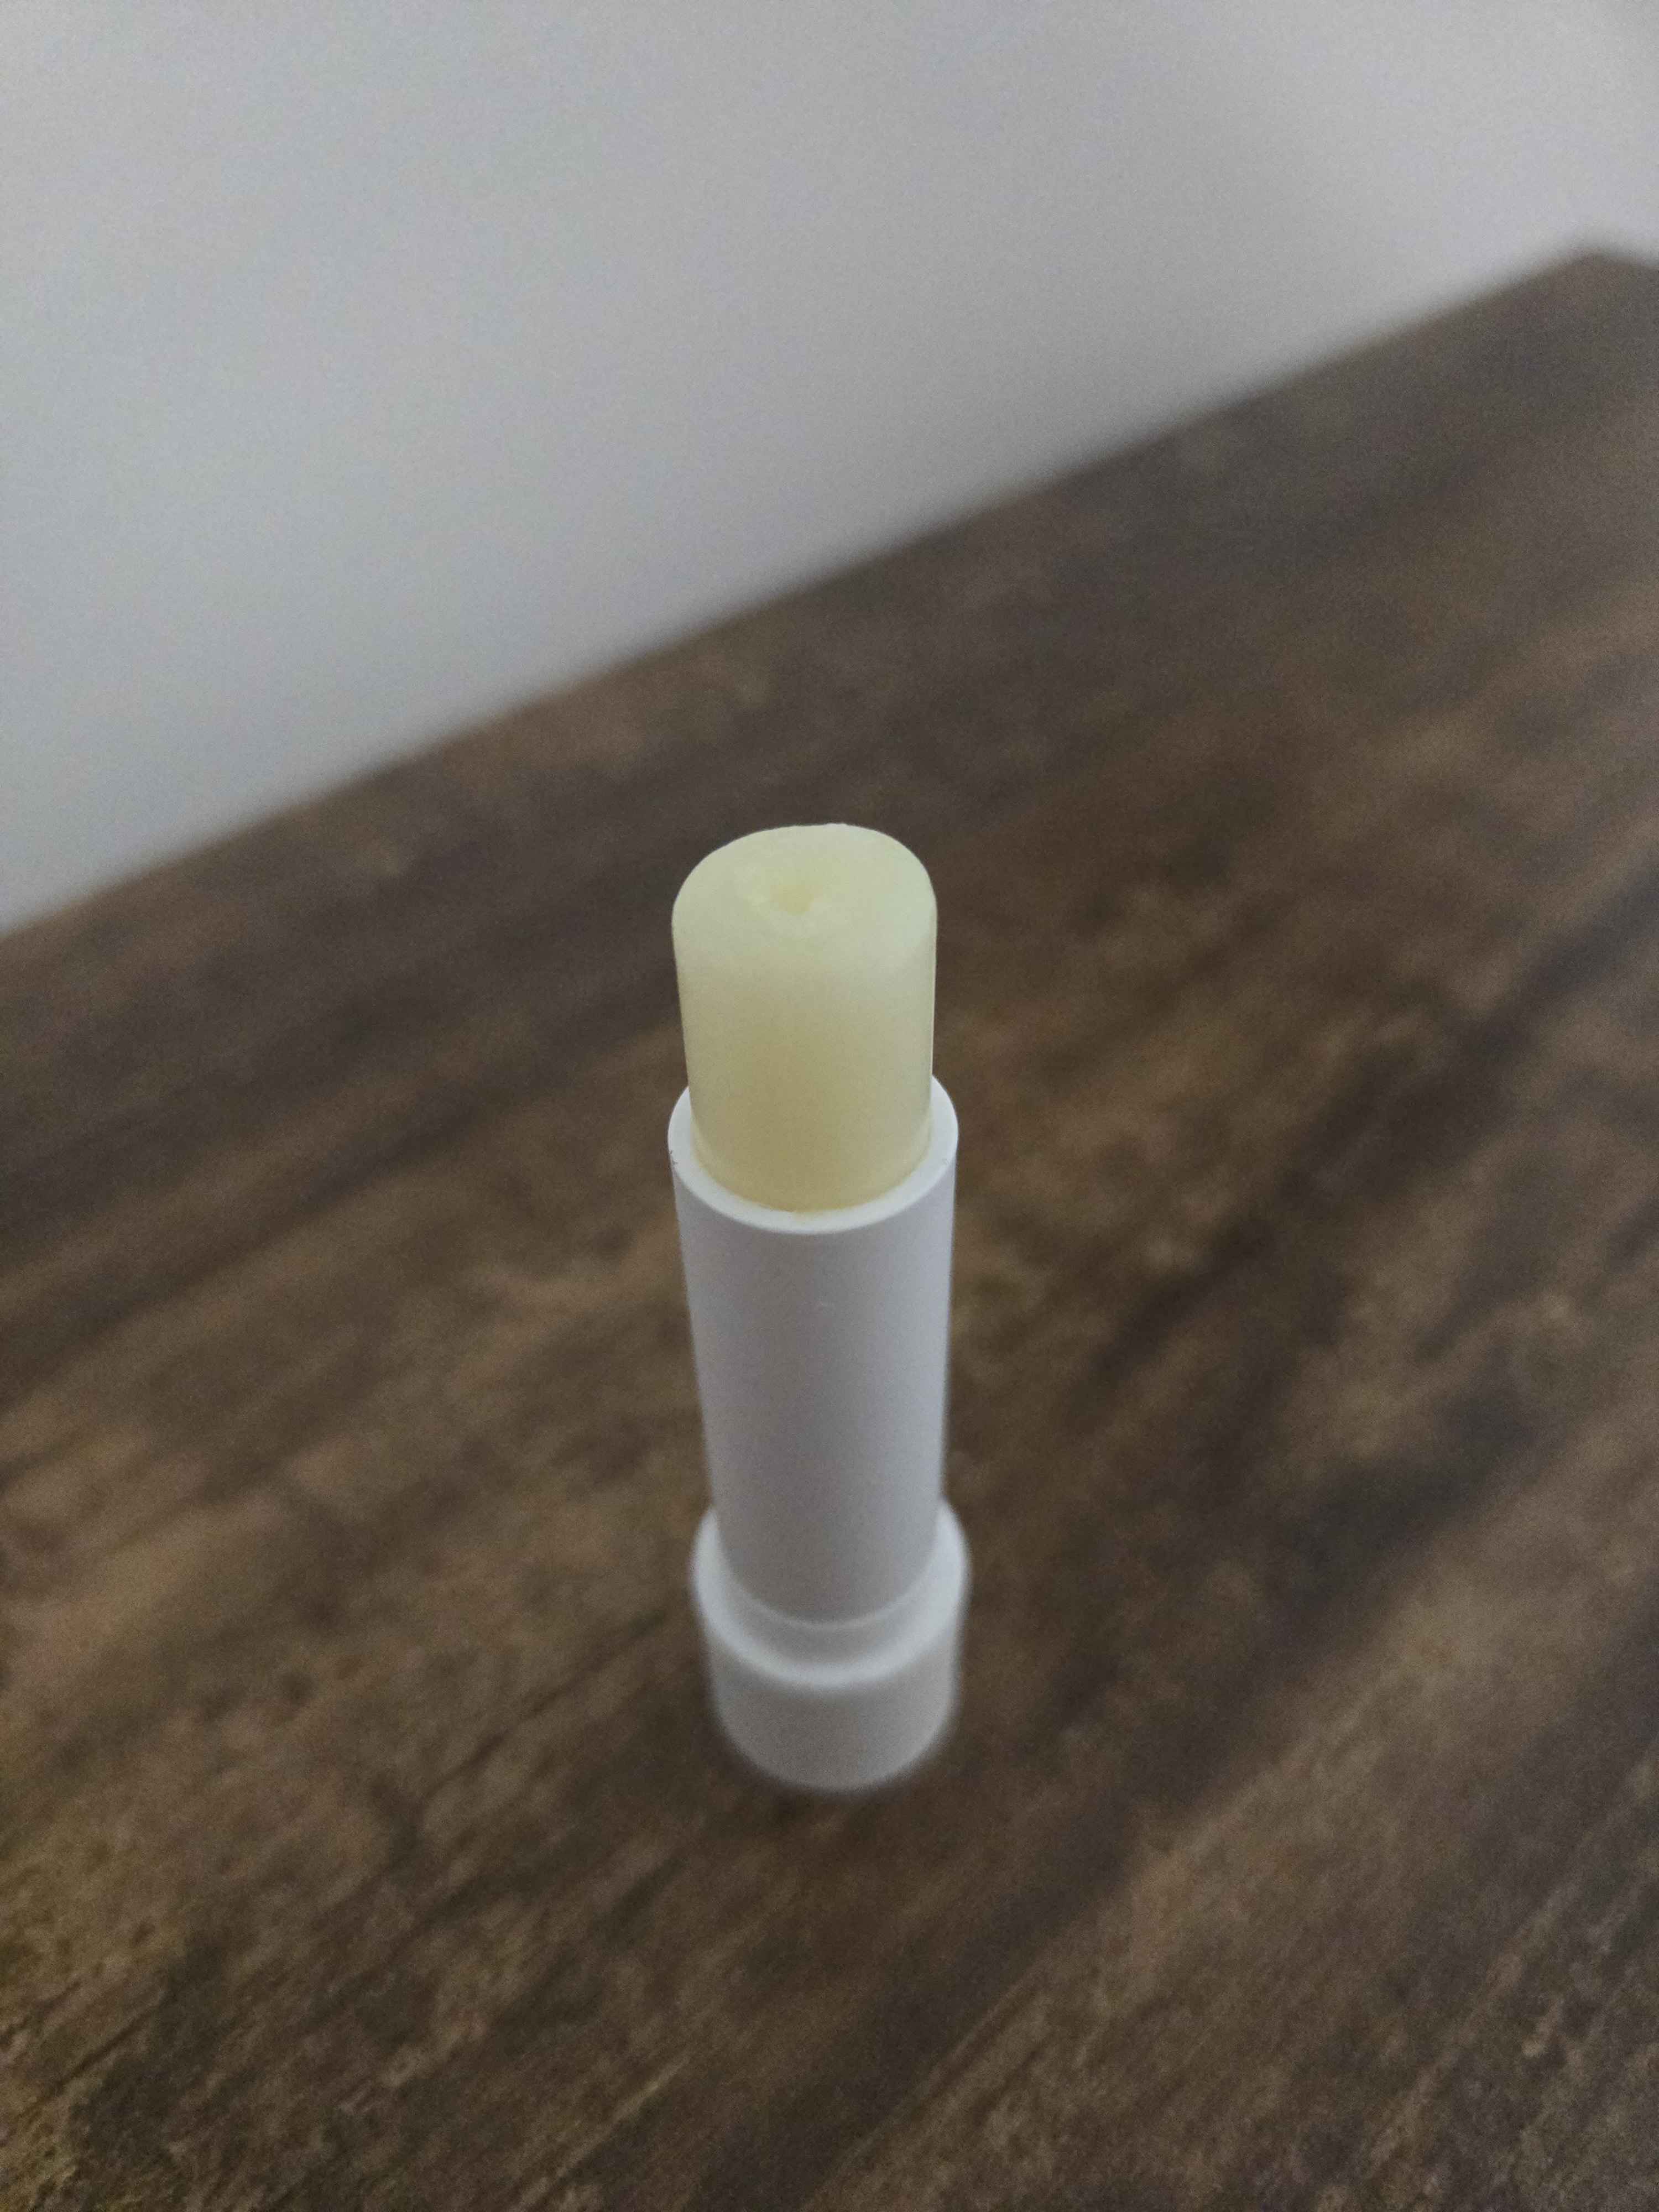
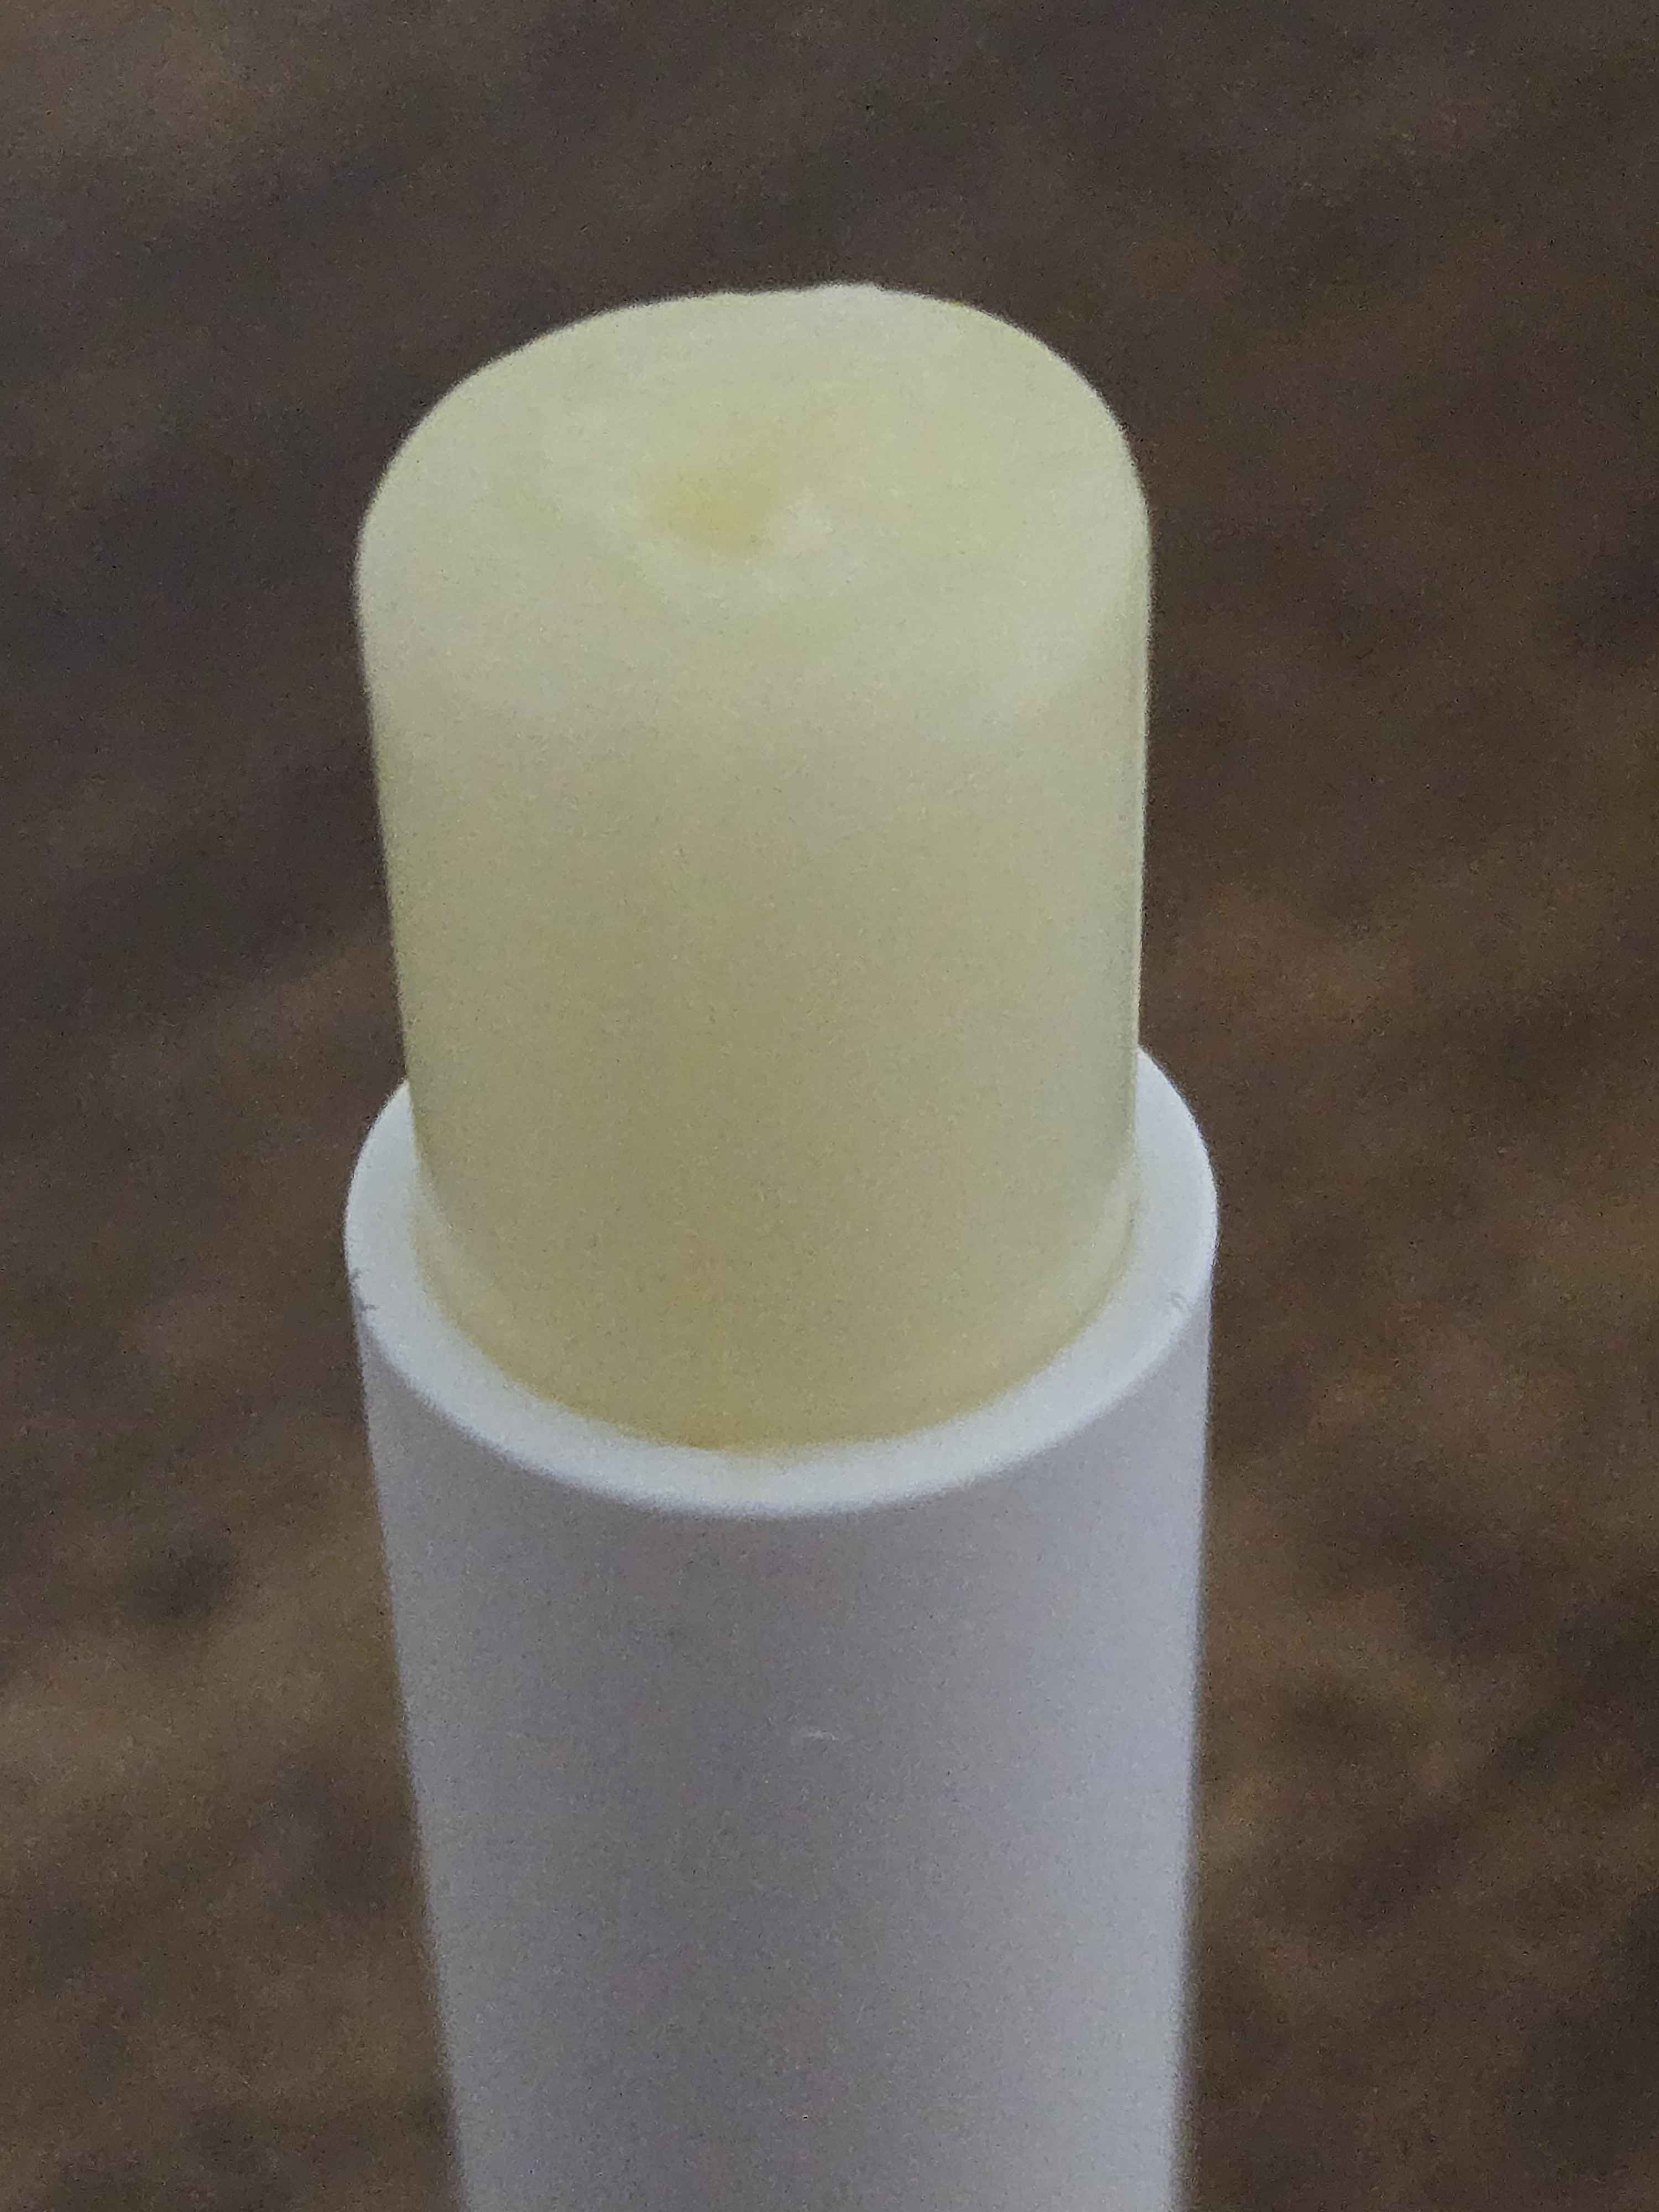
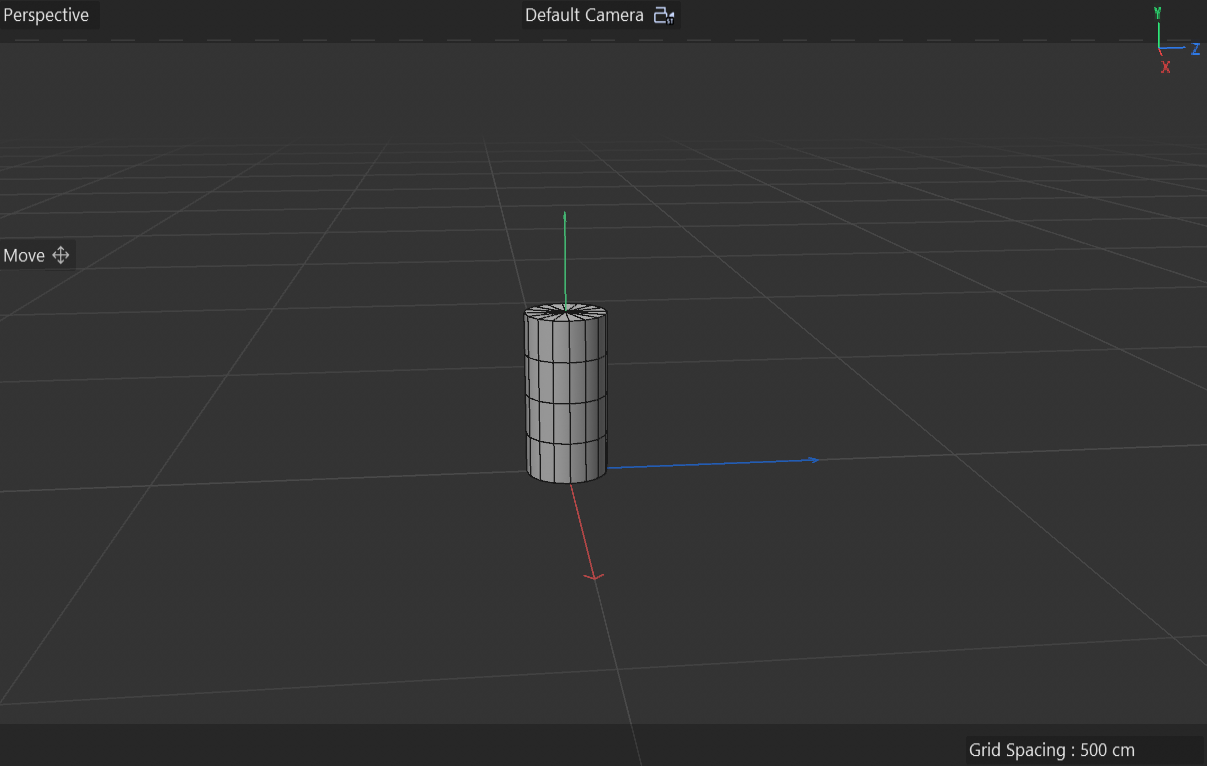
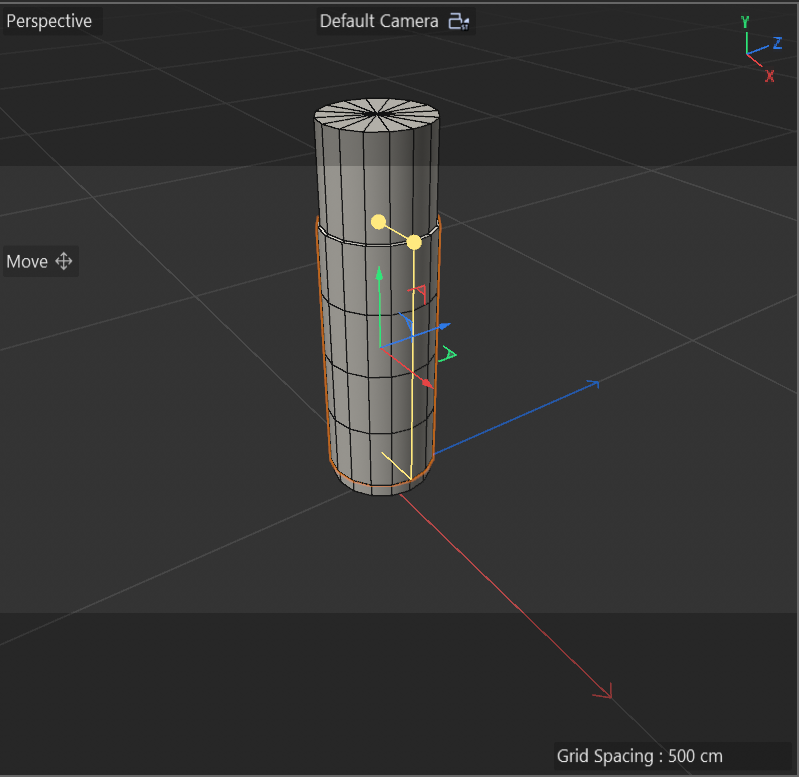
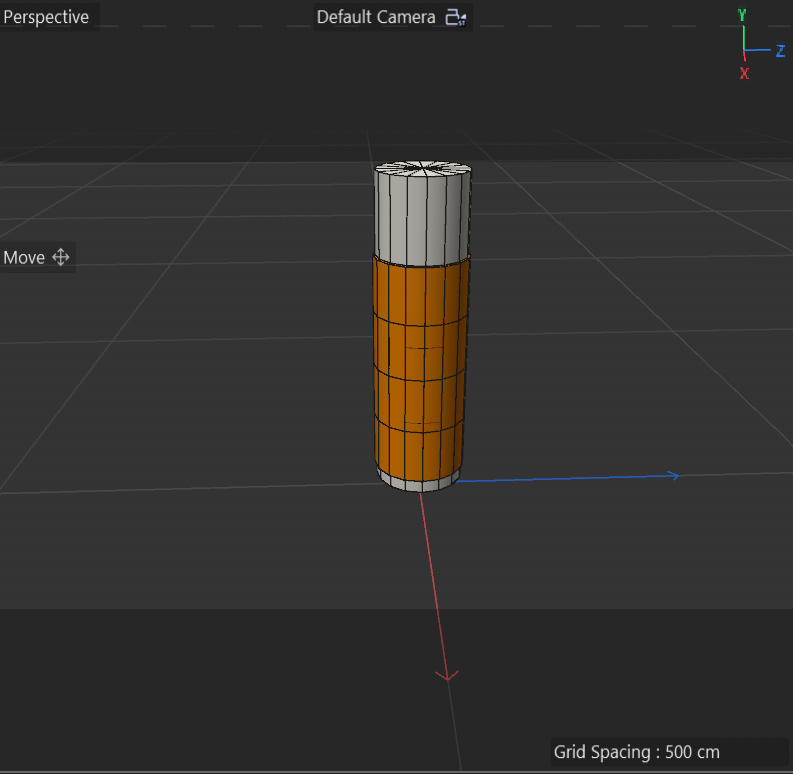
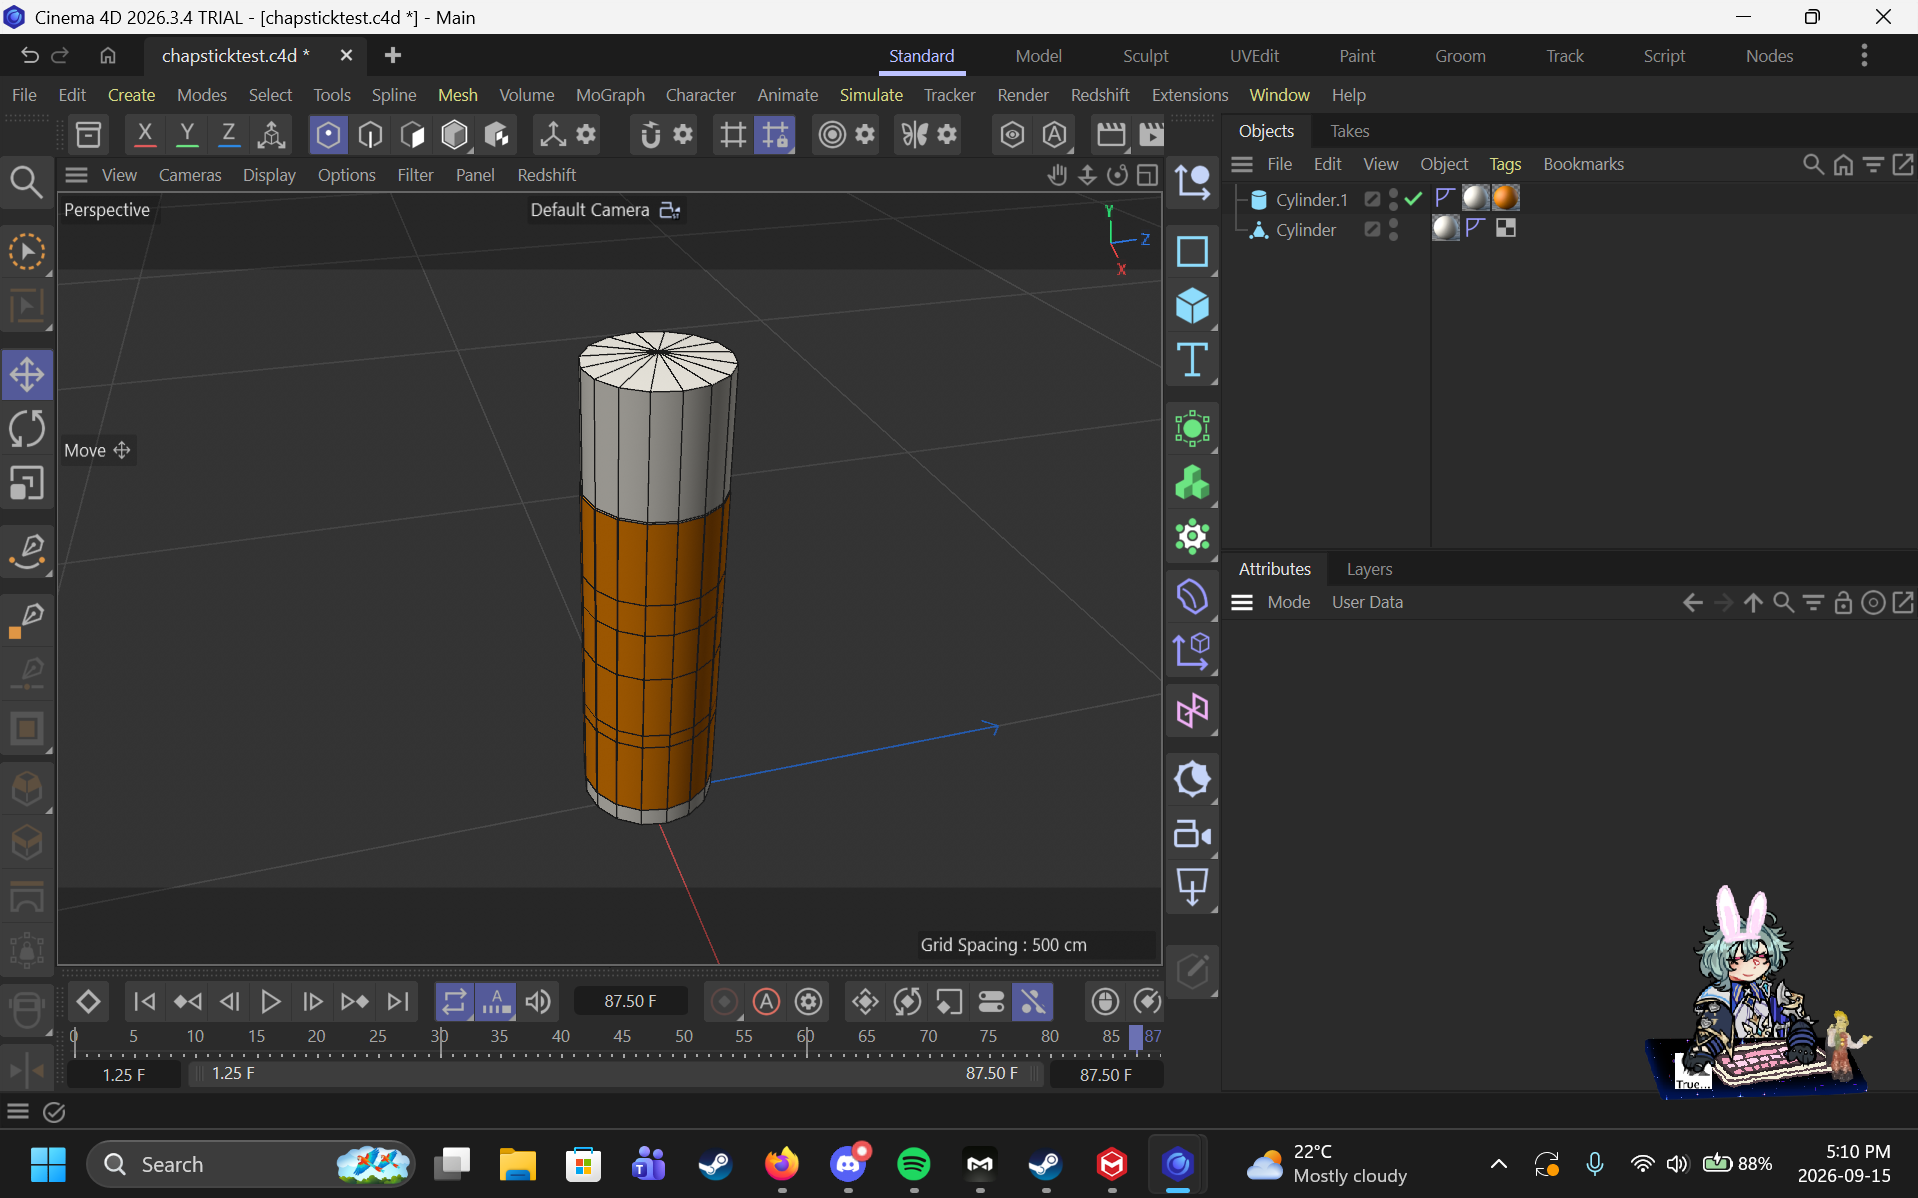
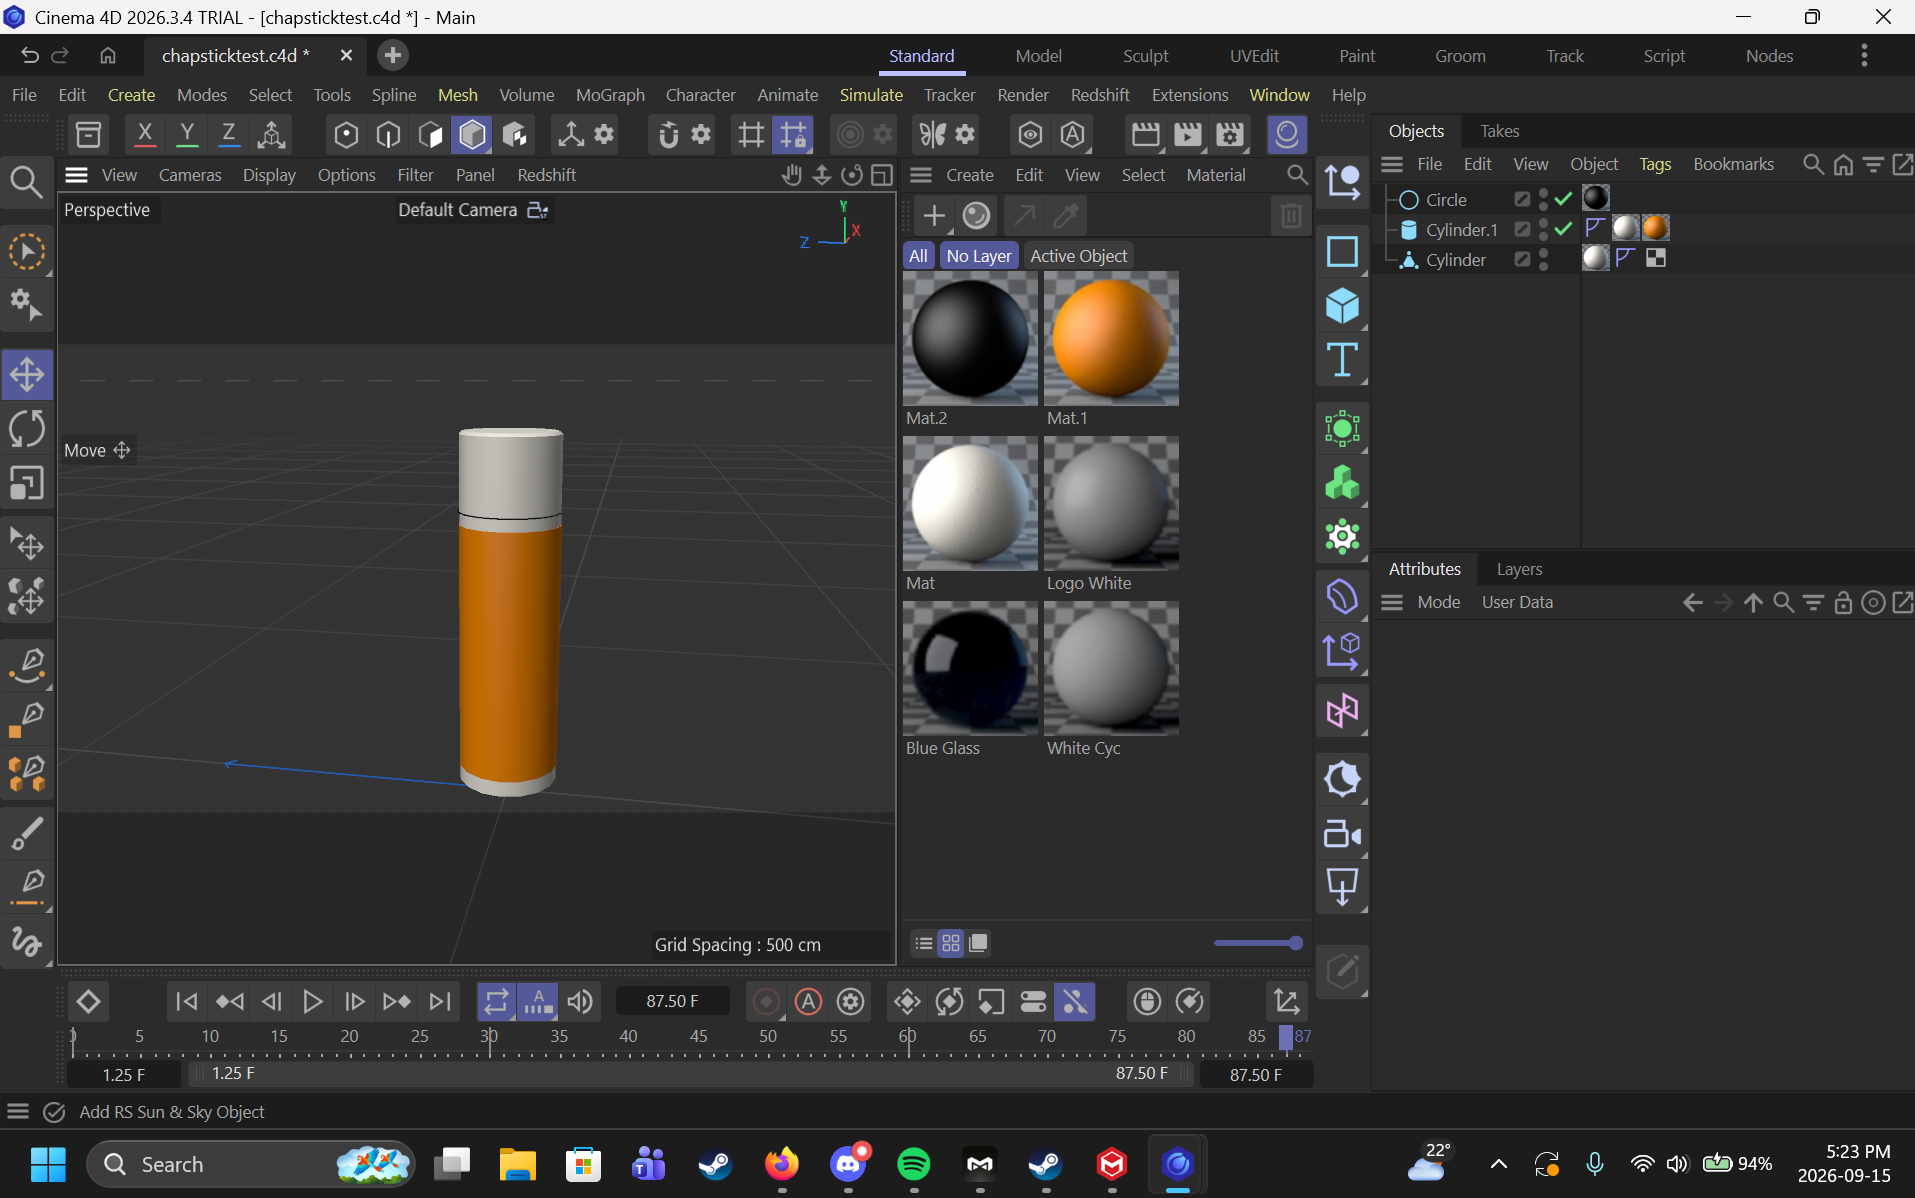
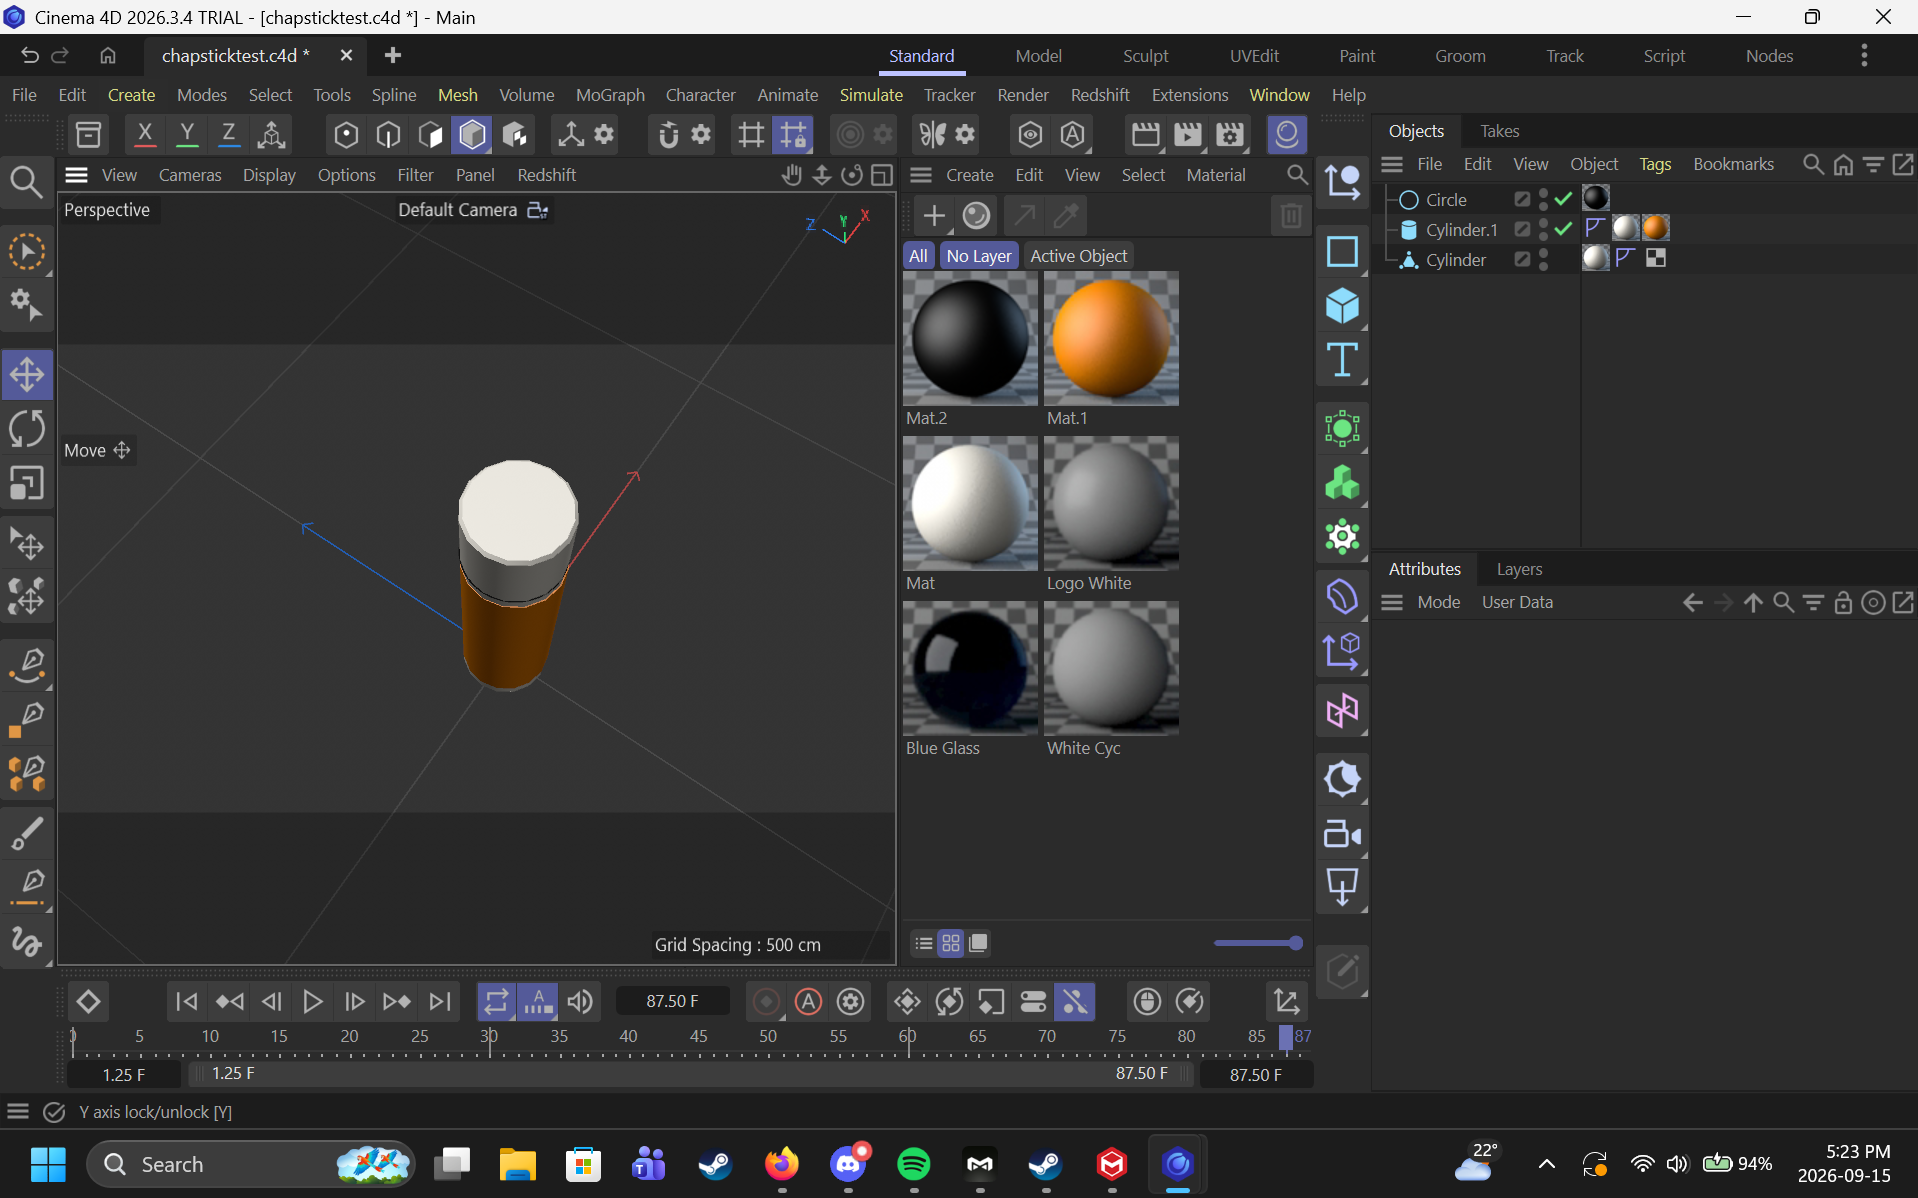
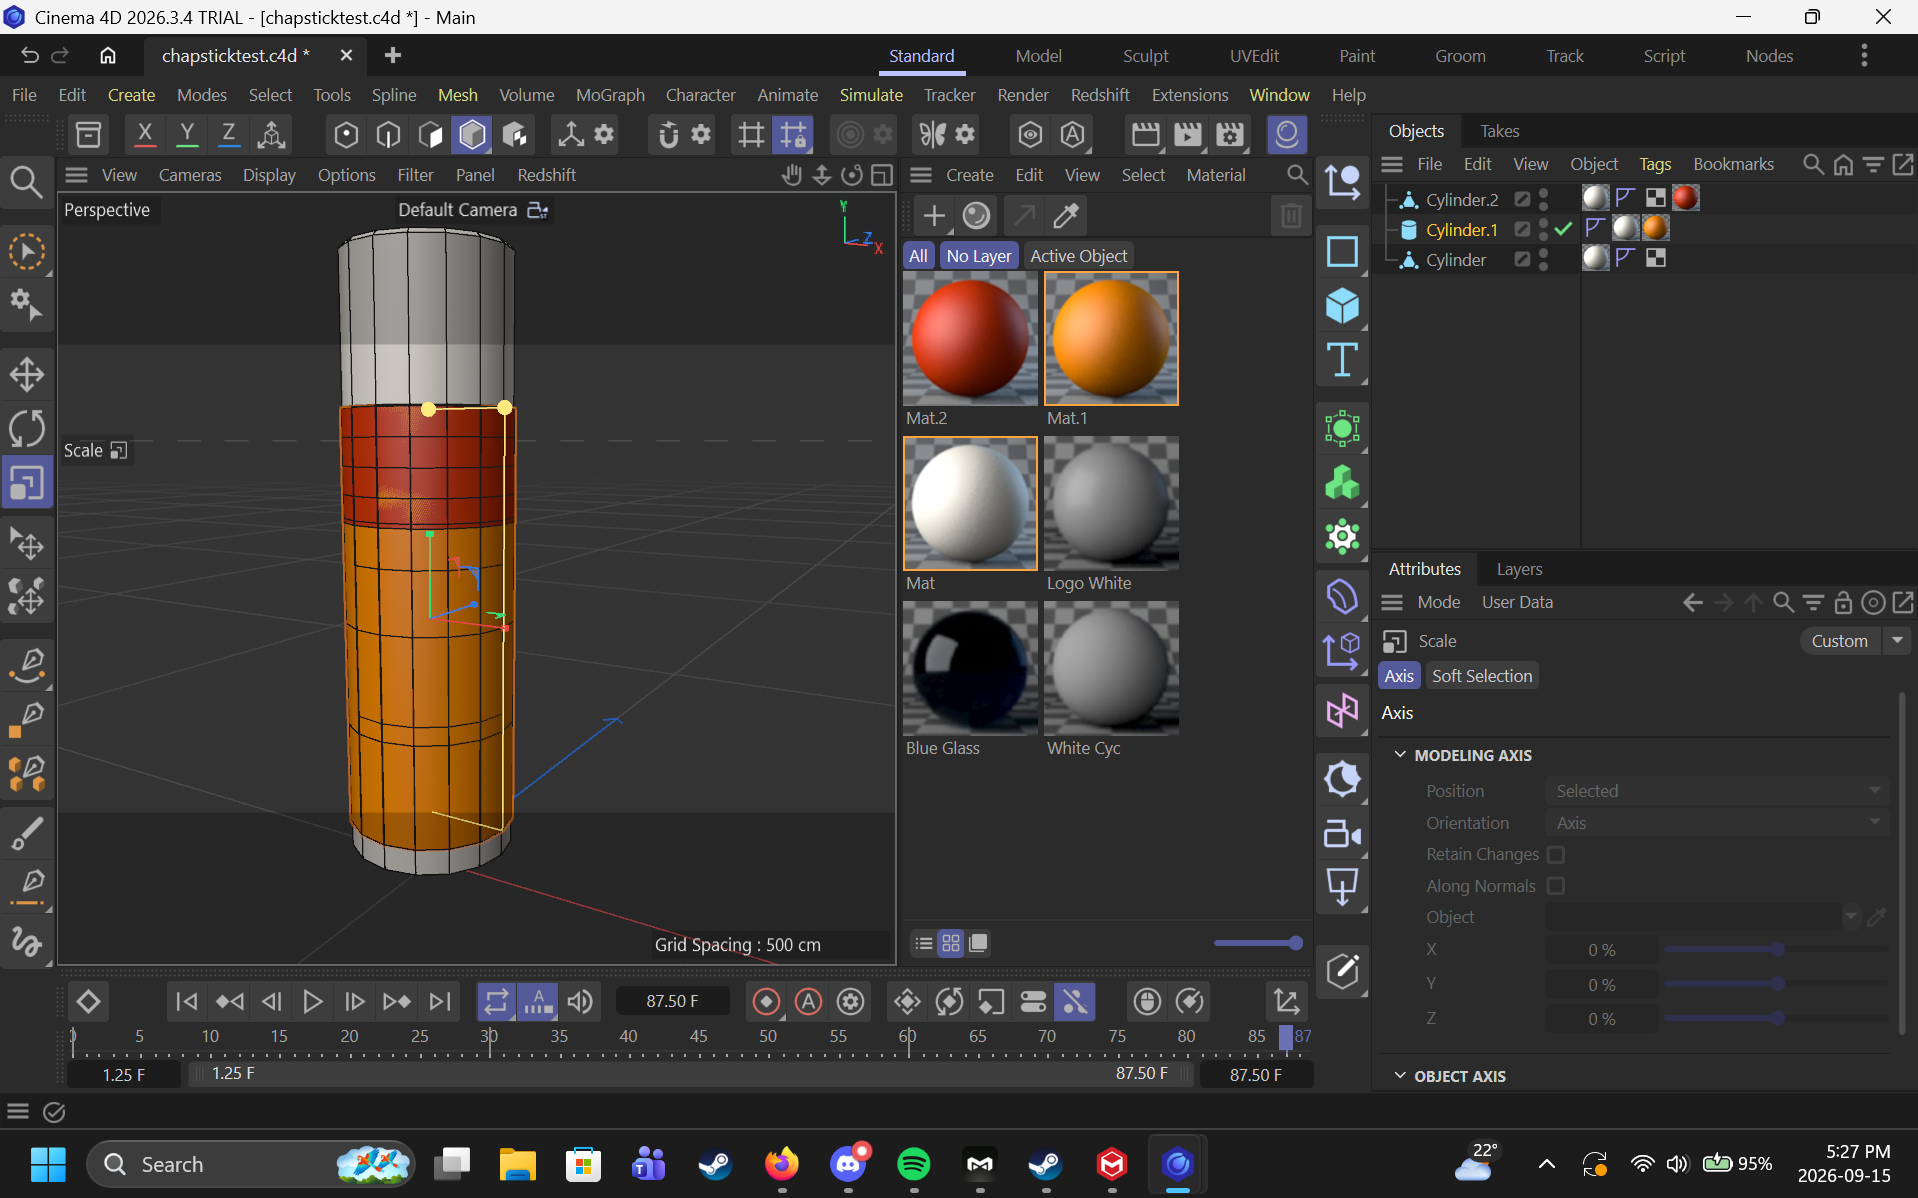
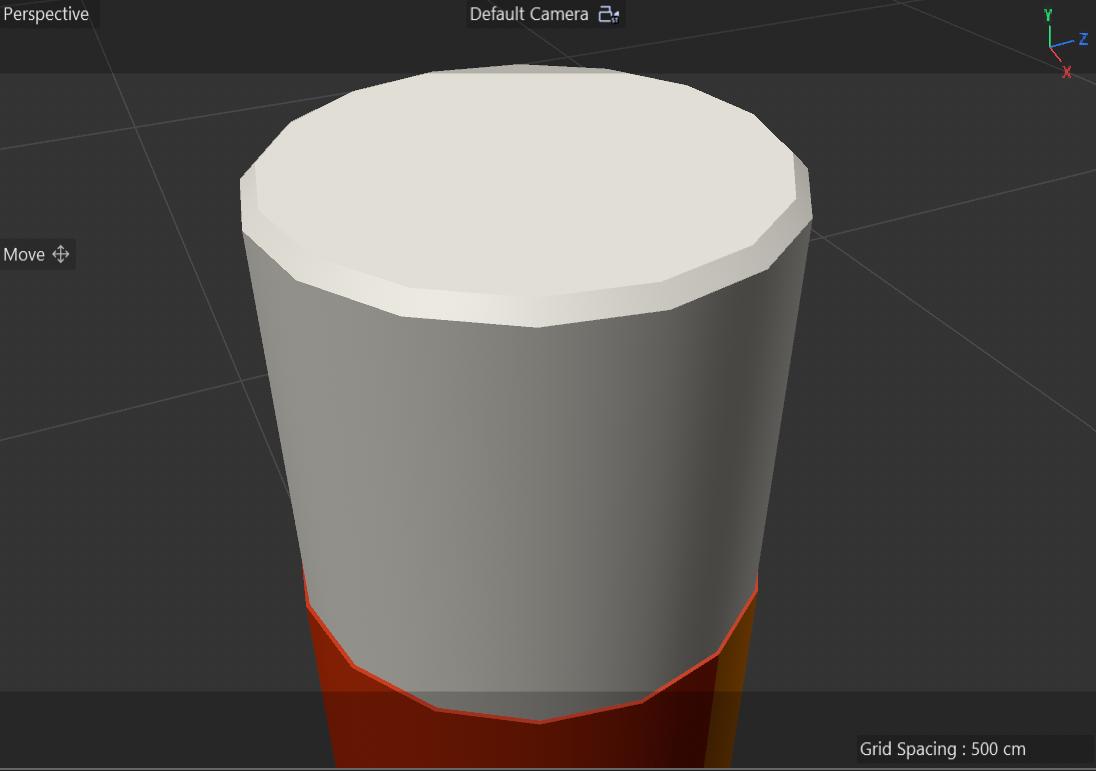
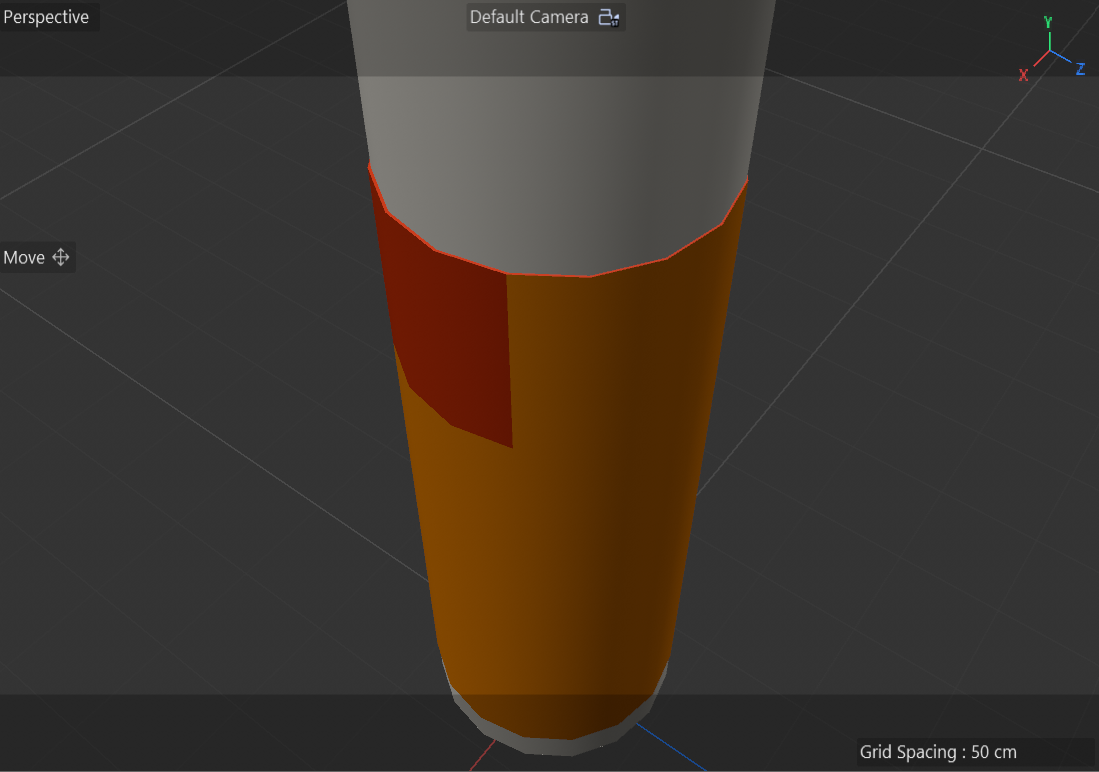
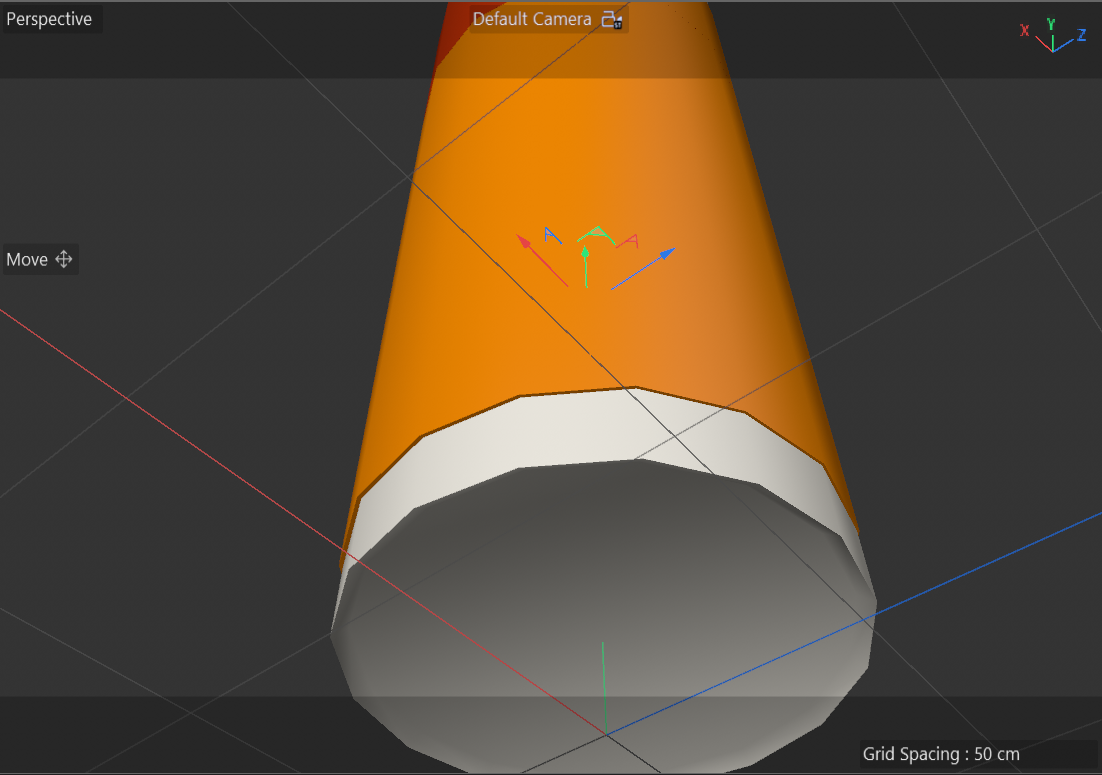
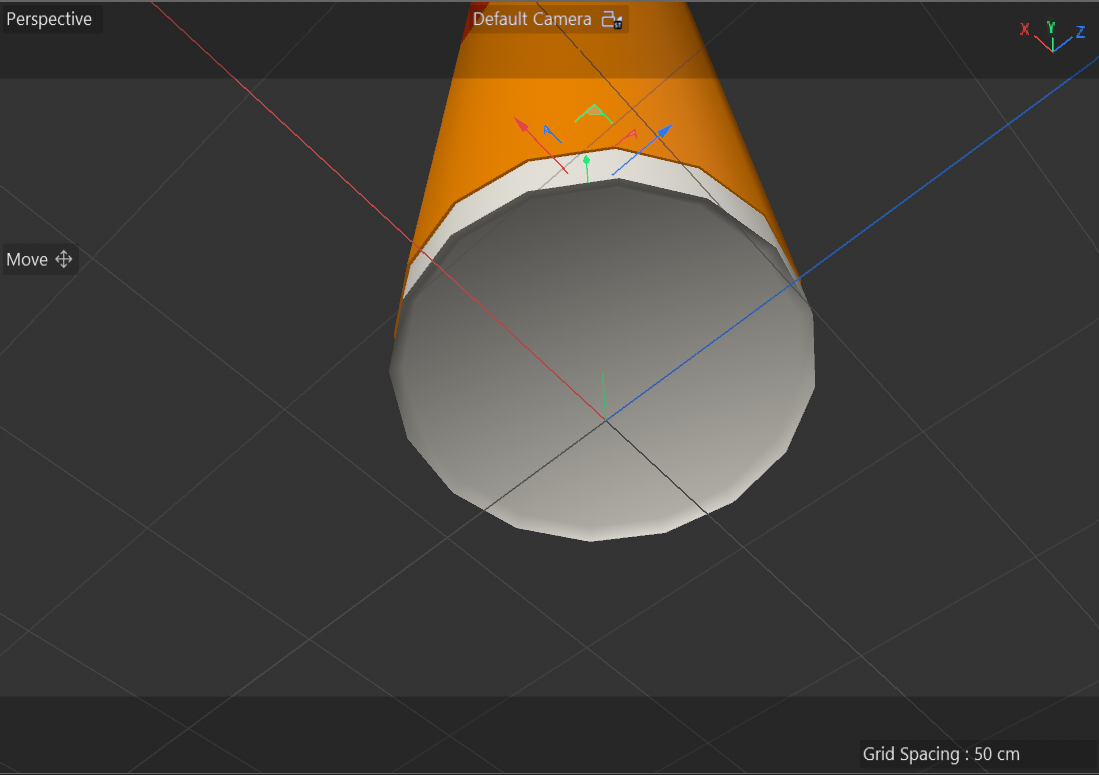
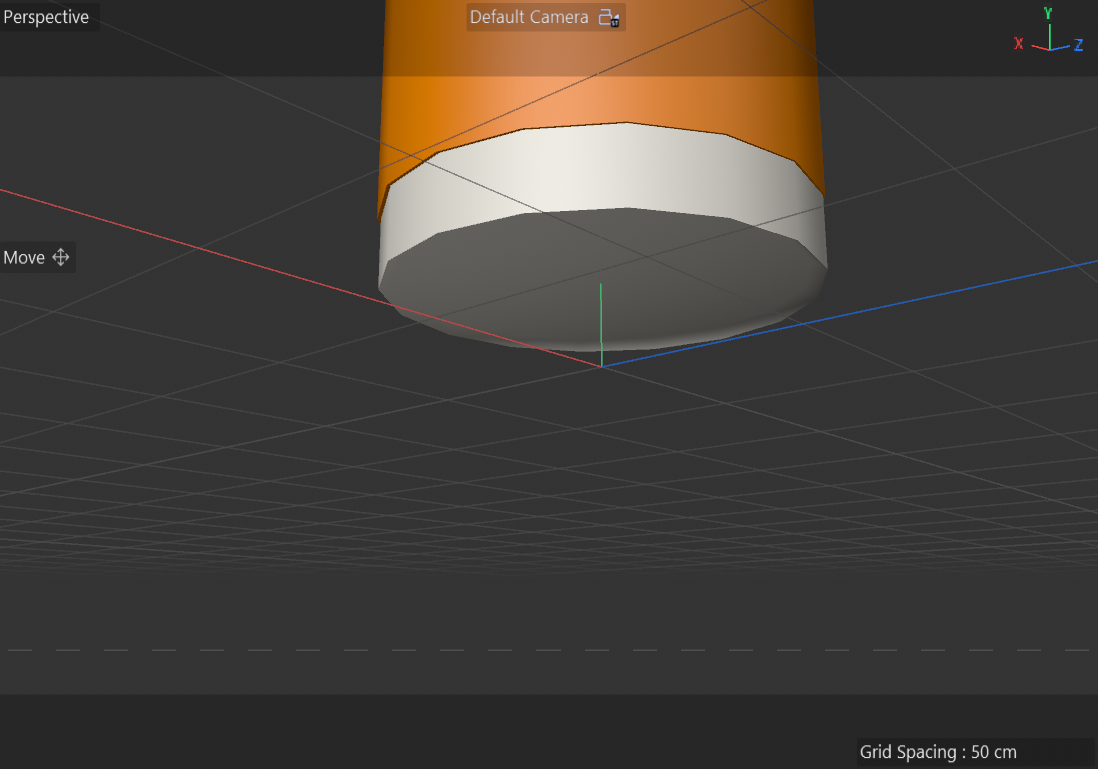
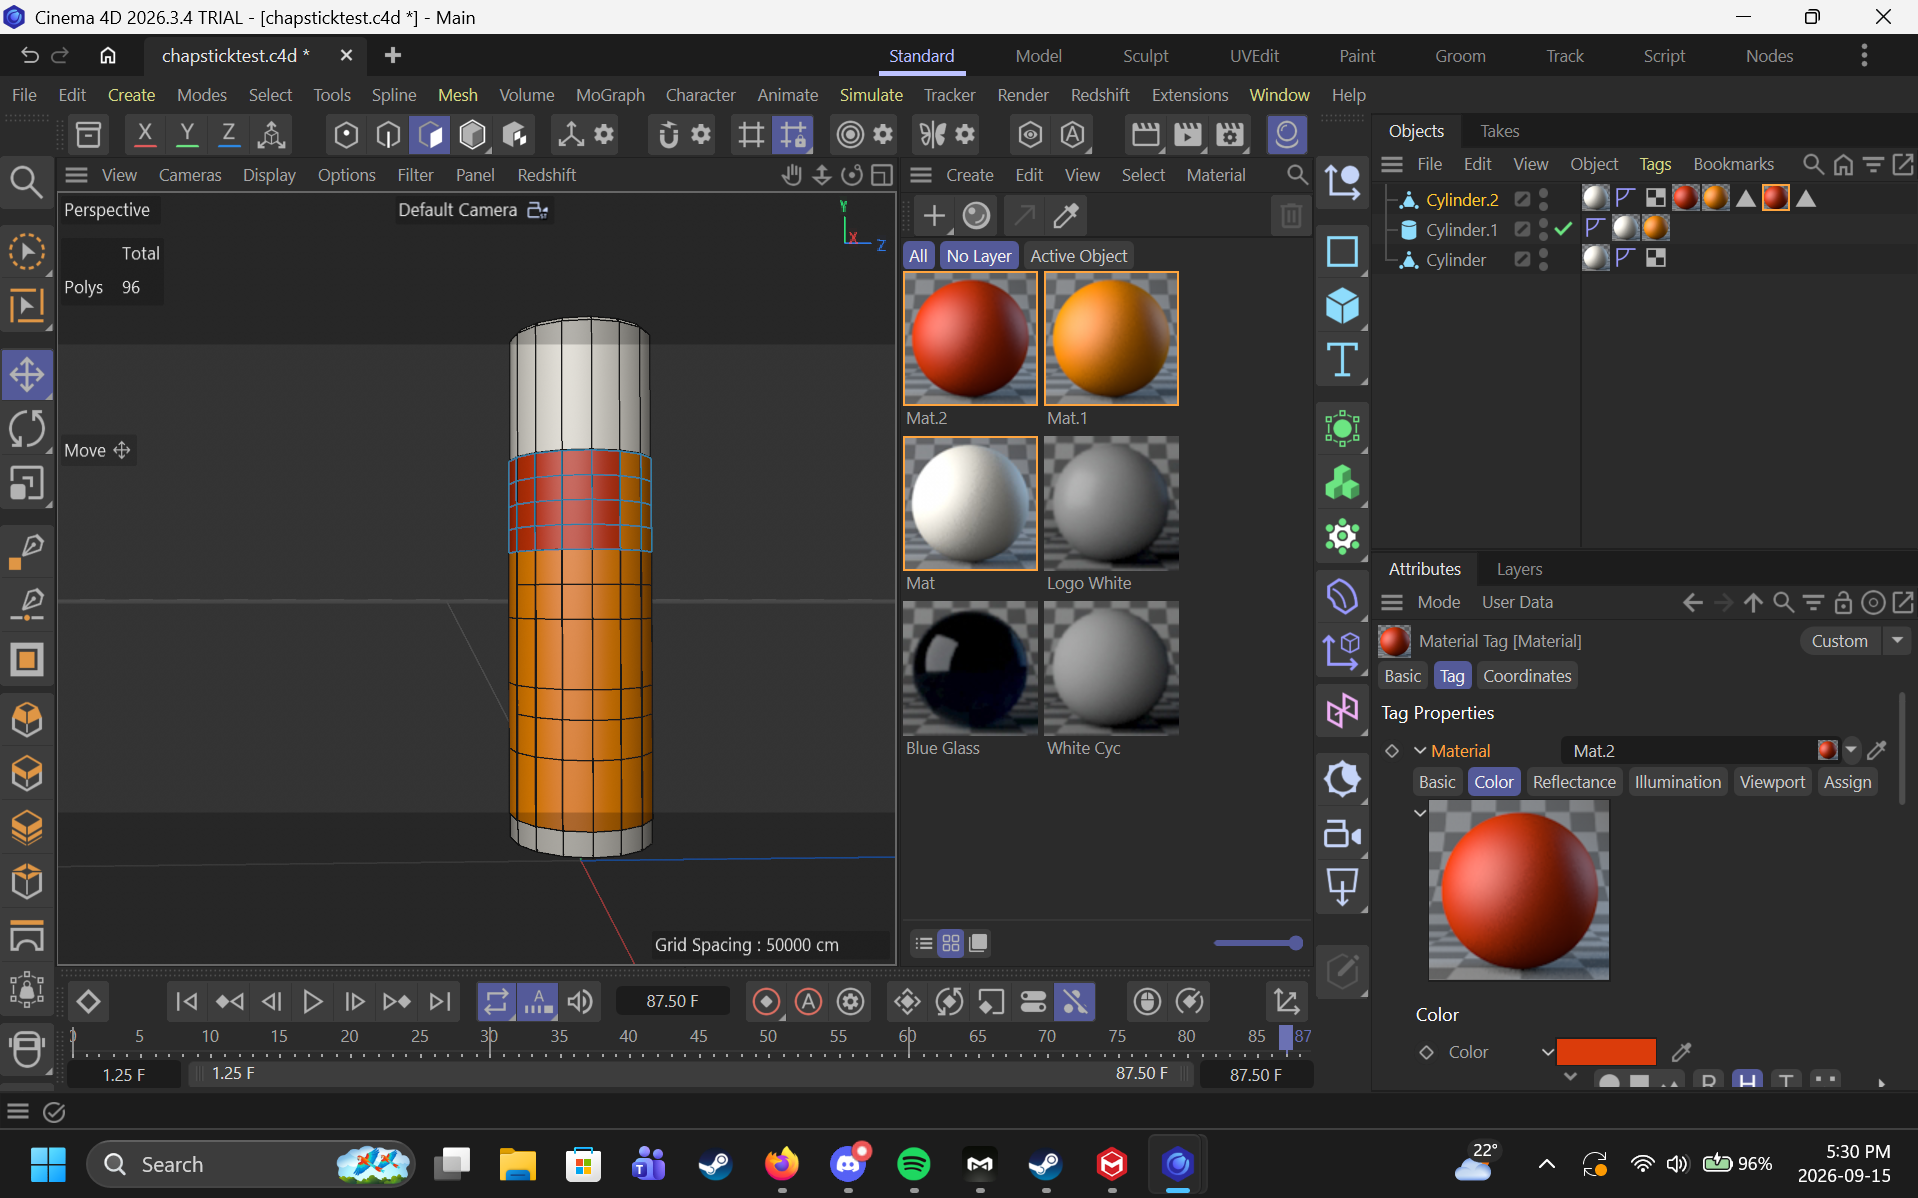
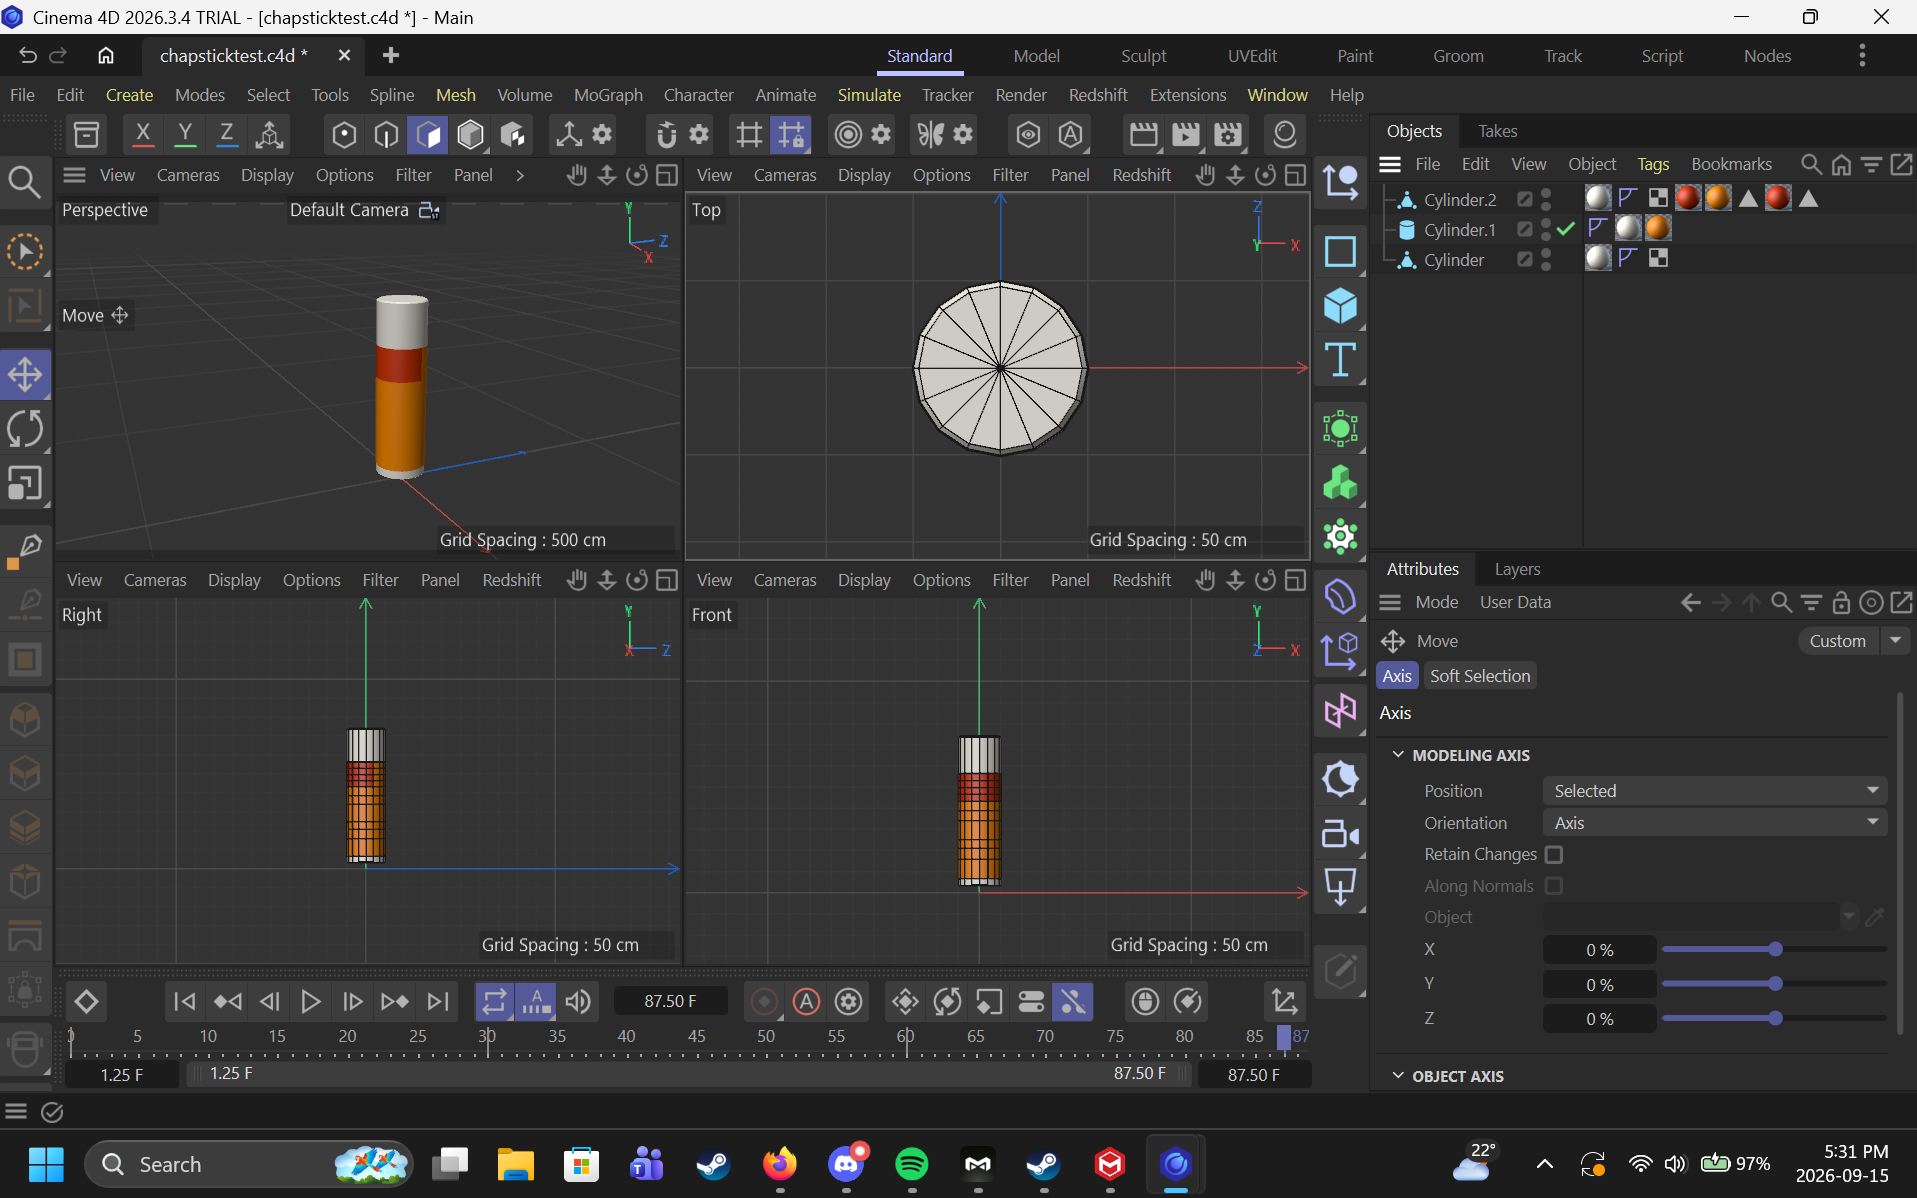
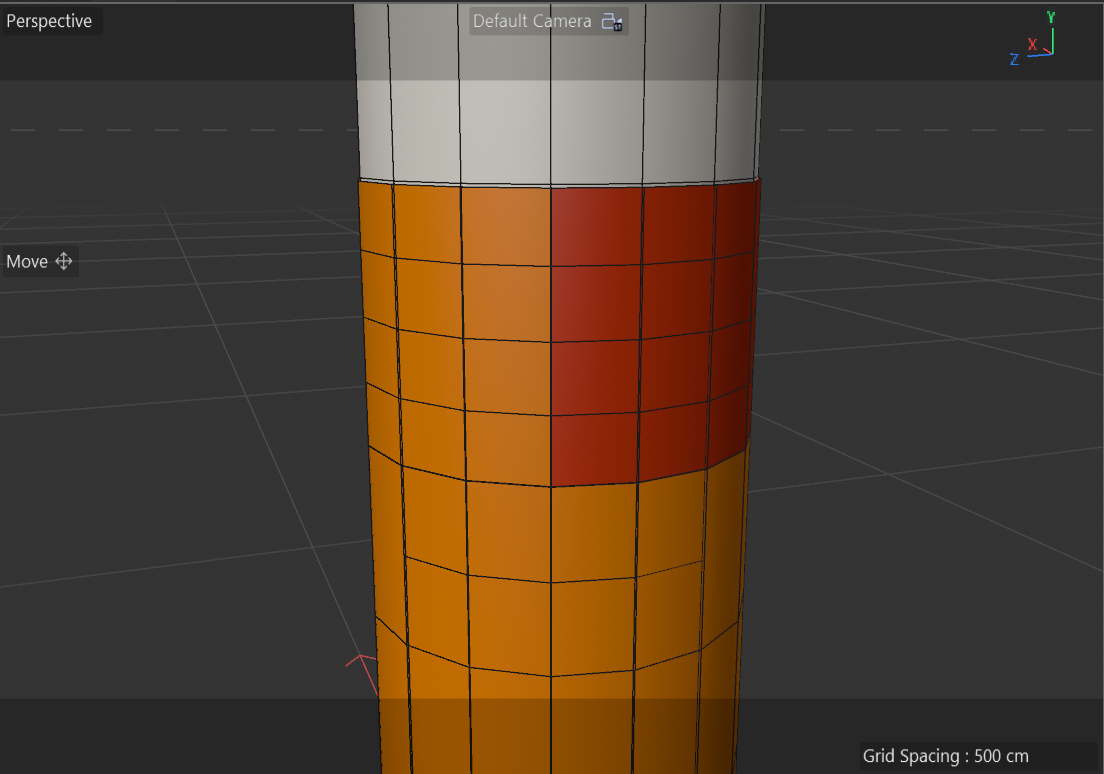
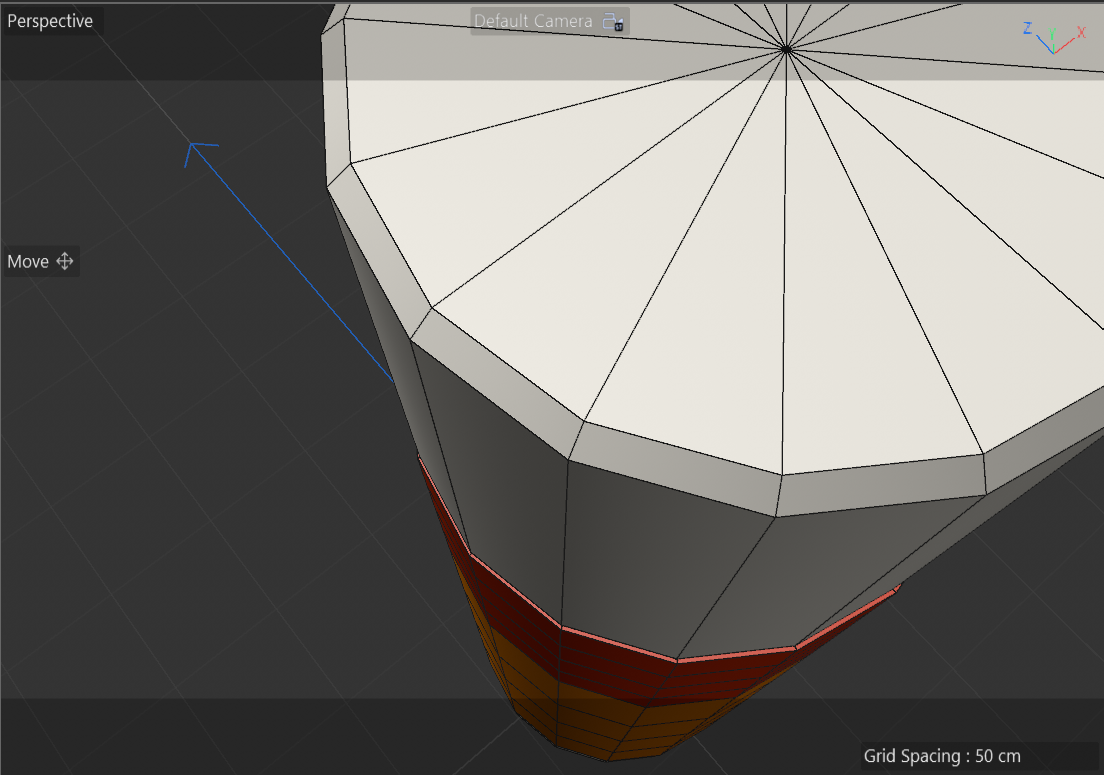
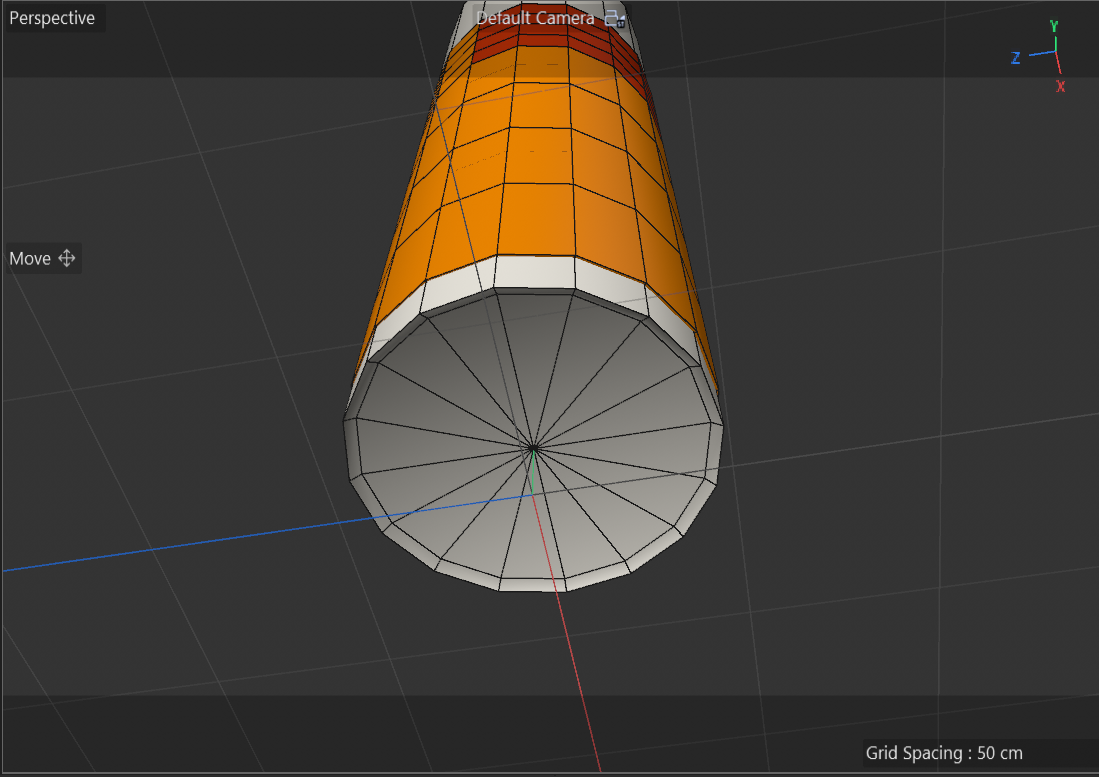
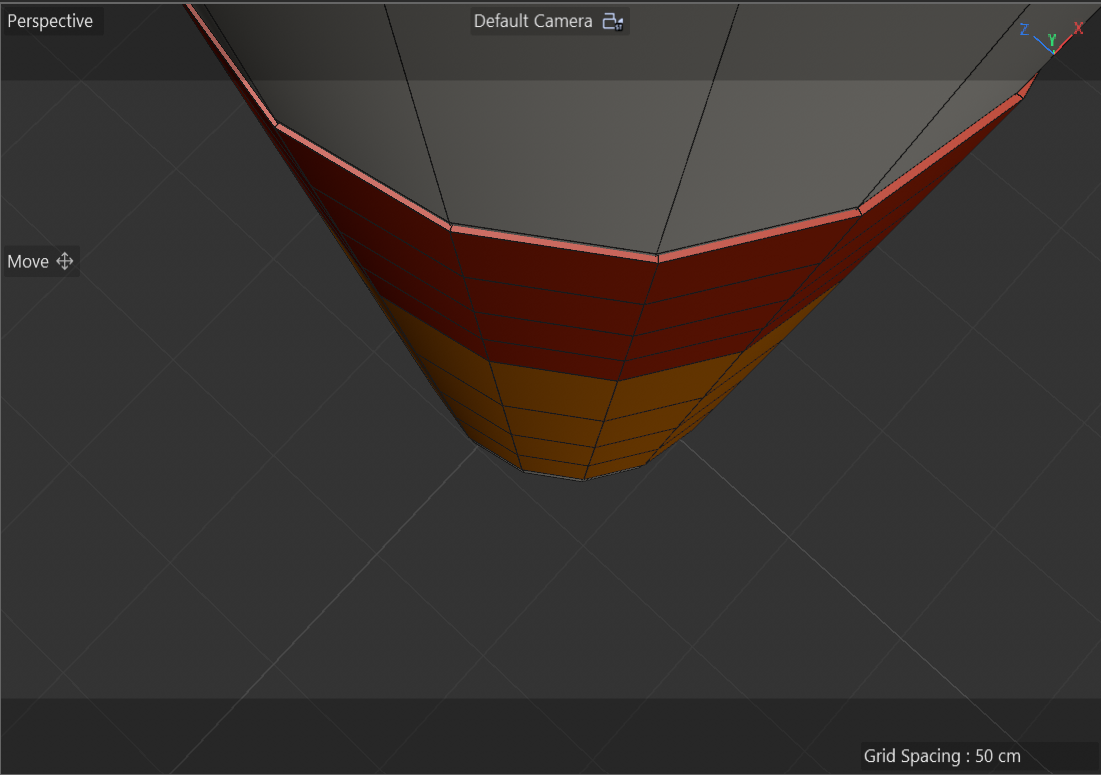
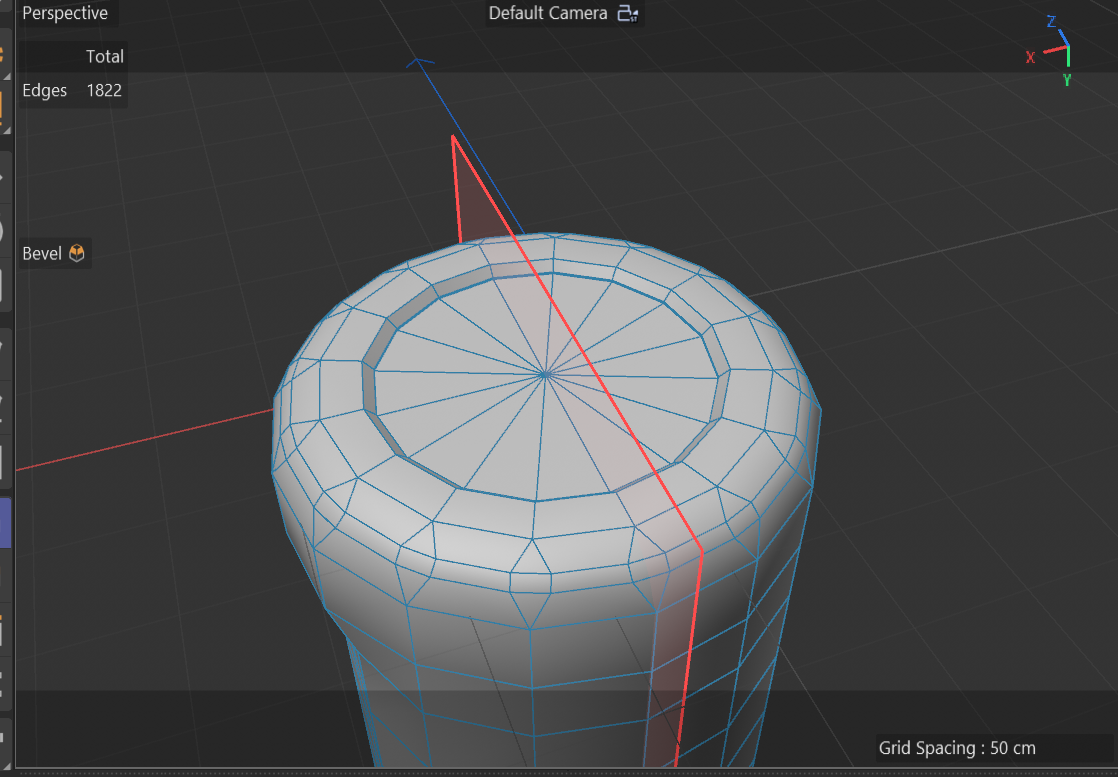
chapstick reference top of chapstick side of chapstick chapstick uncapped chapstick uncapped, top down view chapstick uncapped chapstick uncapped, closeup initial model stage building the model with multiple cylinders to create the wrapper added initial colour to the chapstick full workspace experimenting with some materials top down view of the model, as I created a bevel at the top of the chapstick I managed to make one model multiple different colours by changing the colours of individual faces closeup of the bevel close up of the slight protrusion of the wrapper bottom view to show the concave portion of the chapstick another bottom view as a better angle another bottom view to show the depth of the concave portion the duo-toned portion of the model with lines enabled to show the faces multiple angles of the full model closeup of the duo-toned faces closeup of the bevel with lines enabled to make the bevel clearer closeup of the concave with lines enabled to make the concave clearer top down view to show the protruding wrapper with lines enabled to make it clearer

Design Challenge 2
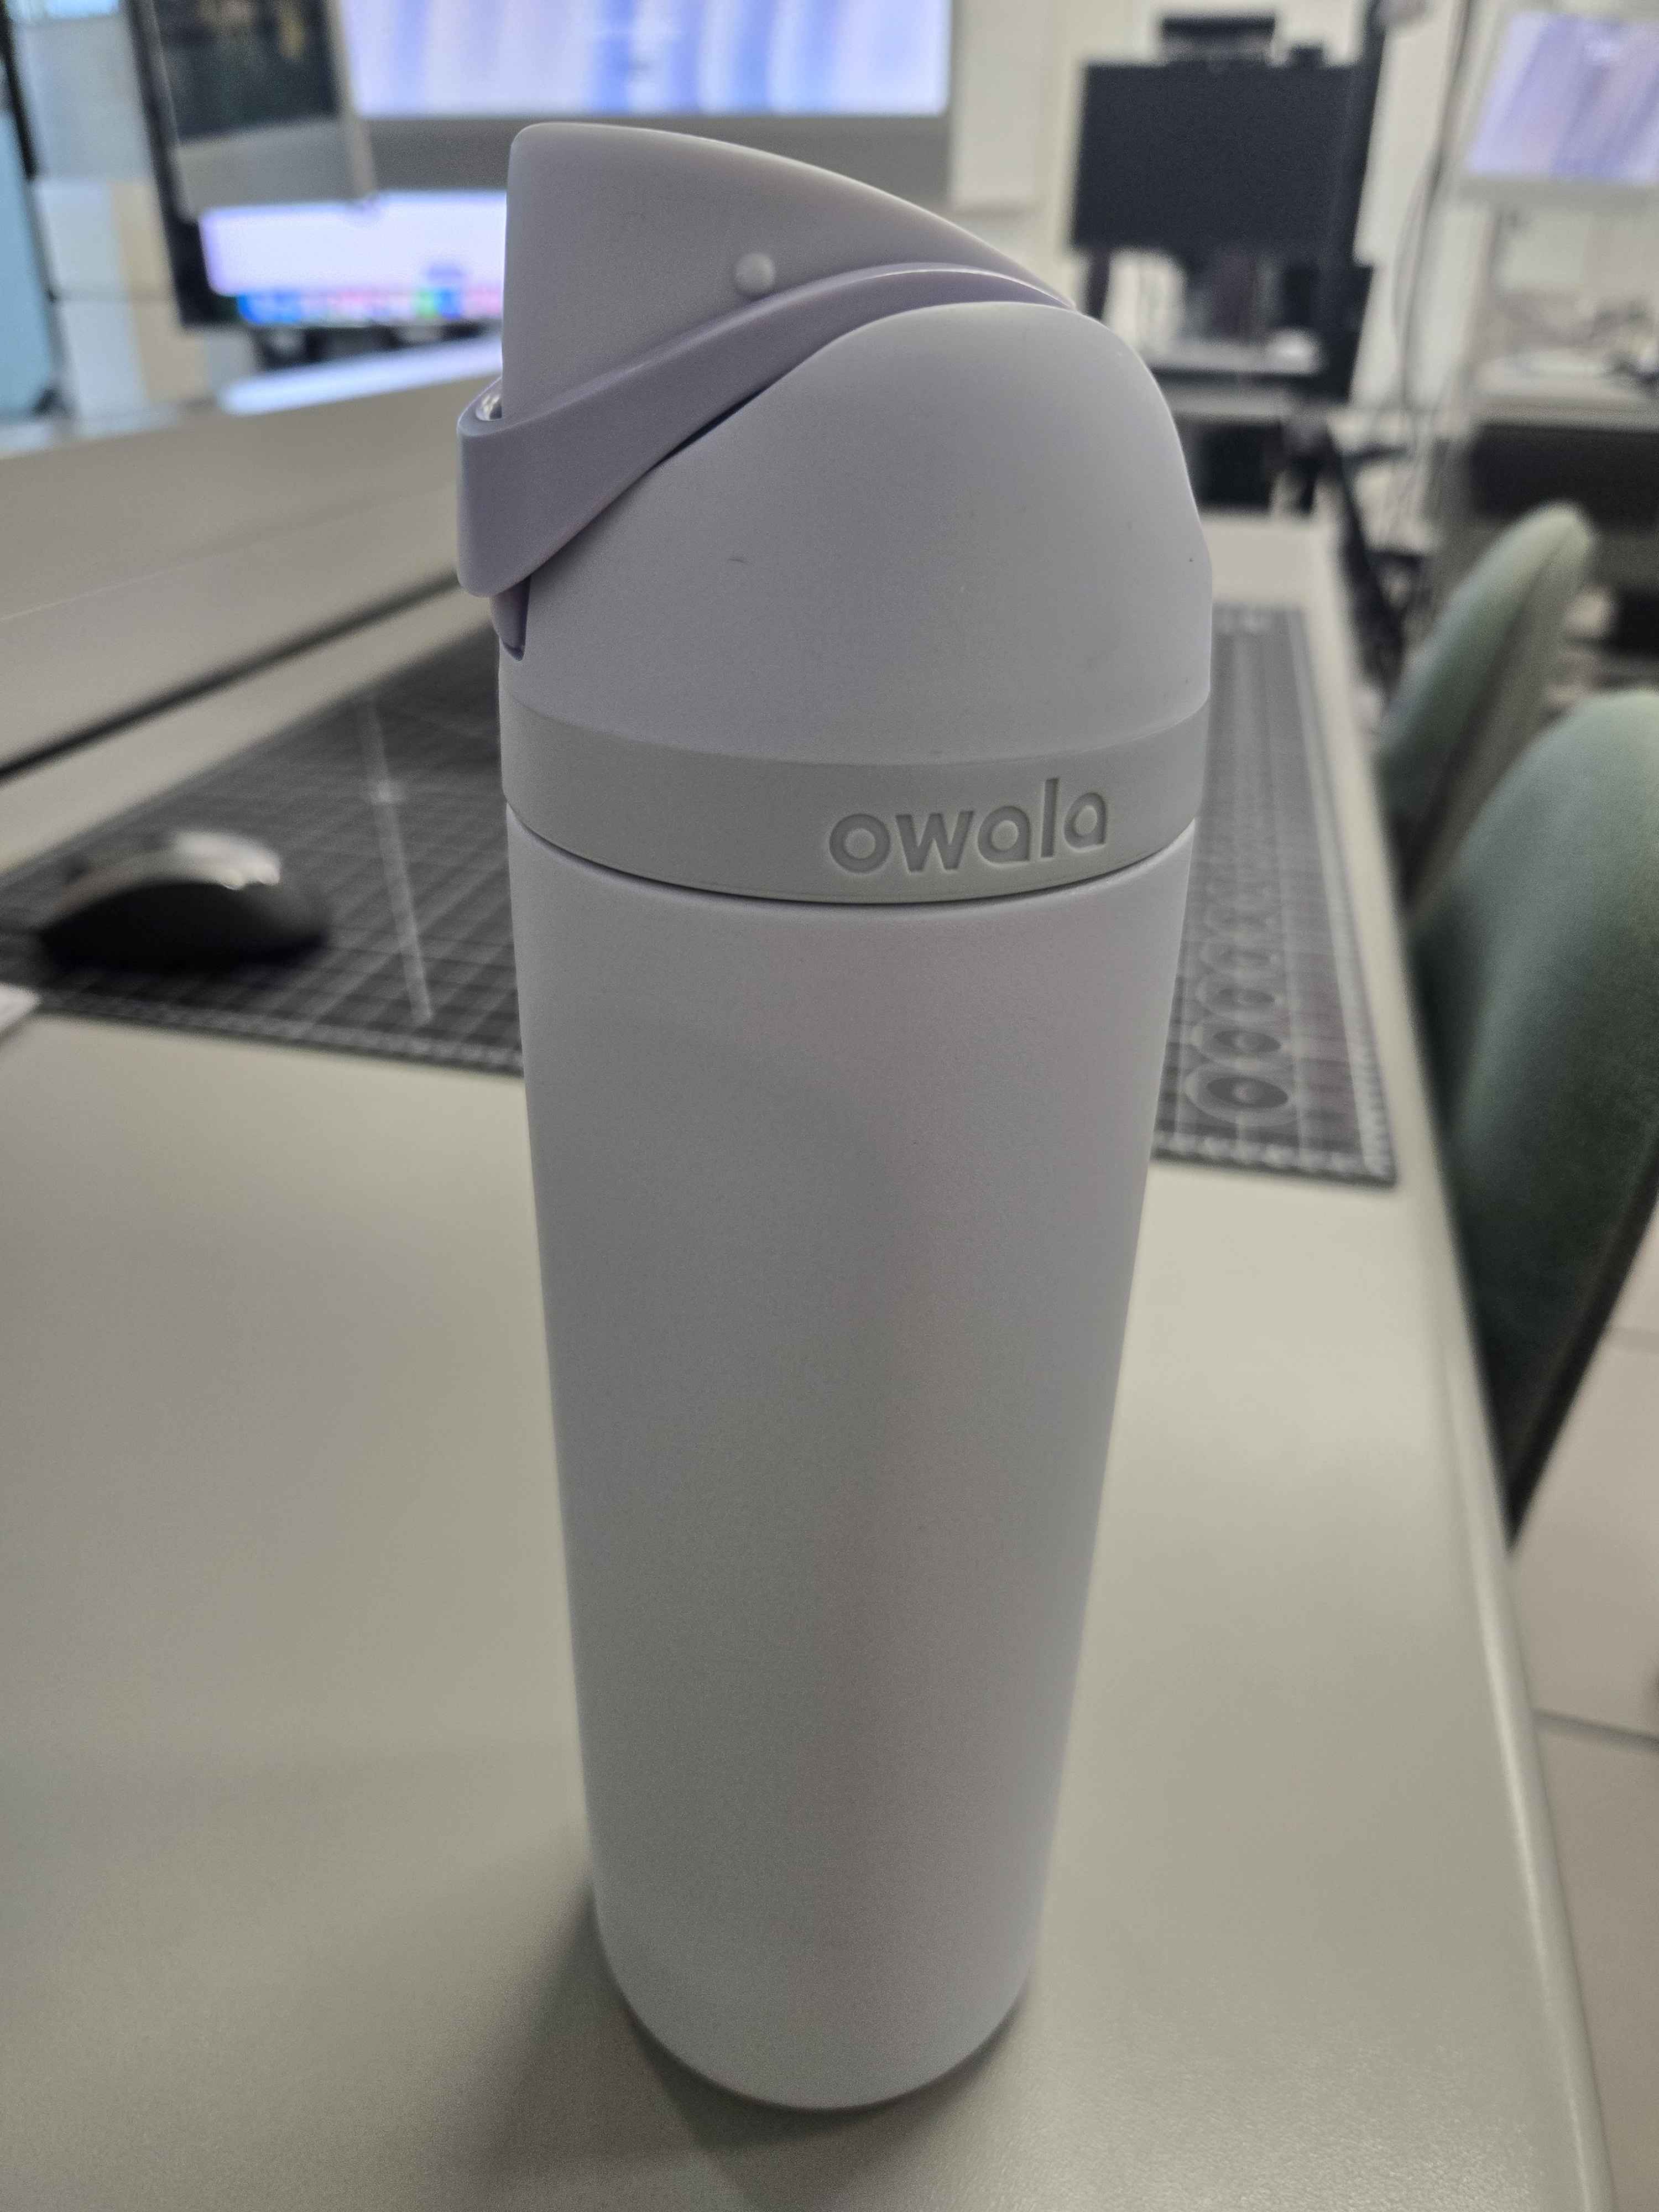
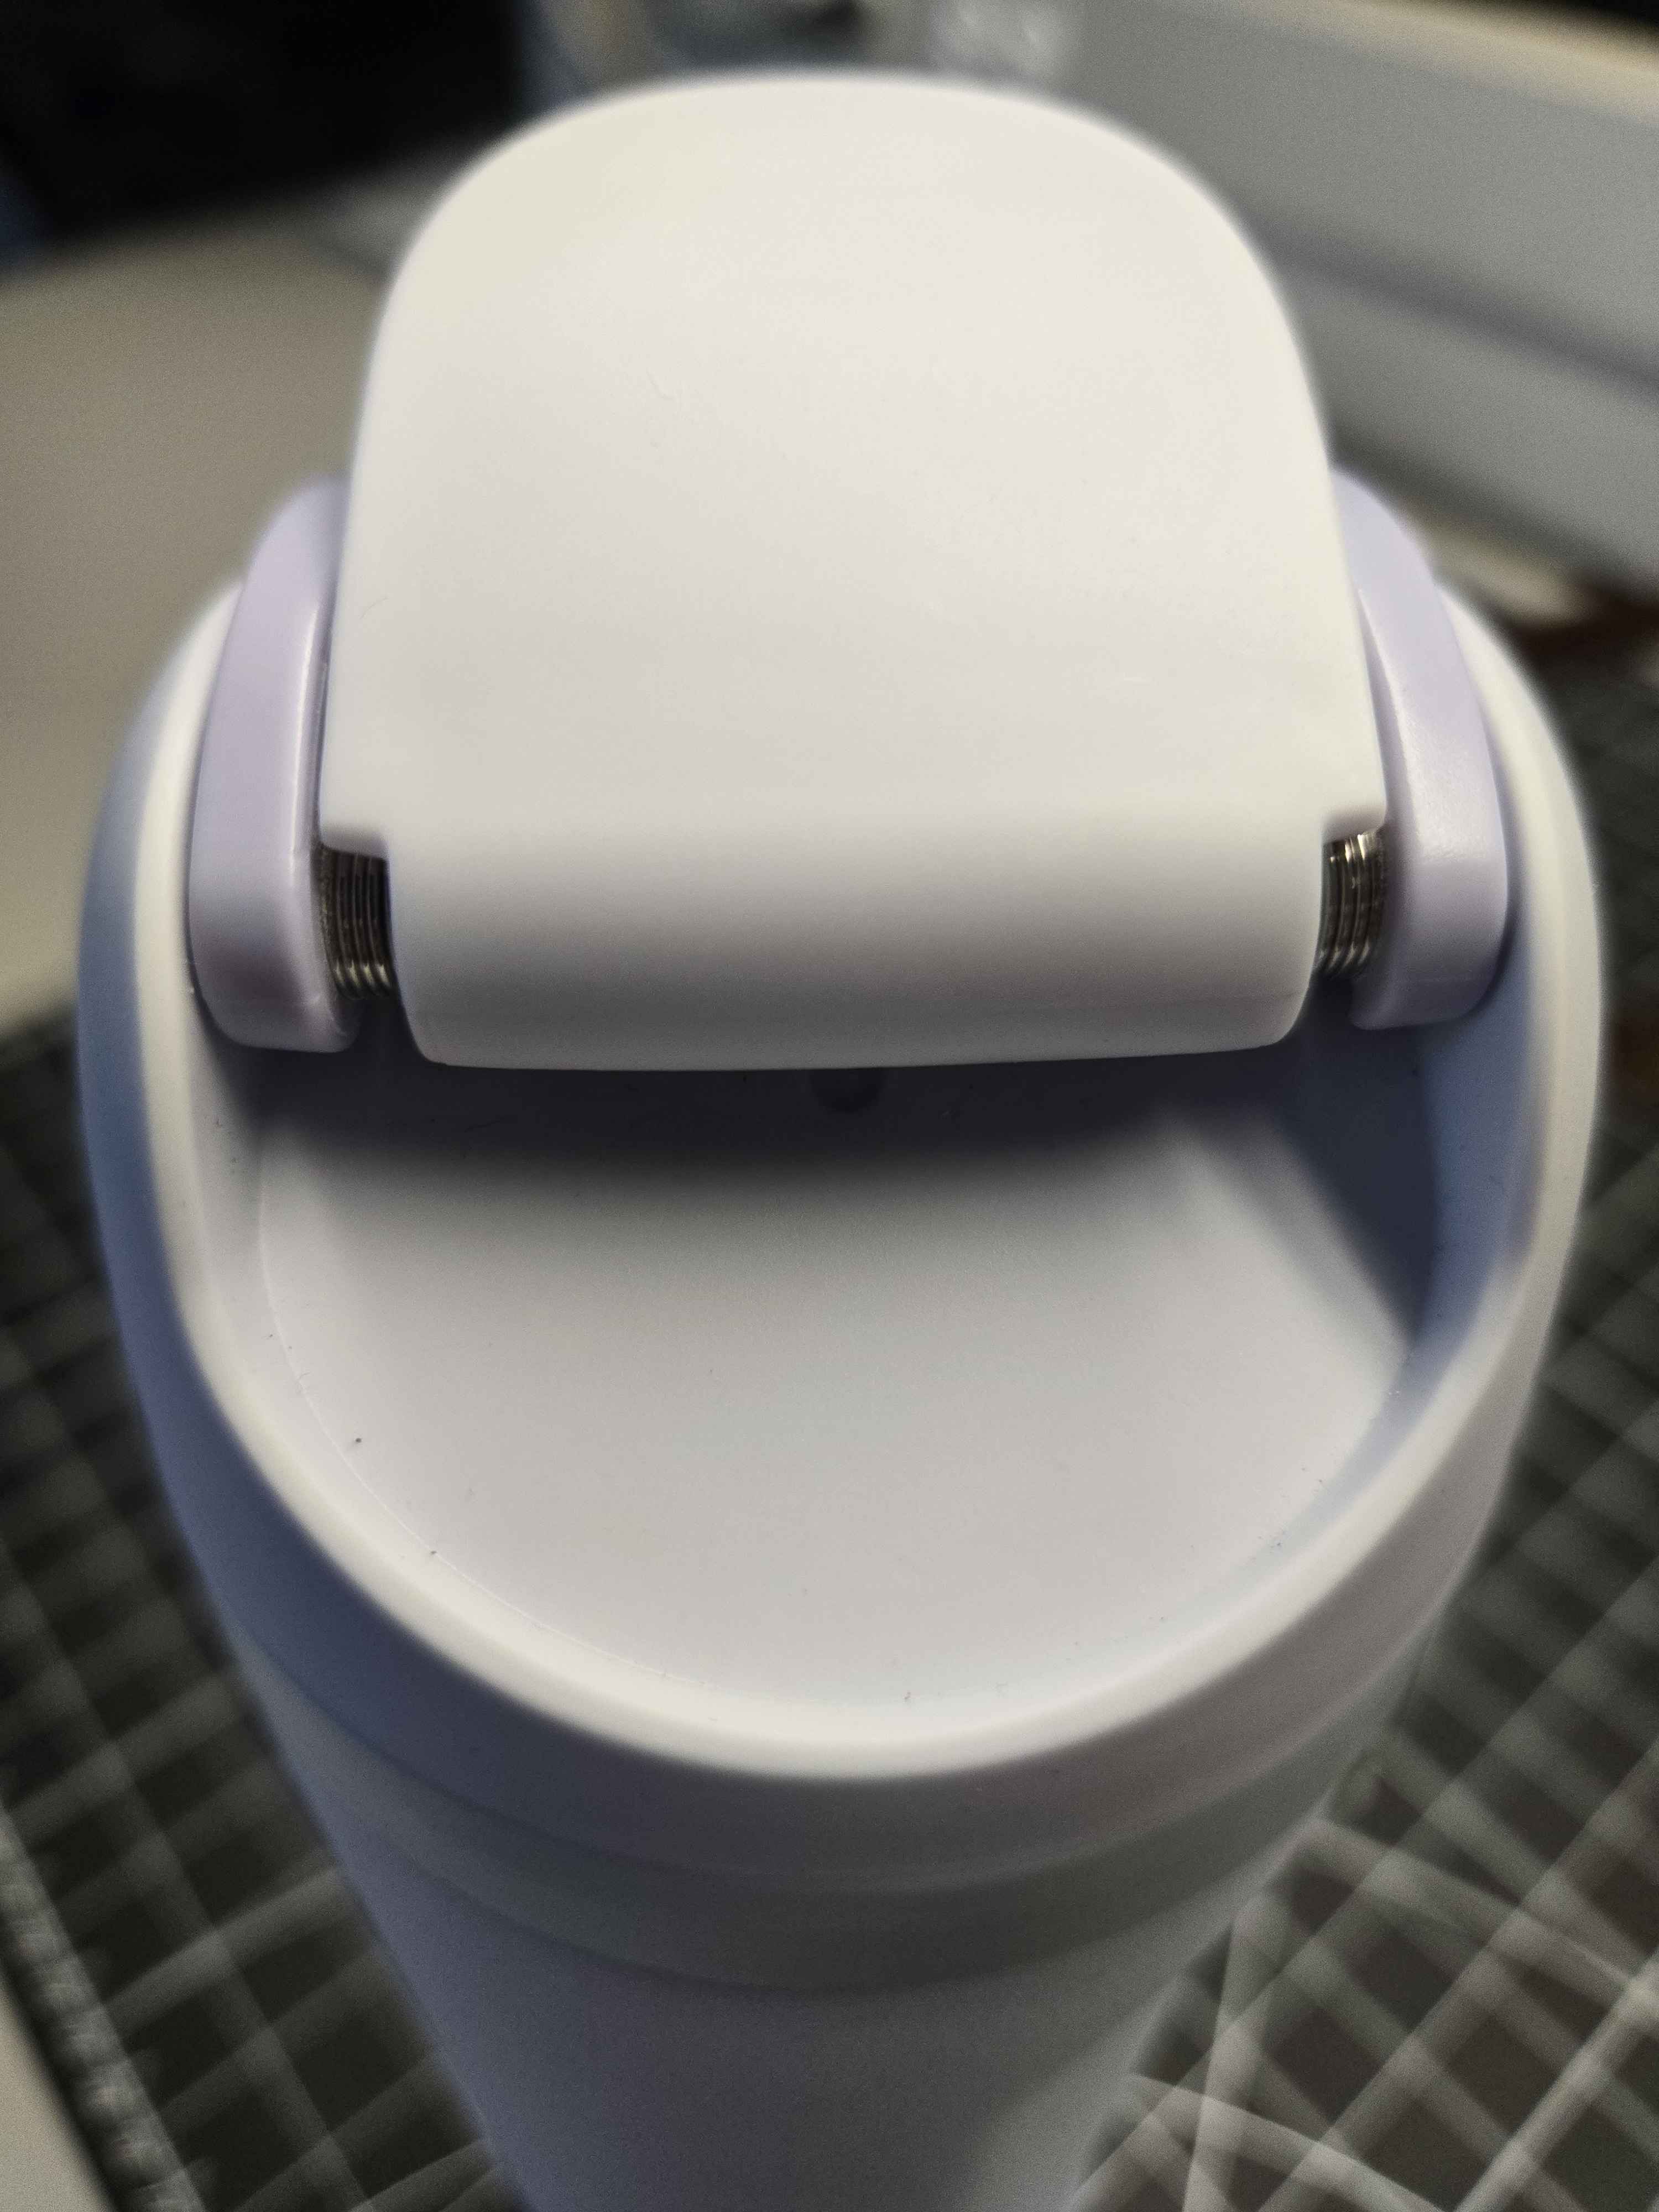
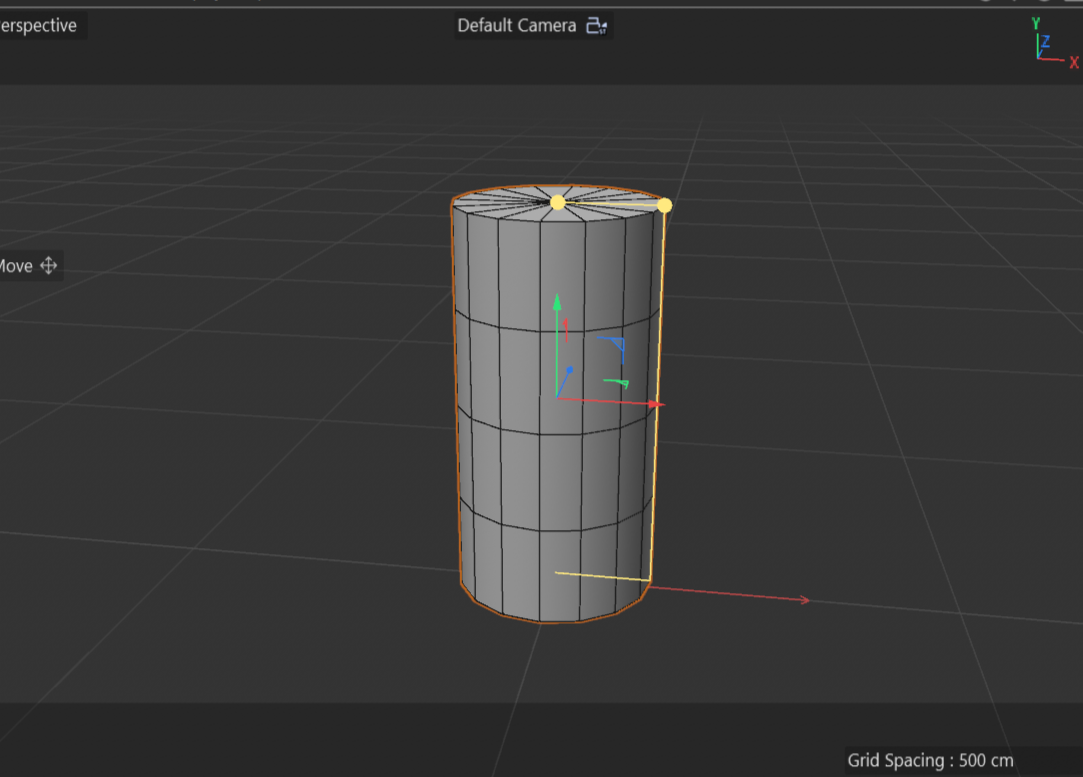
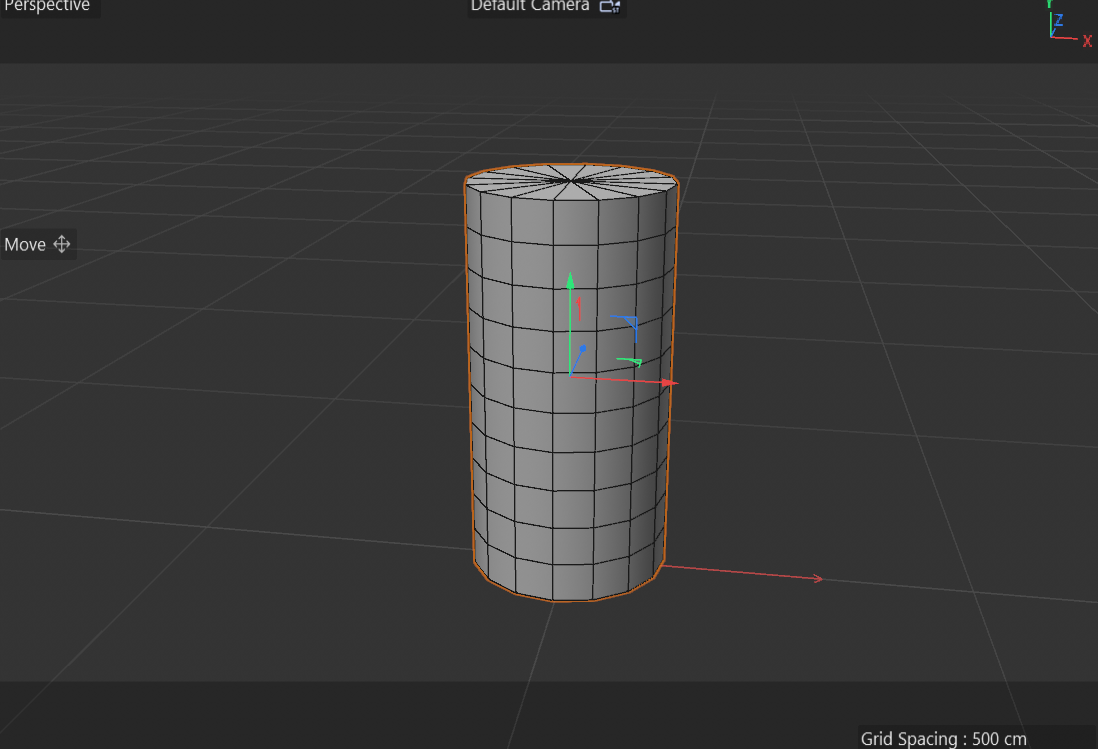
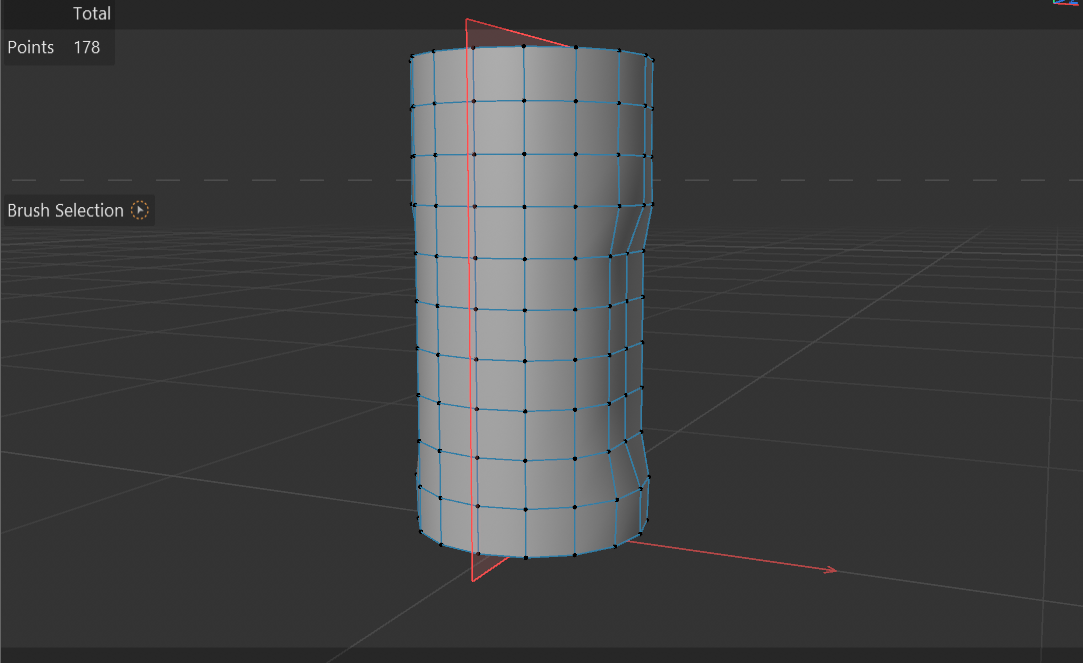
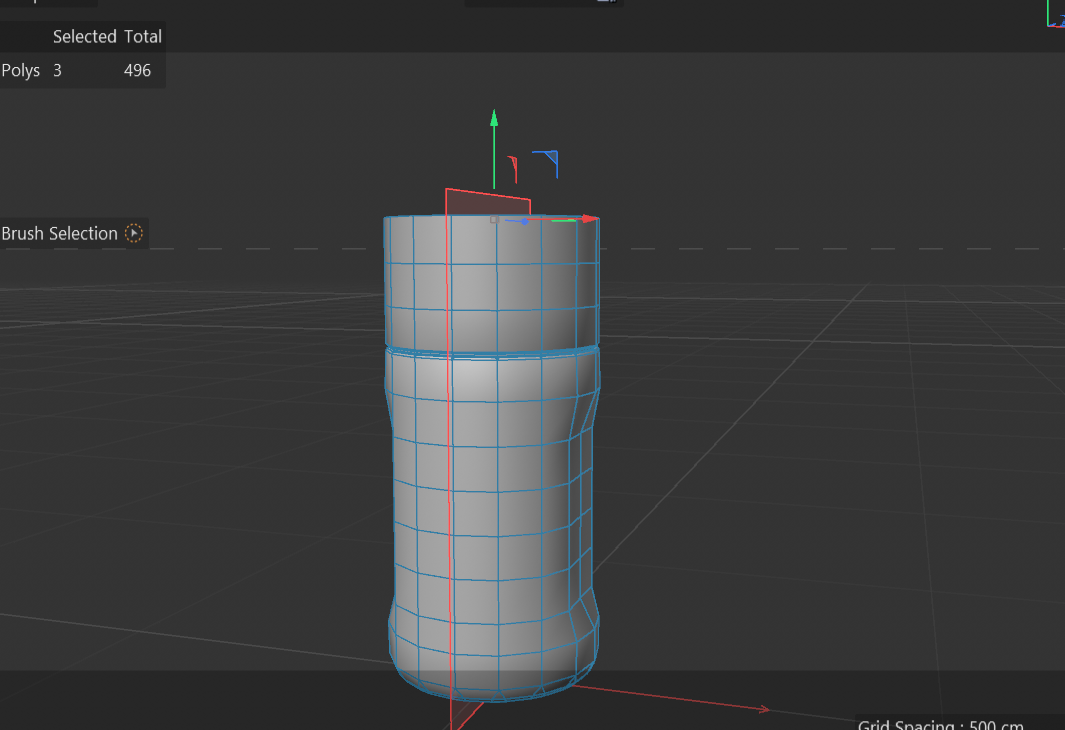
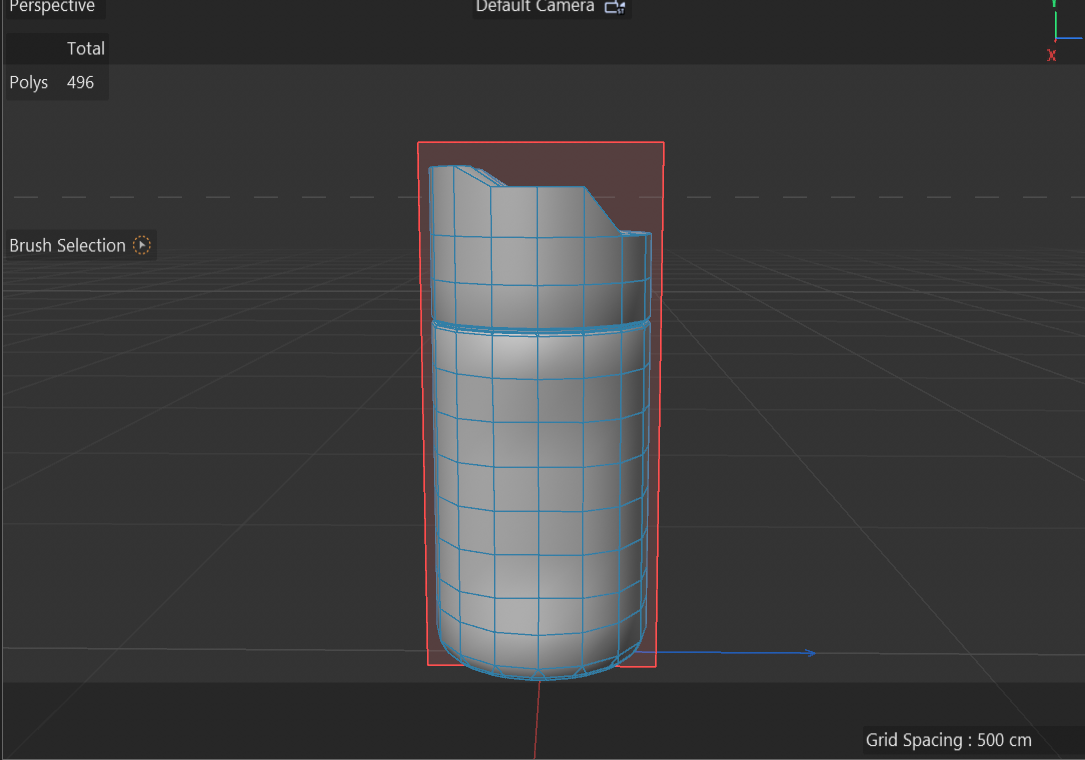
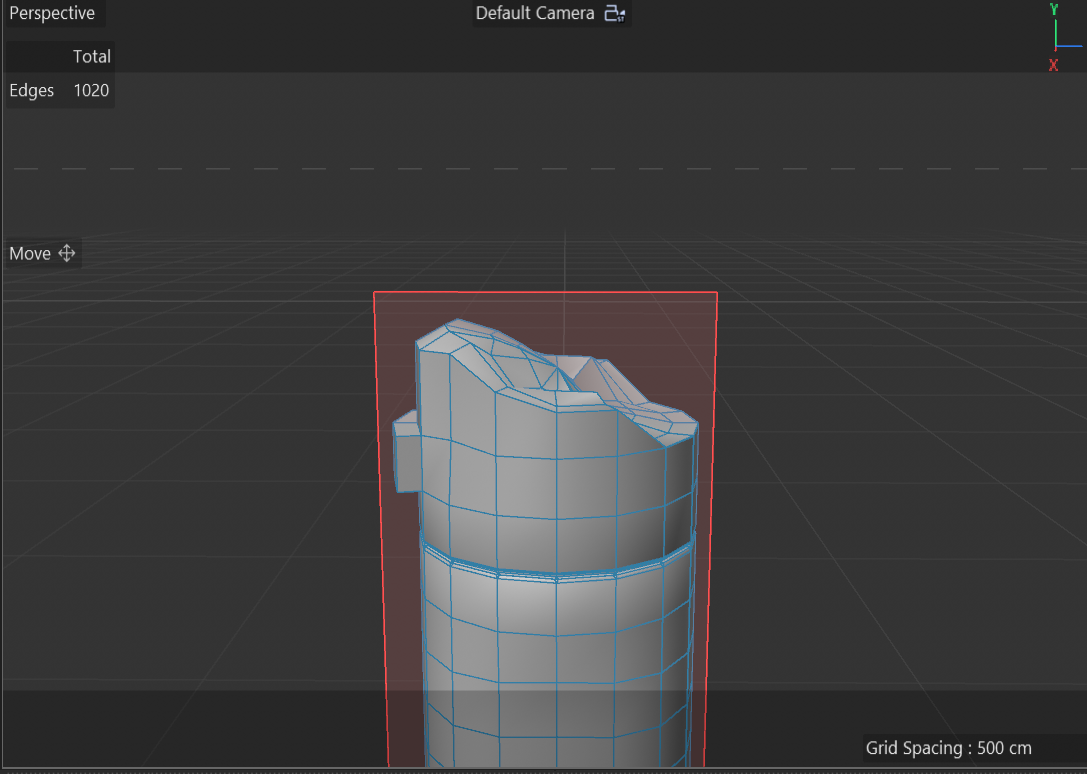
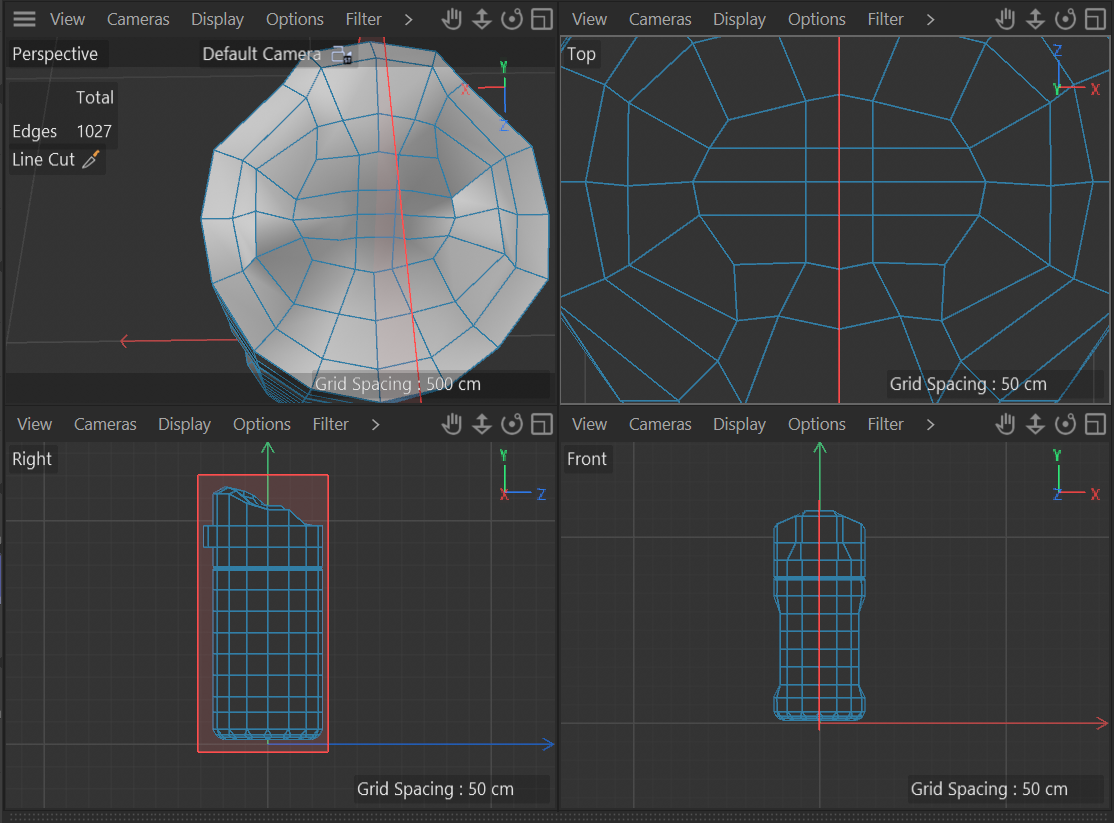
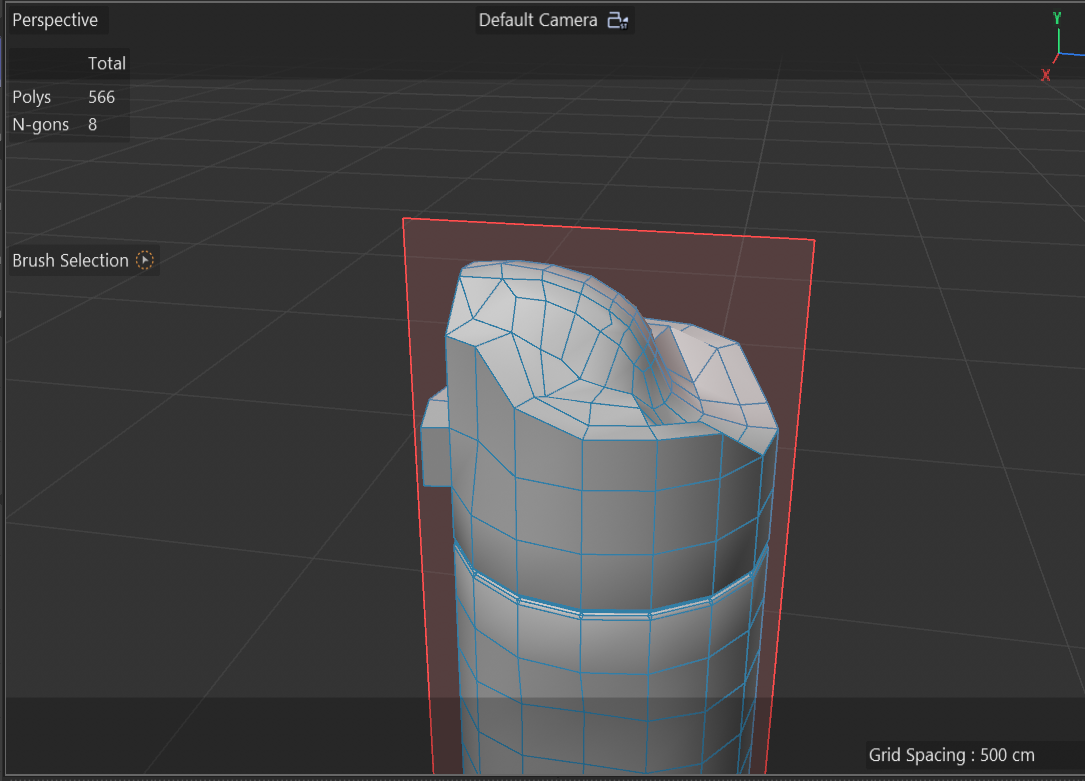
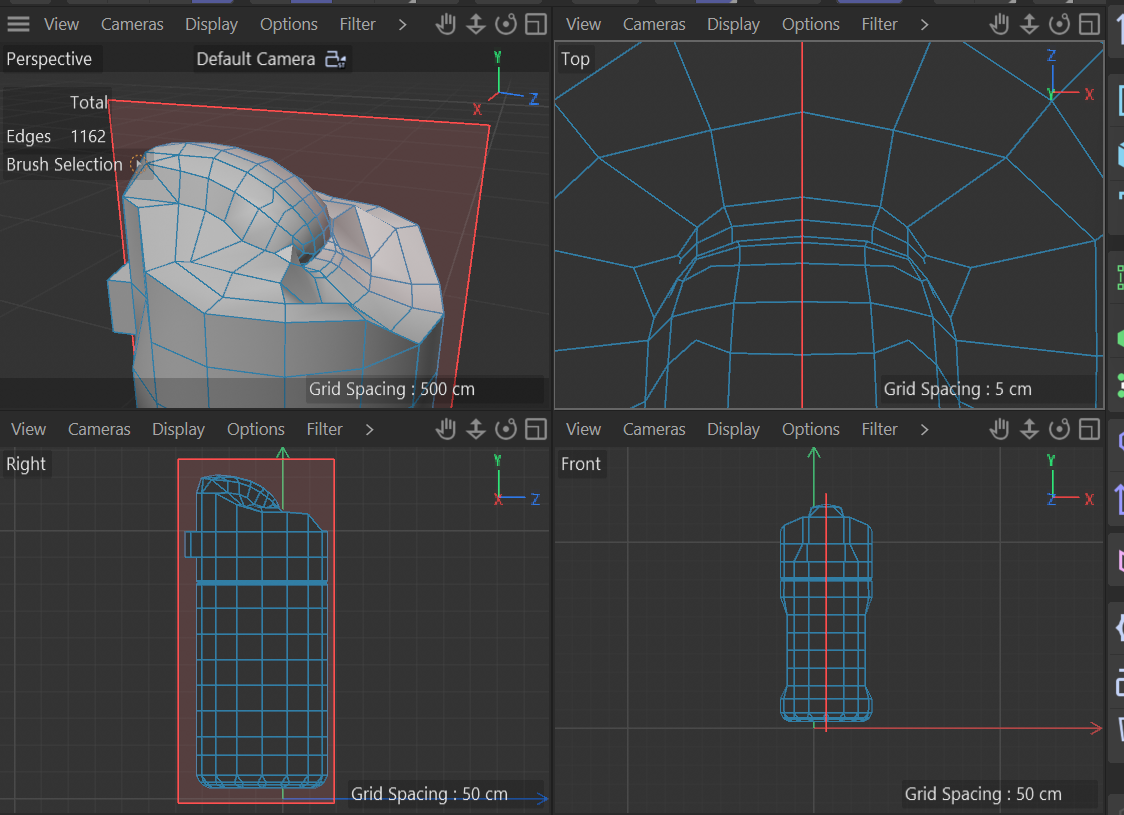
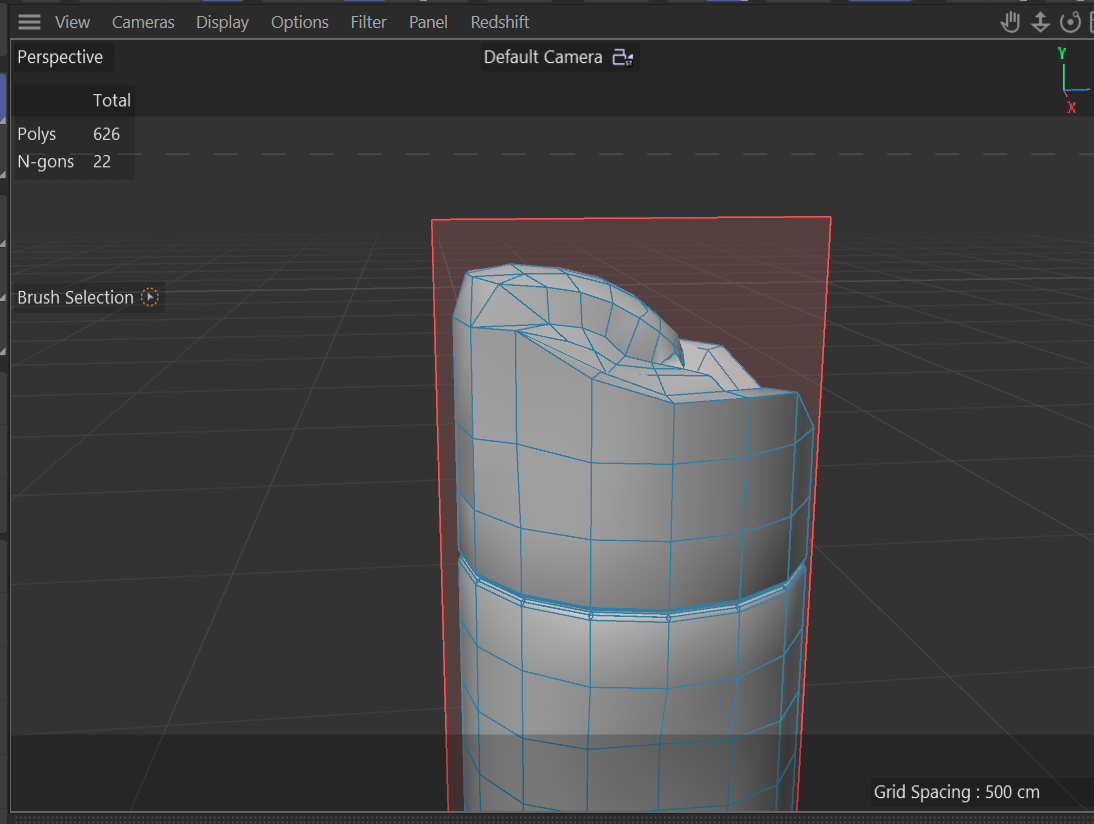
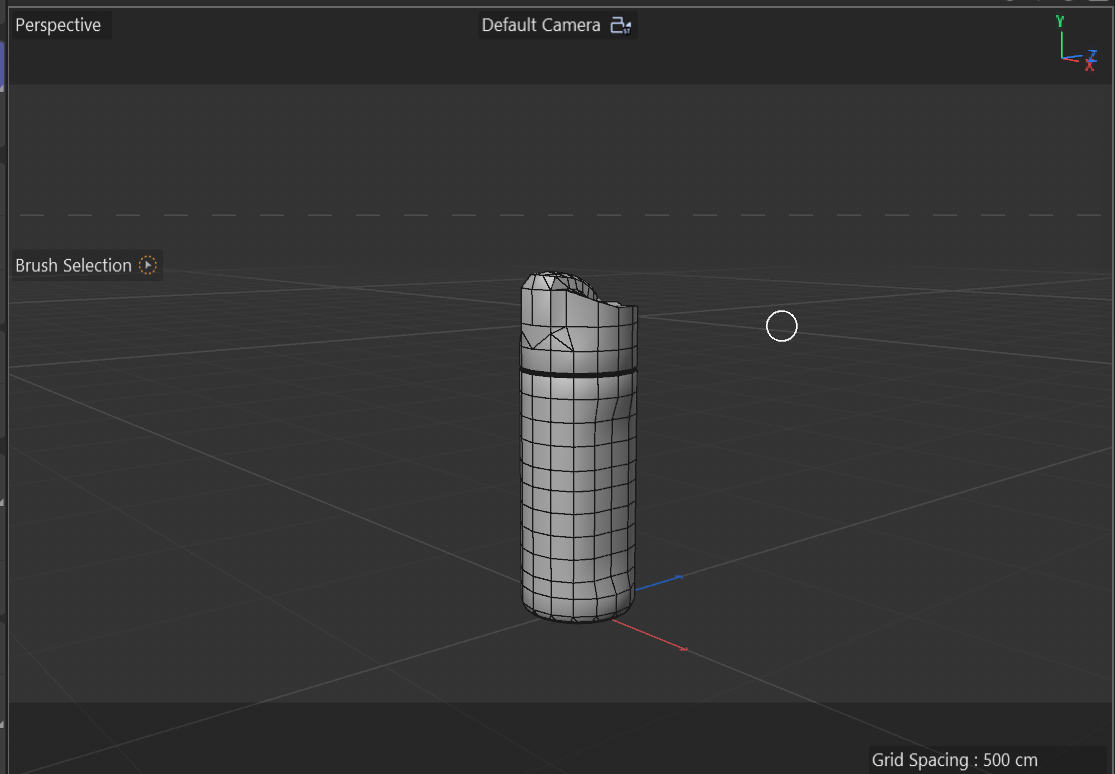
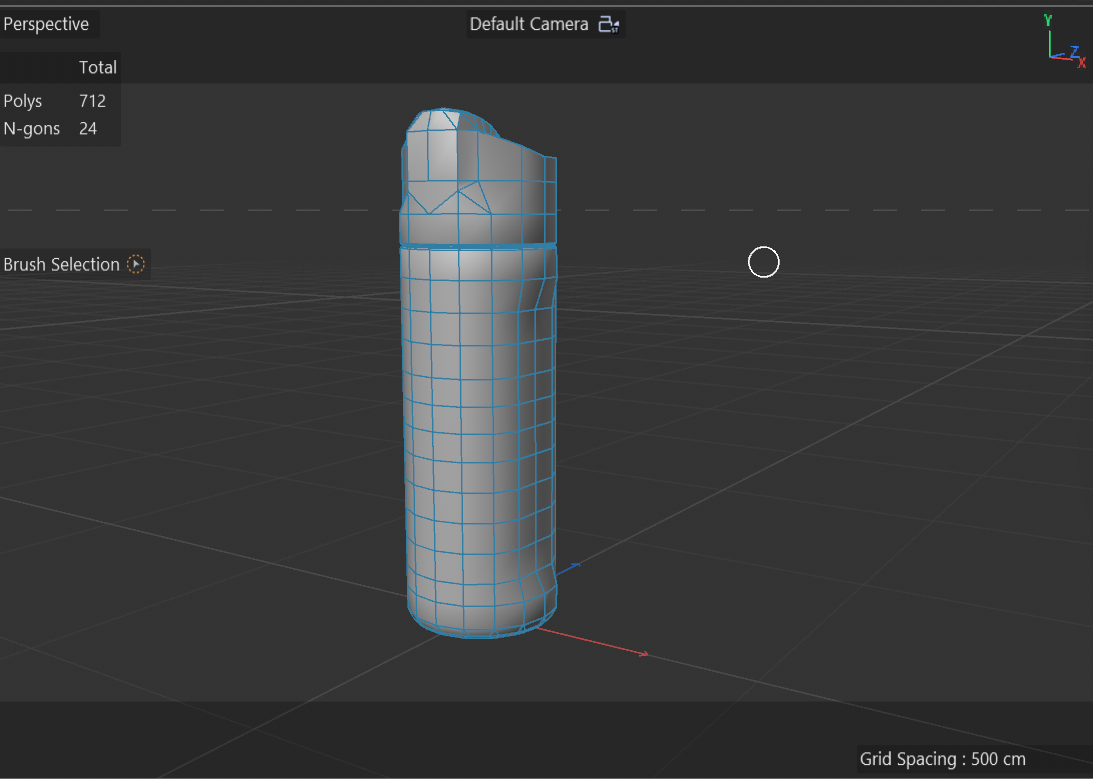
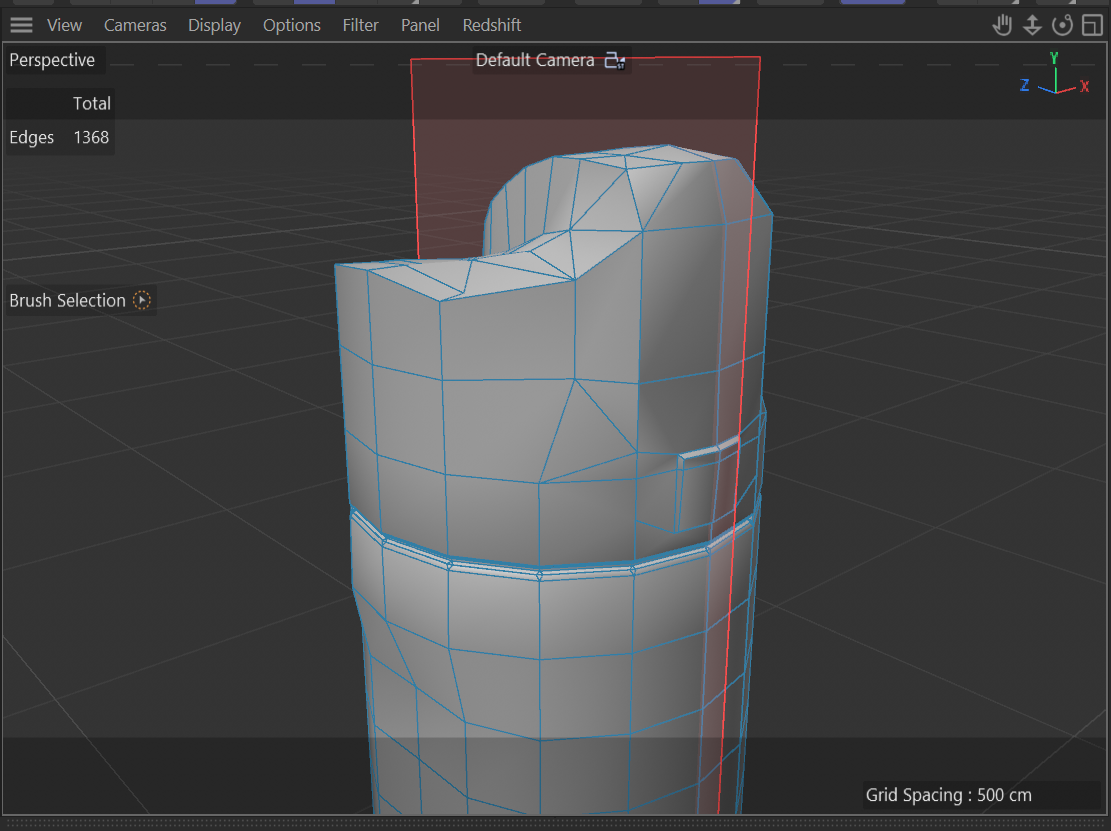
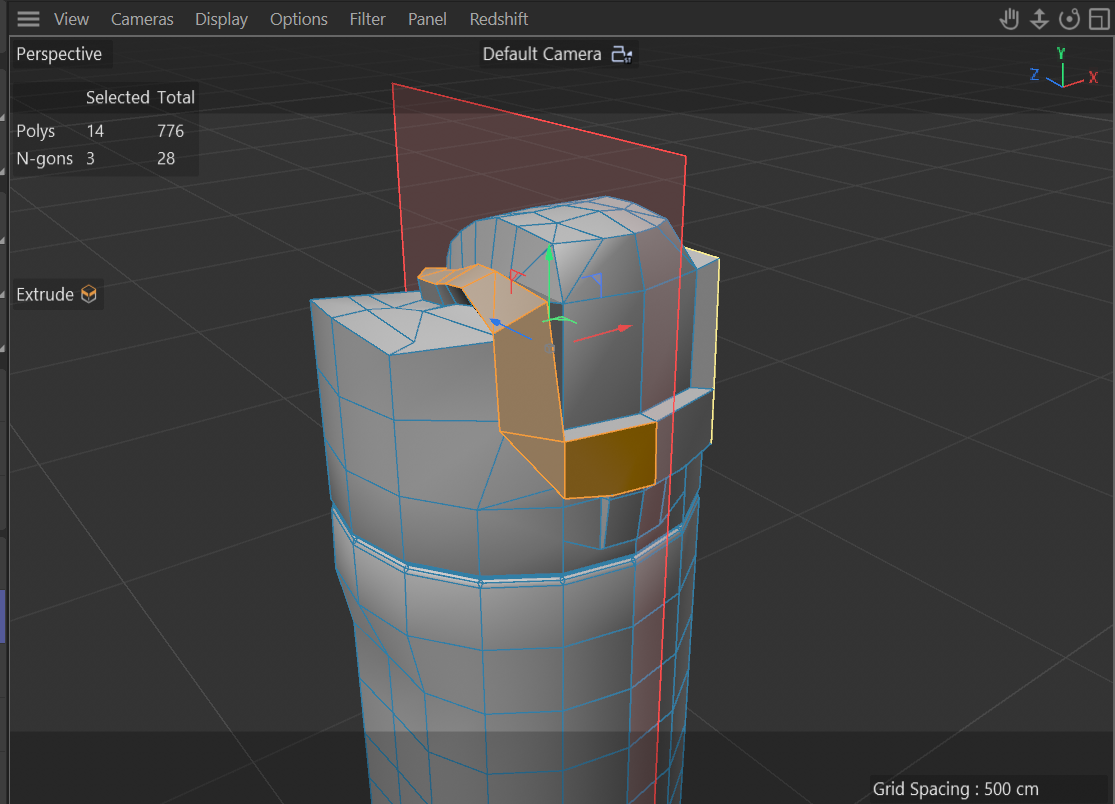
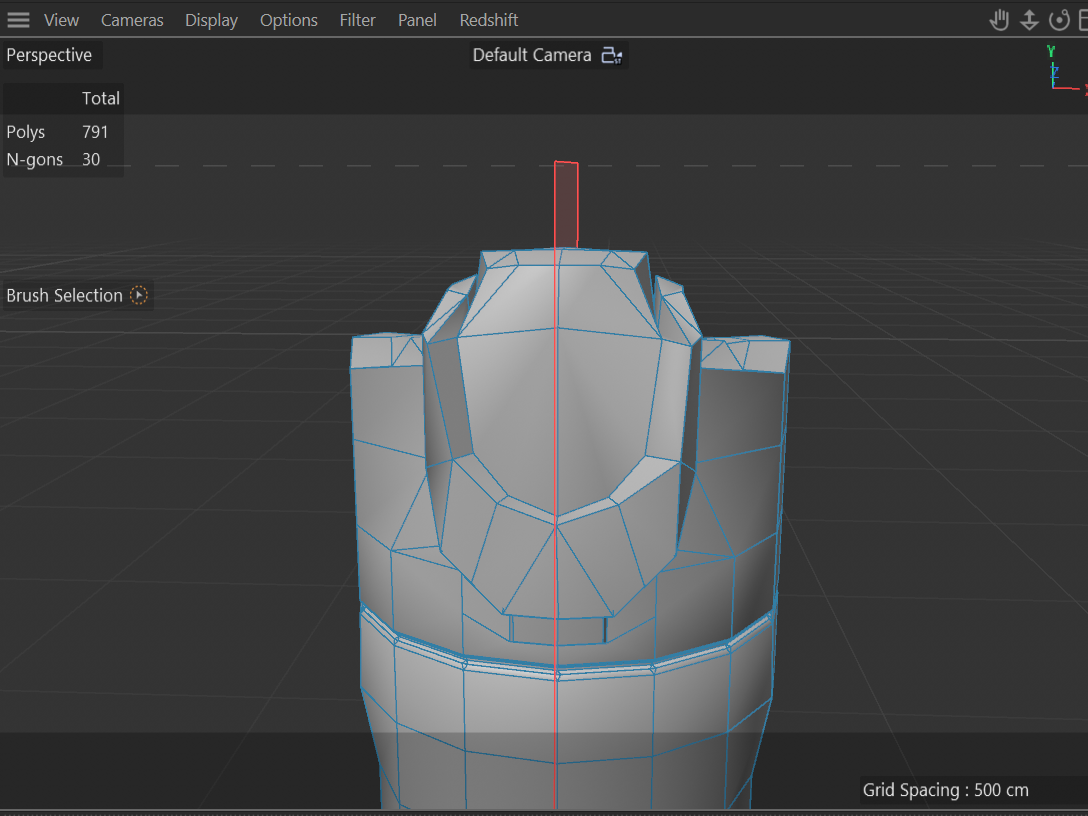
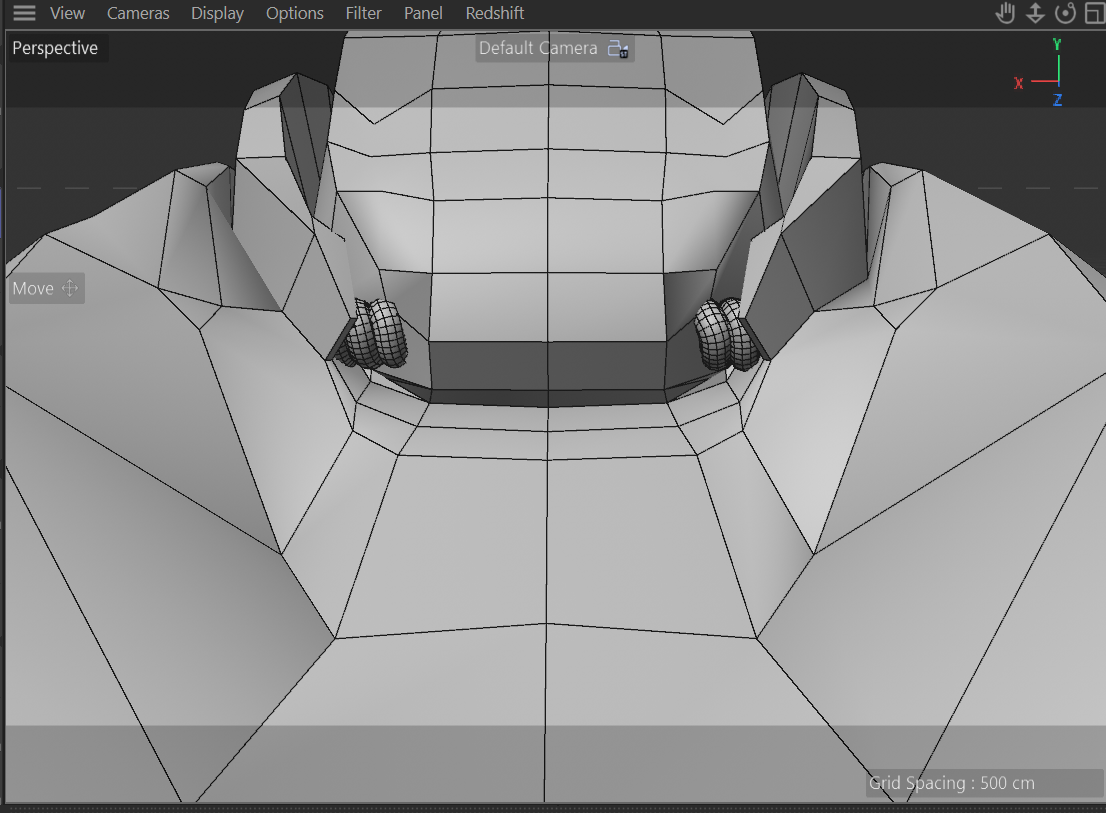
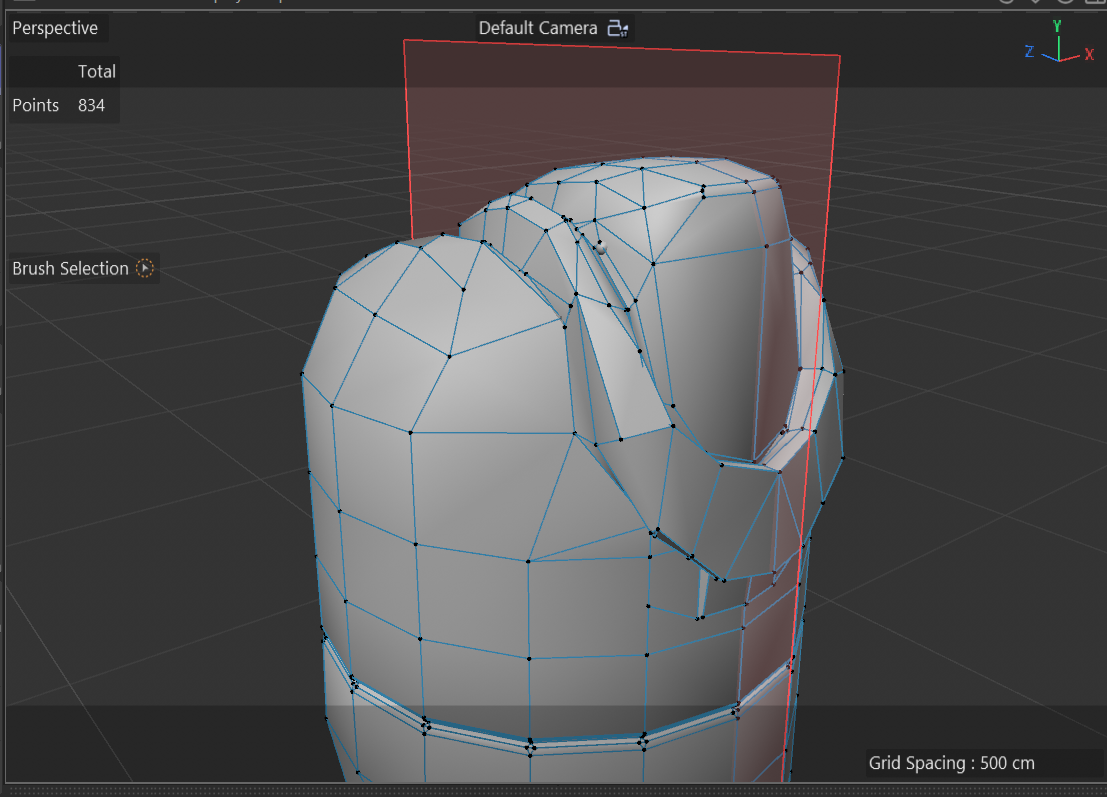
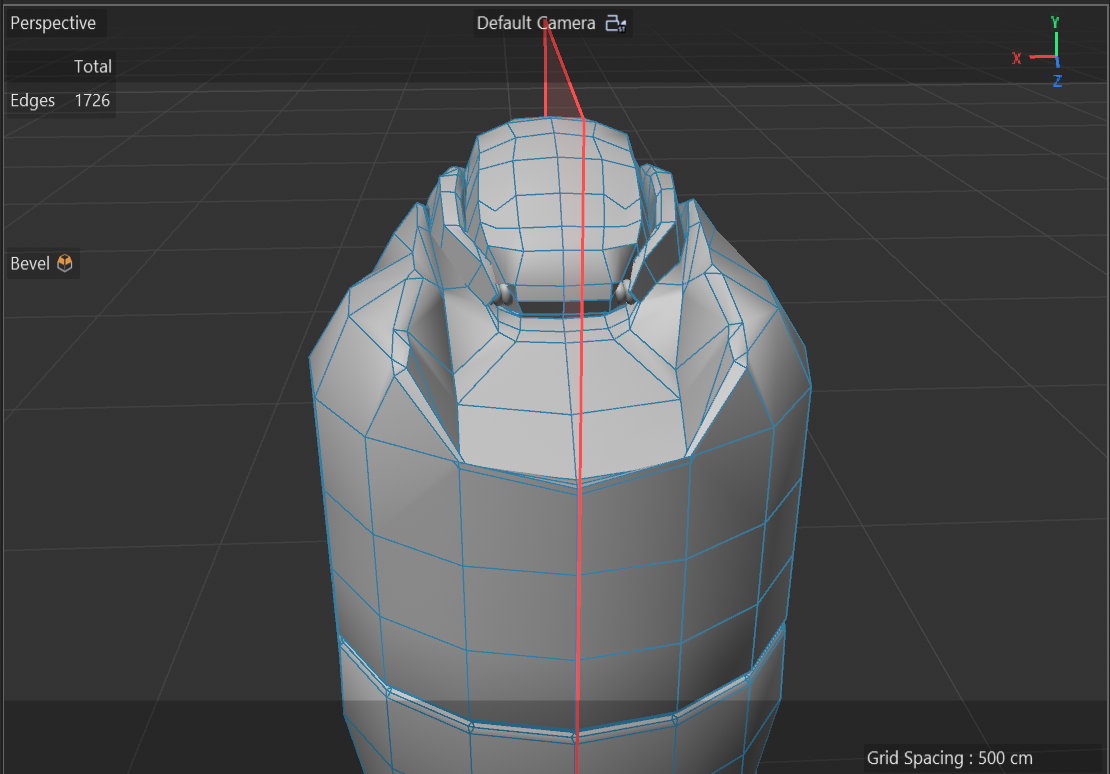
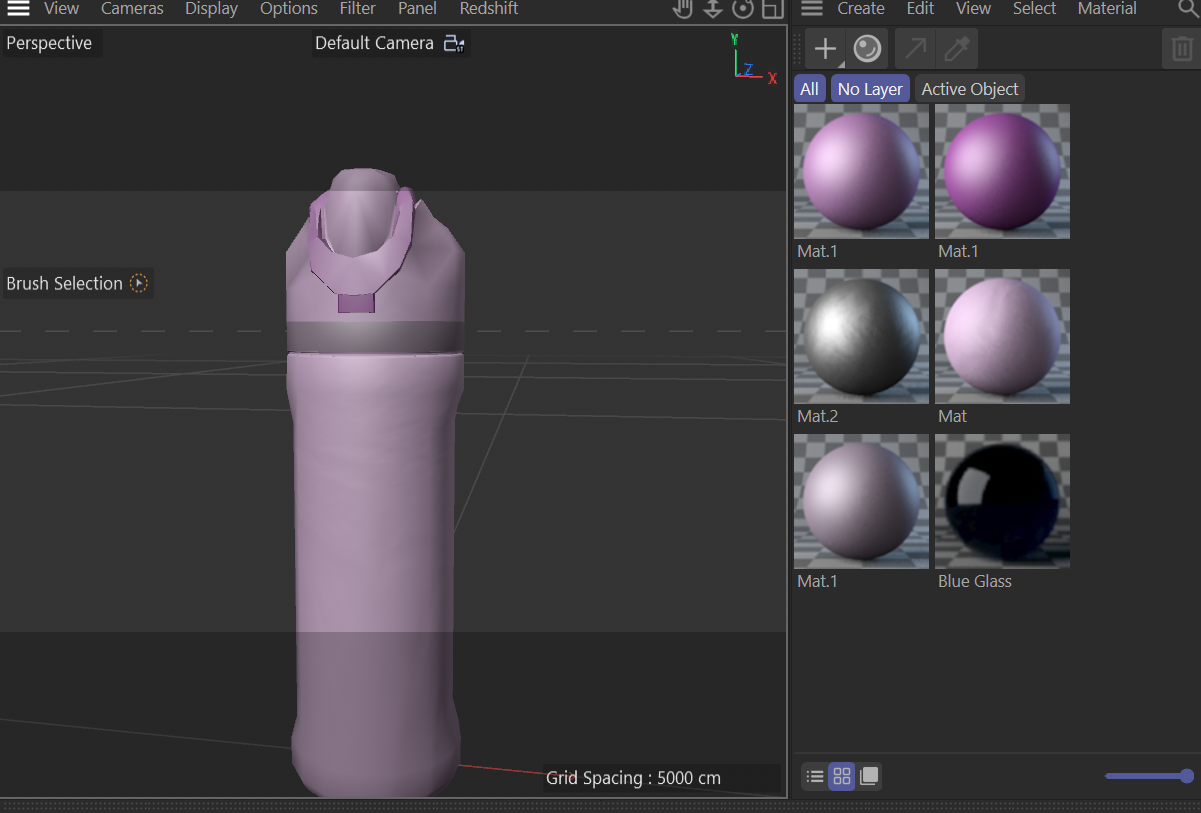
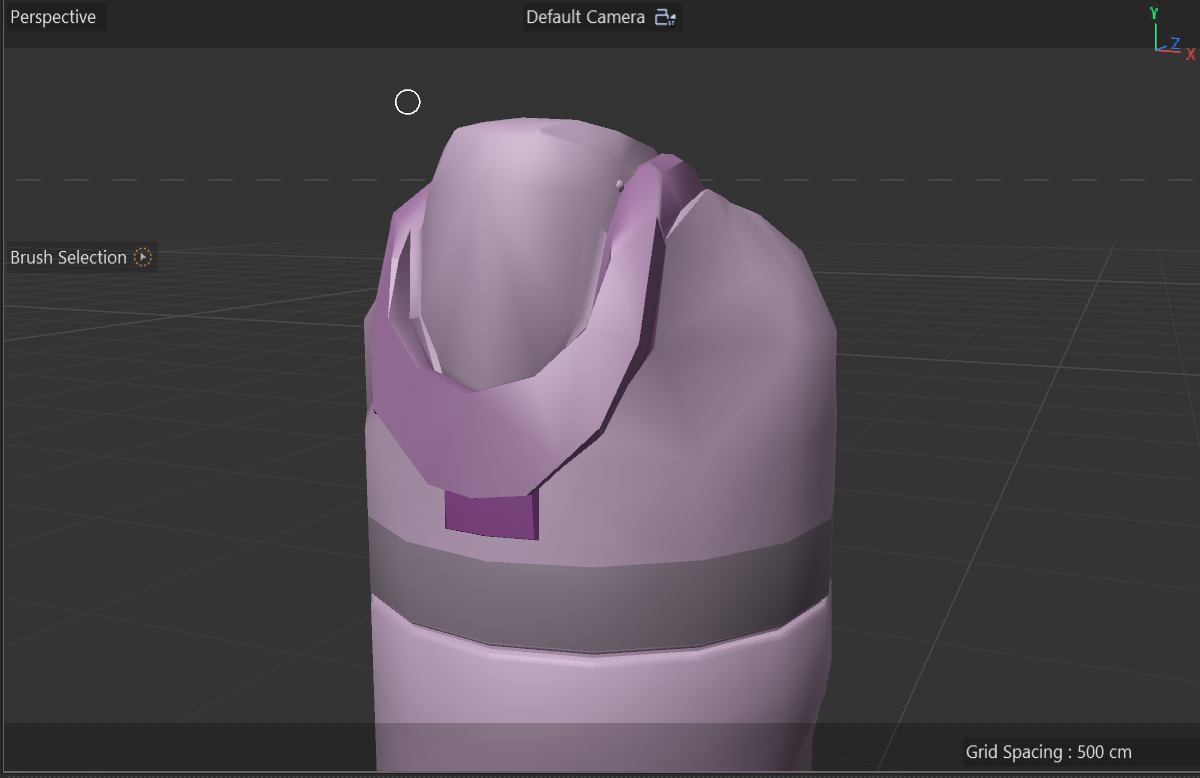
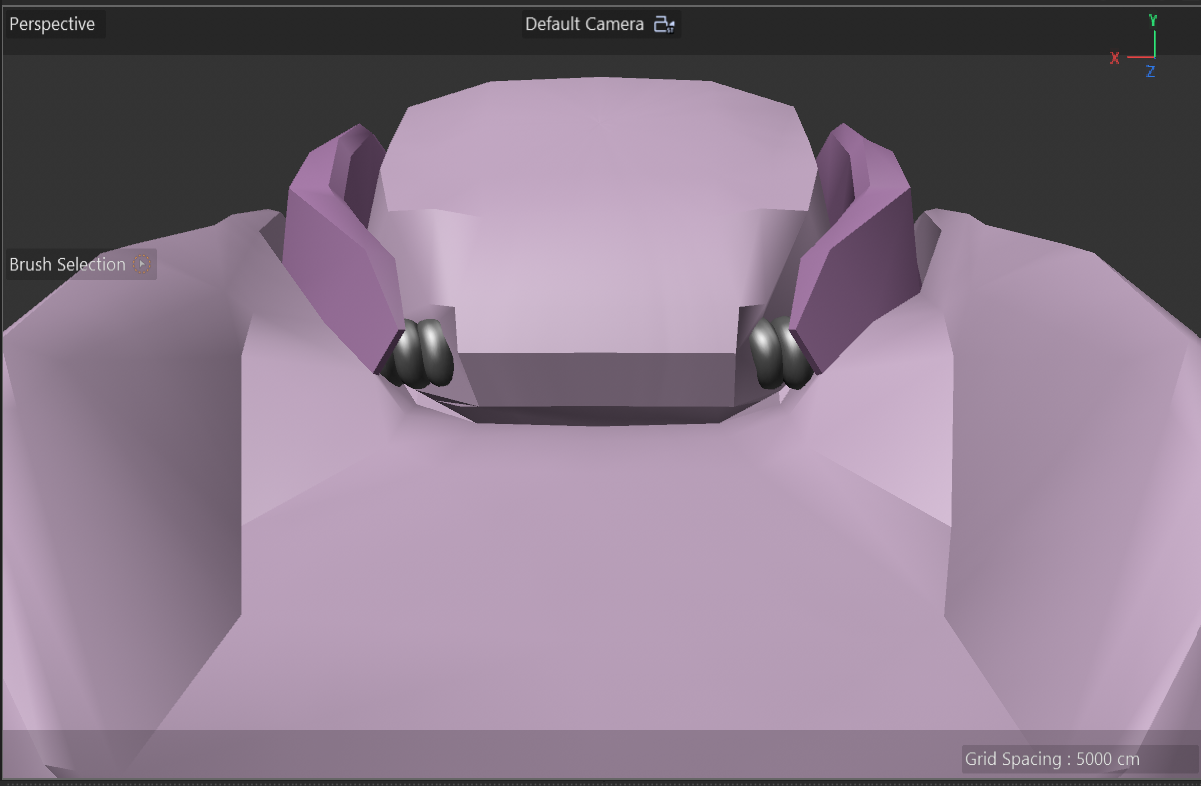
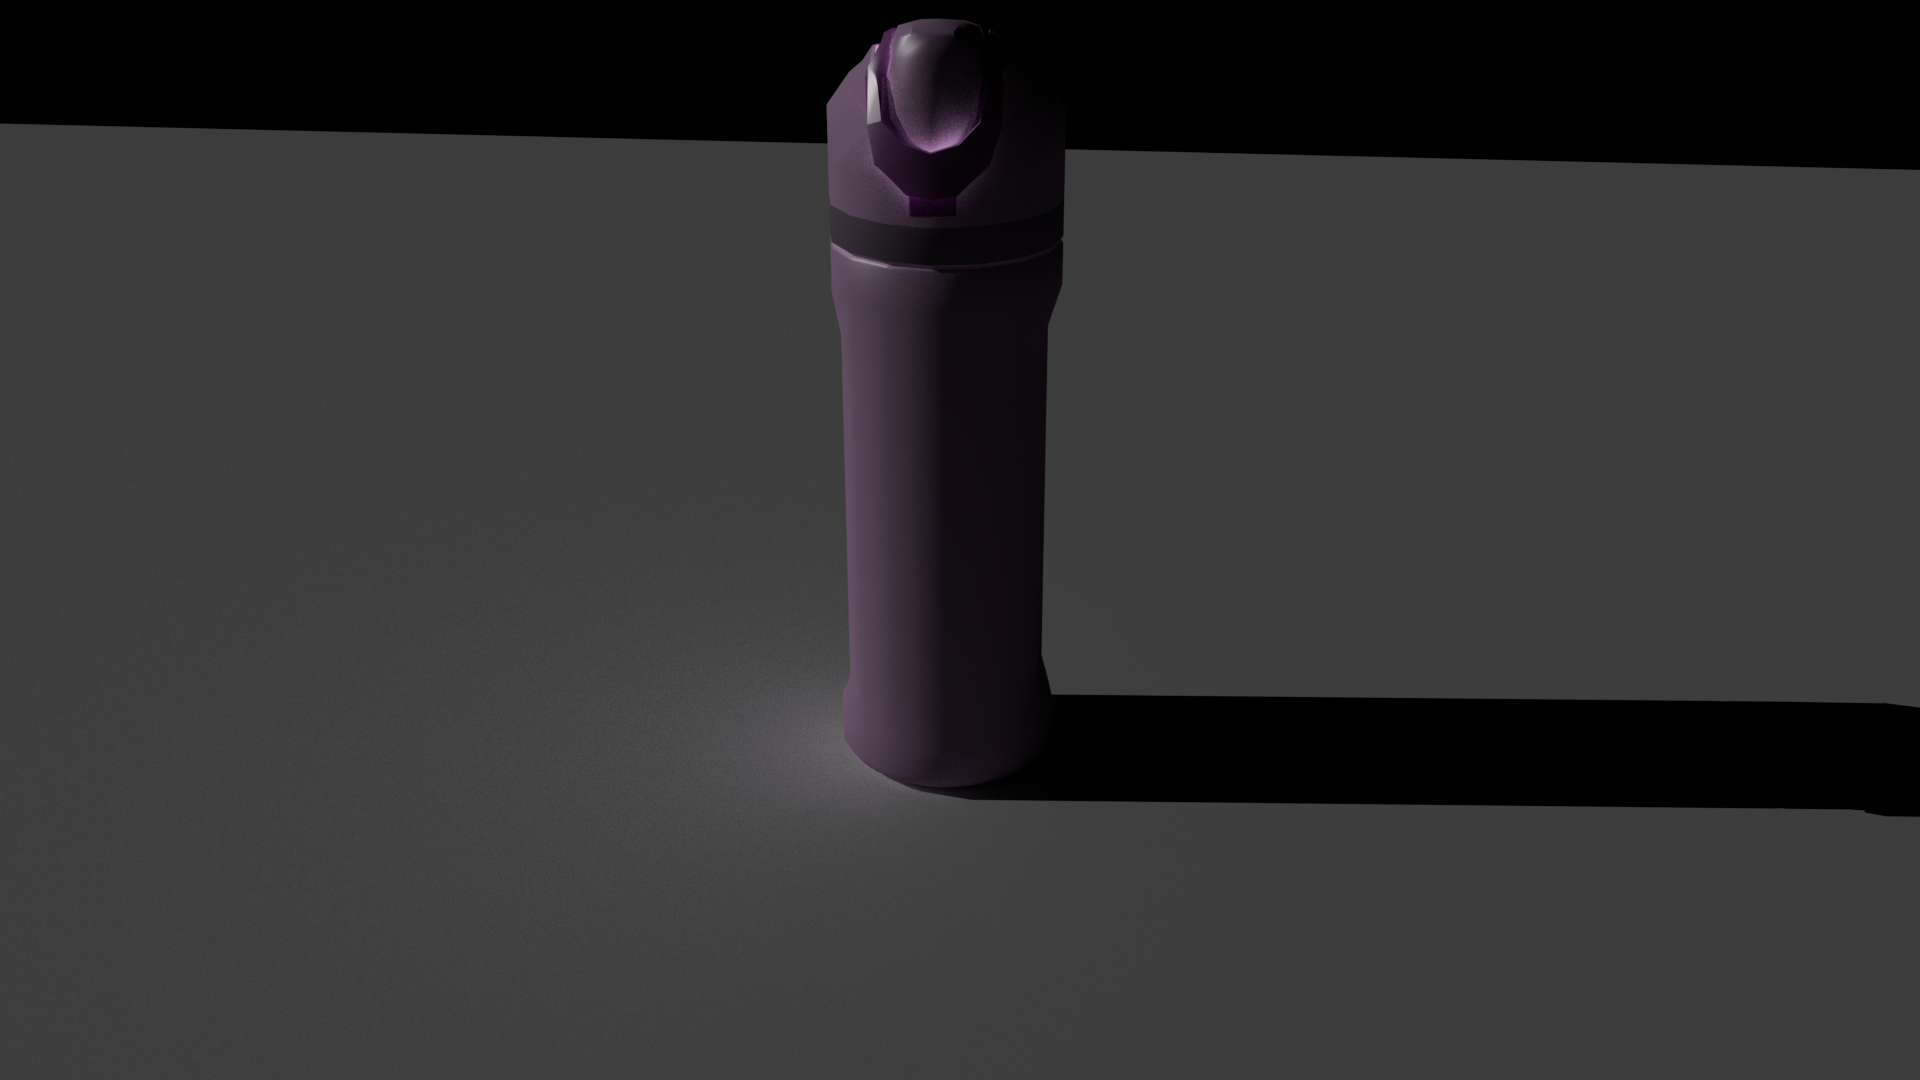
reference image of the owala bottle closeup shot of the owala bottle to get a better idea of the details started modelling with a simple cylinder elongated the cylinder and added more polygons used the symmetry tool to add the dips in the body of the bottle began working on the top by modelling an intrusion, creating a clear seperation between the body and cap outlined the general shape of the top started modelling out the top a bit further a top down view as I started cutting in more faces and made the cap more detailed model top progress; the flipping cap is more defined defined the cap even further, adding dimension in the back got rid of the extrusion at the front, as it was giving me trouble elongated the entire bottle defining the front of the top added the button at the front of the top started modelling the hinge of the top defined the hinge a closeup of the back of the top; I used spline to create the springs of the hinge, and slotted them in added the small circles on the side of the cap, as well as general defining of the model defining the back of the top further by this point I realized I forgot about the bottom, so I added the dip in the bottom started adding colours to the model final model from the front final model from the back final model, properly rendered with lighting

Material Workshop 1
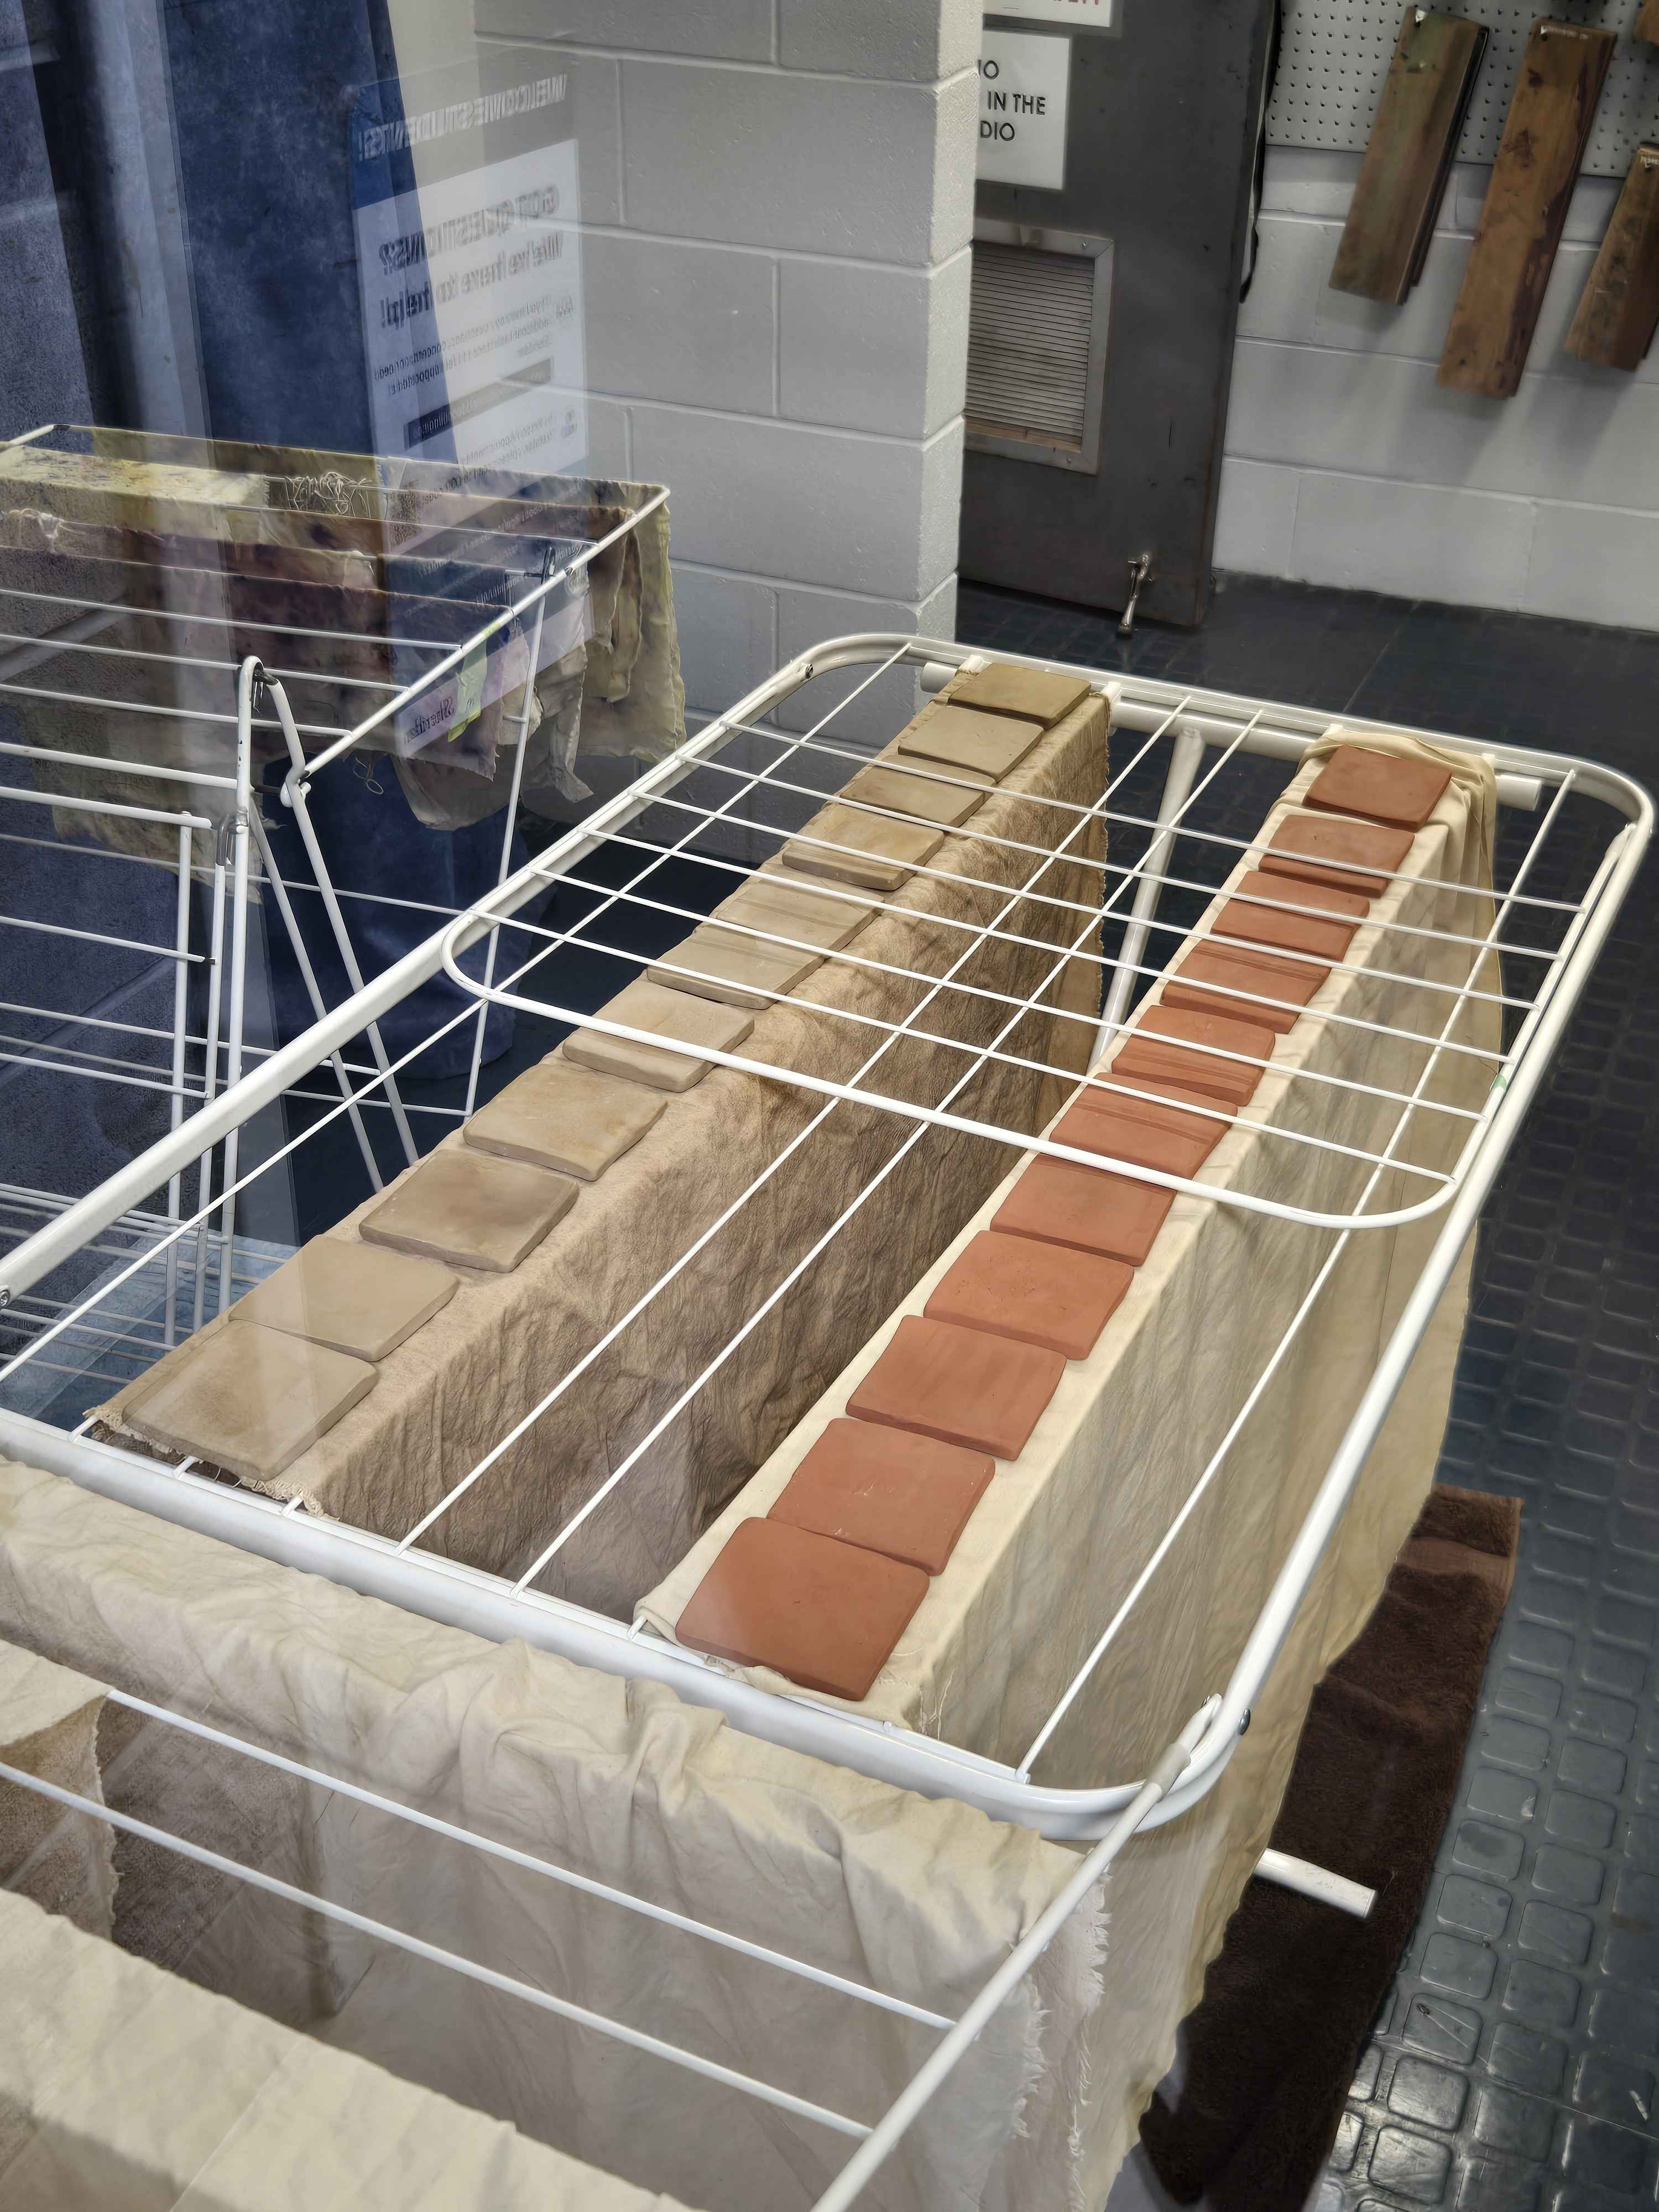
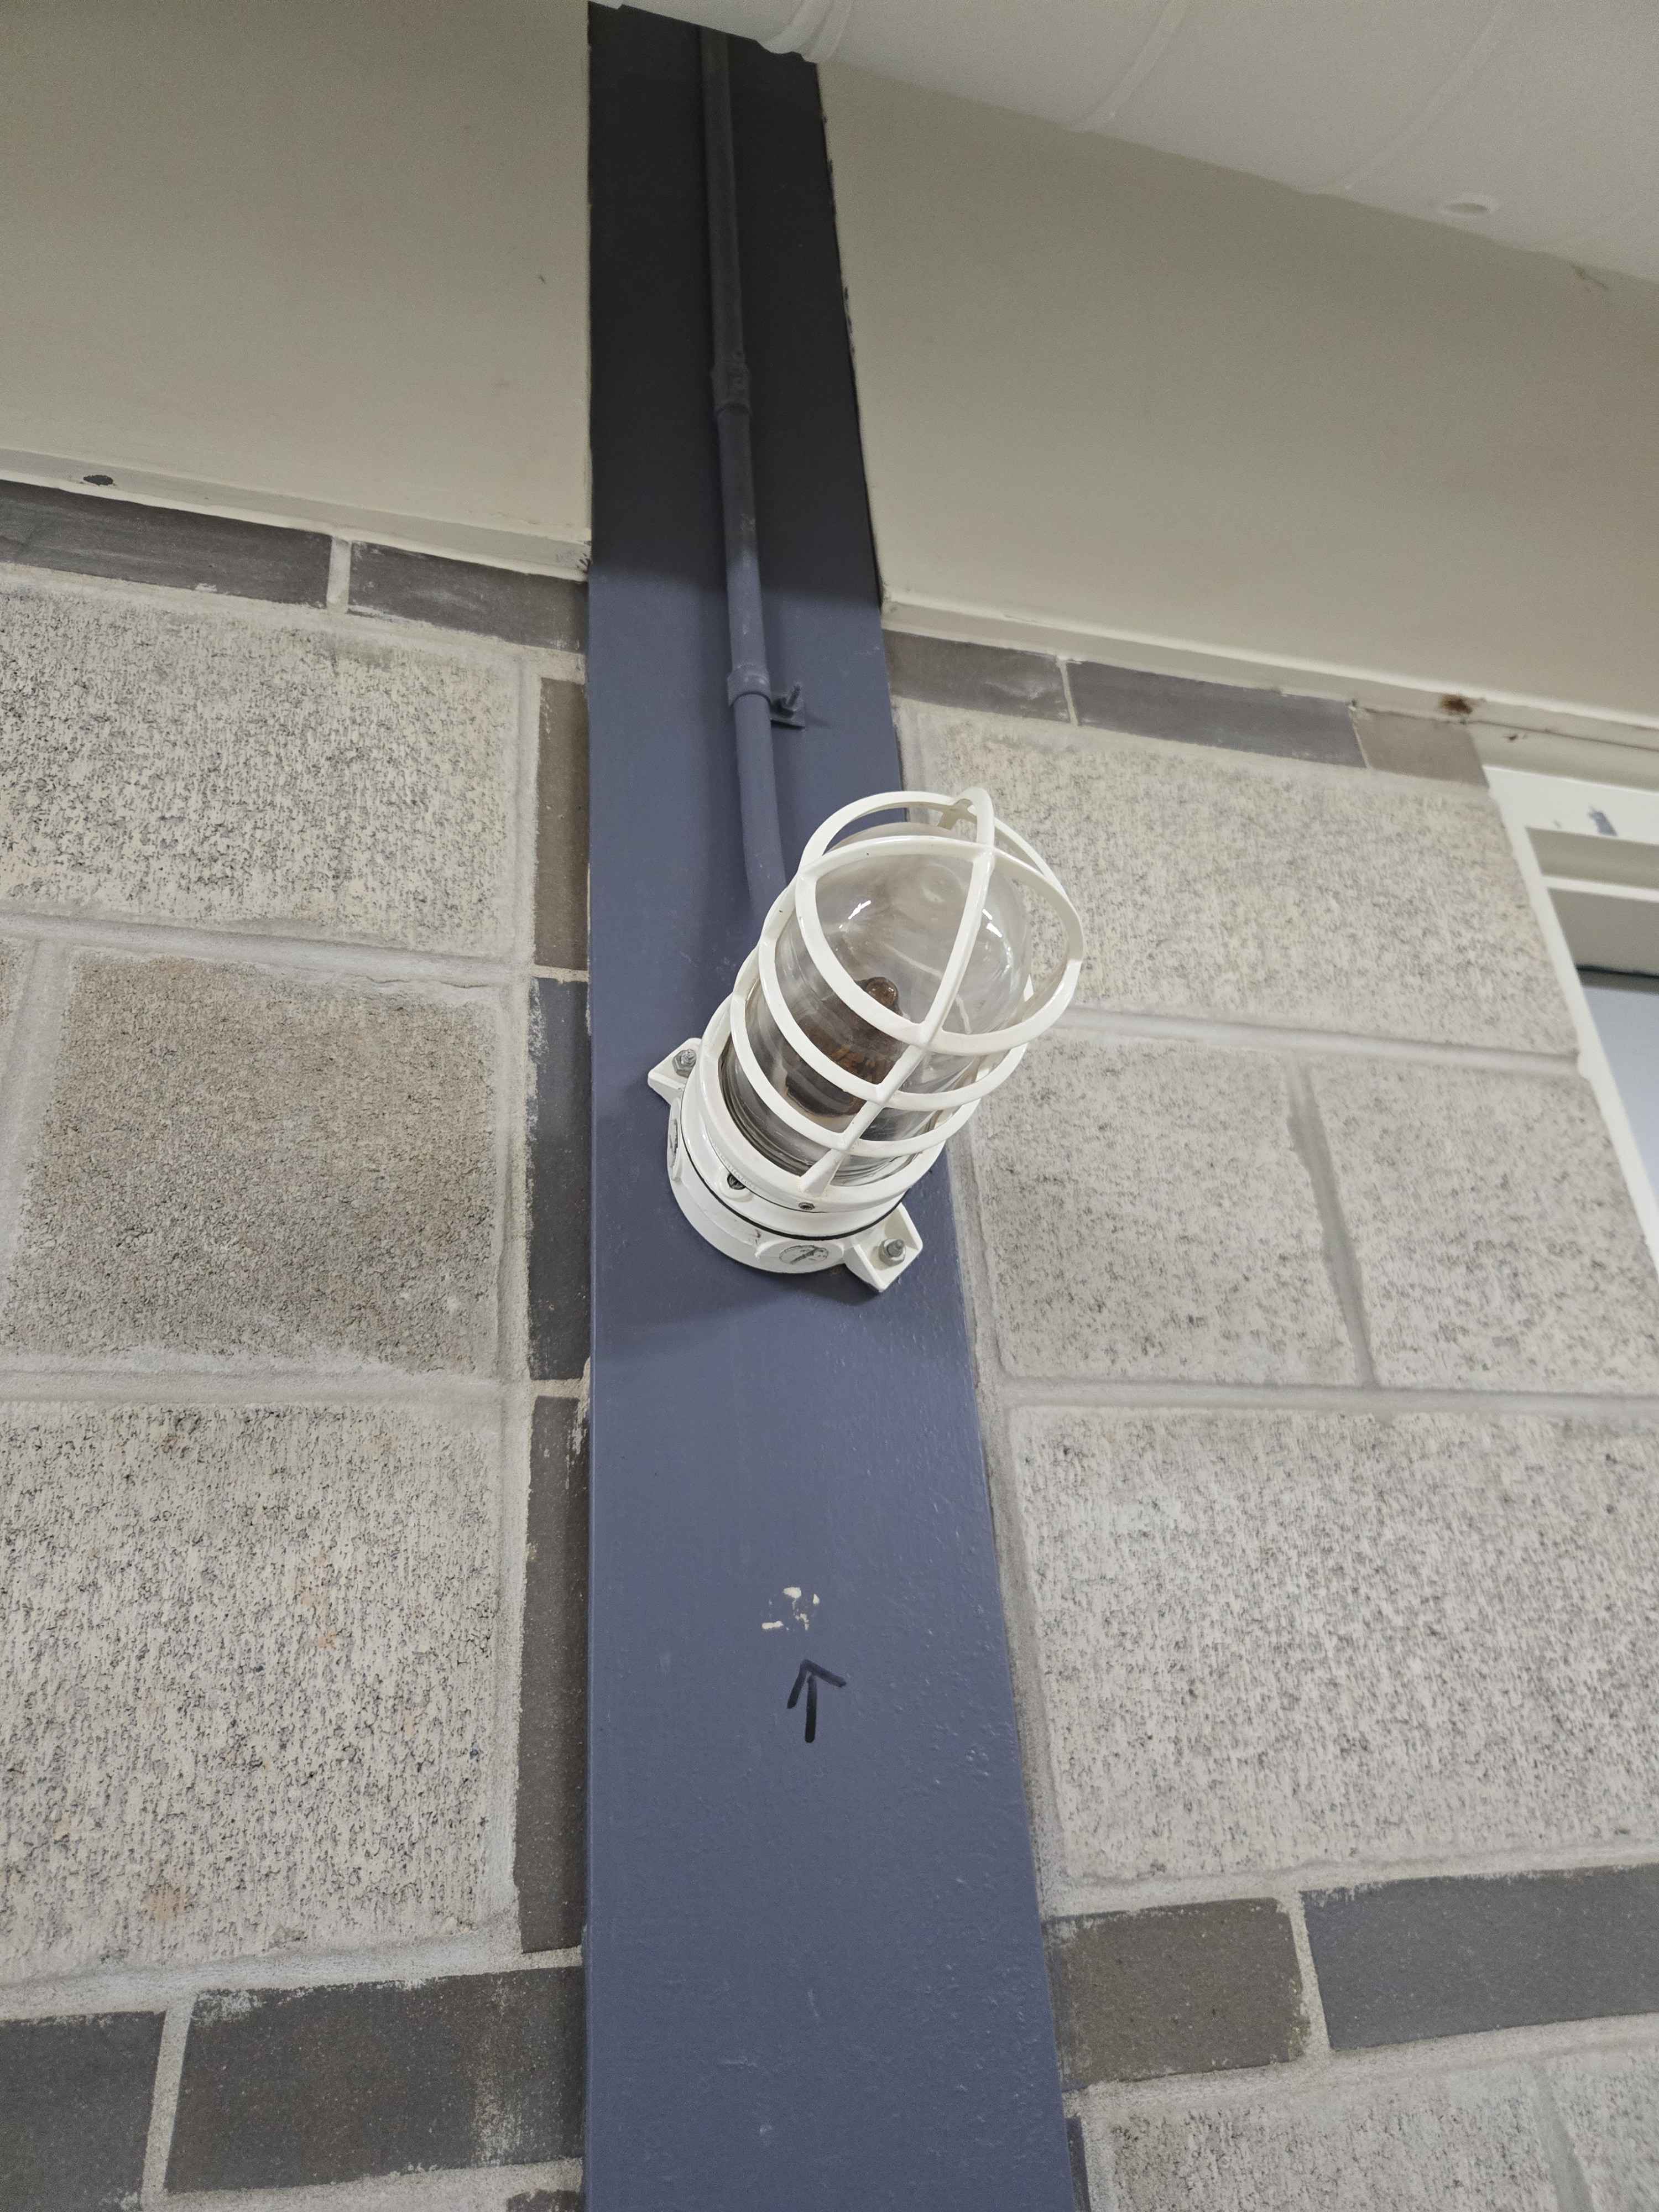
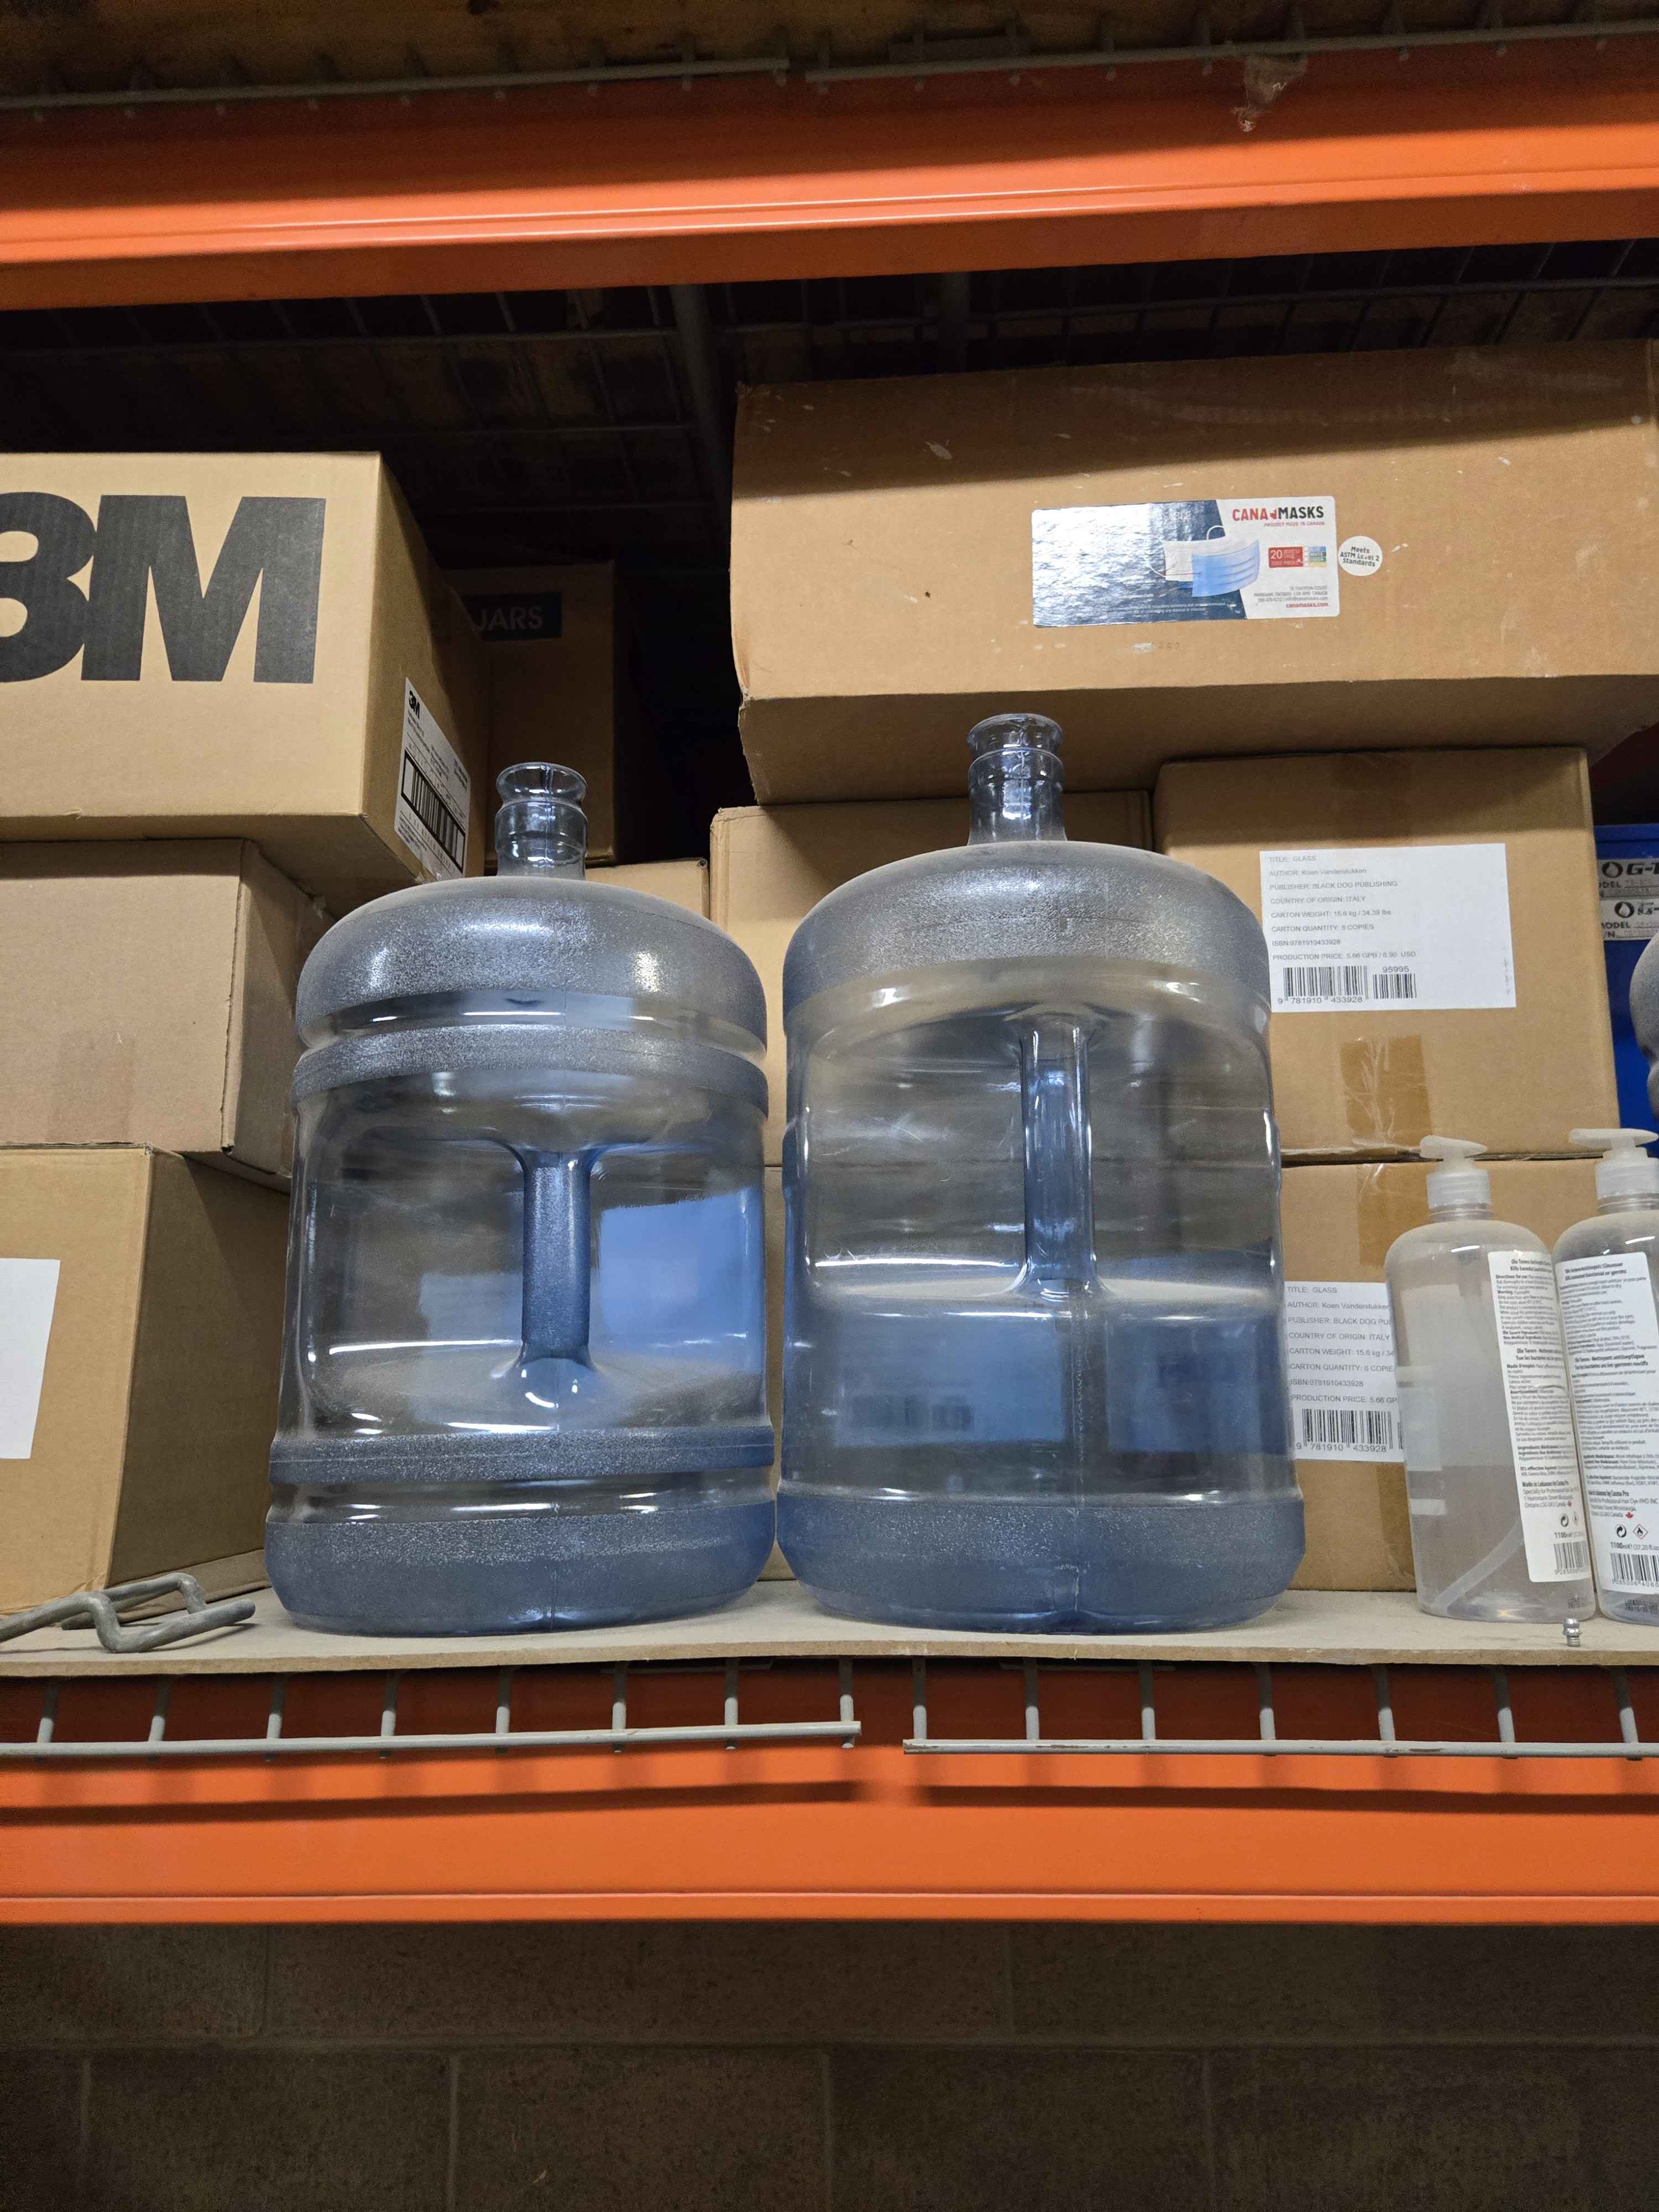
a mix of ceramics, plastic, and textiles; clay pieces drying on fabric, all of which is hung on plastic drying hangers a mix of glass and metal; an alarm encased in a glass dome and a metal cage plastic; two large plastic water jugs

Material Workshop 2

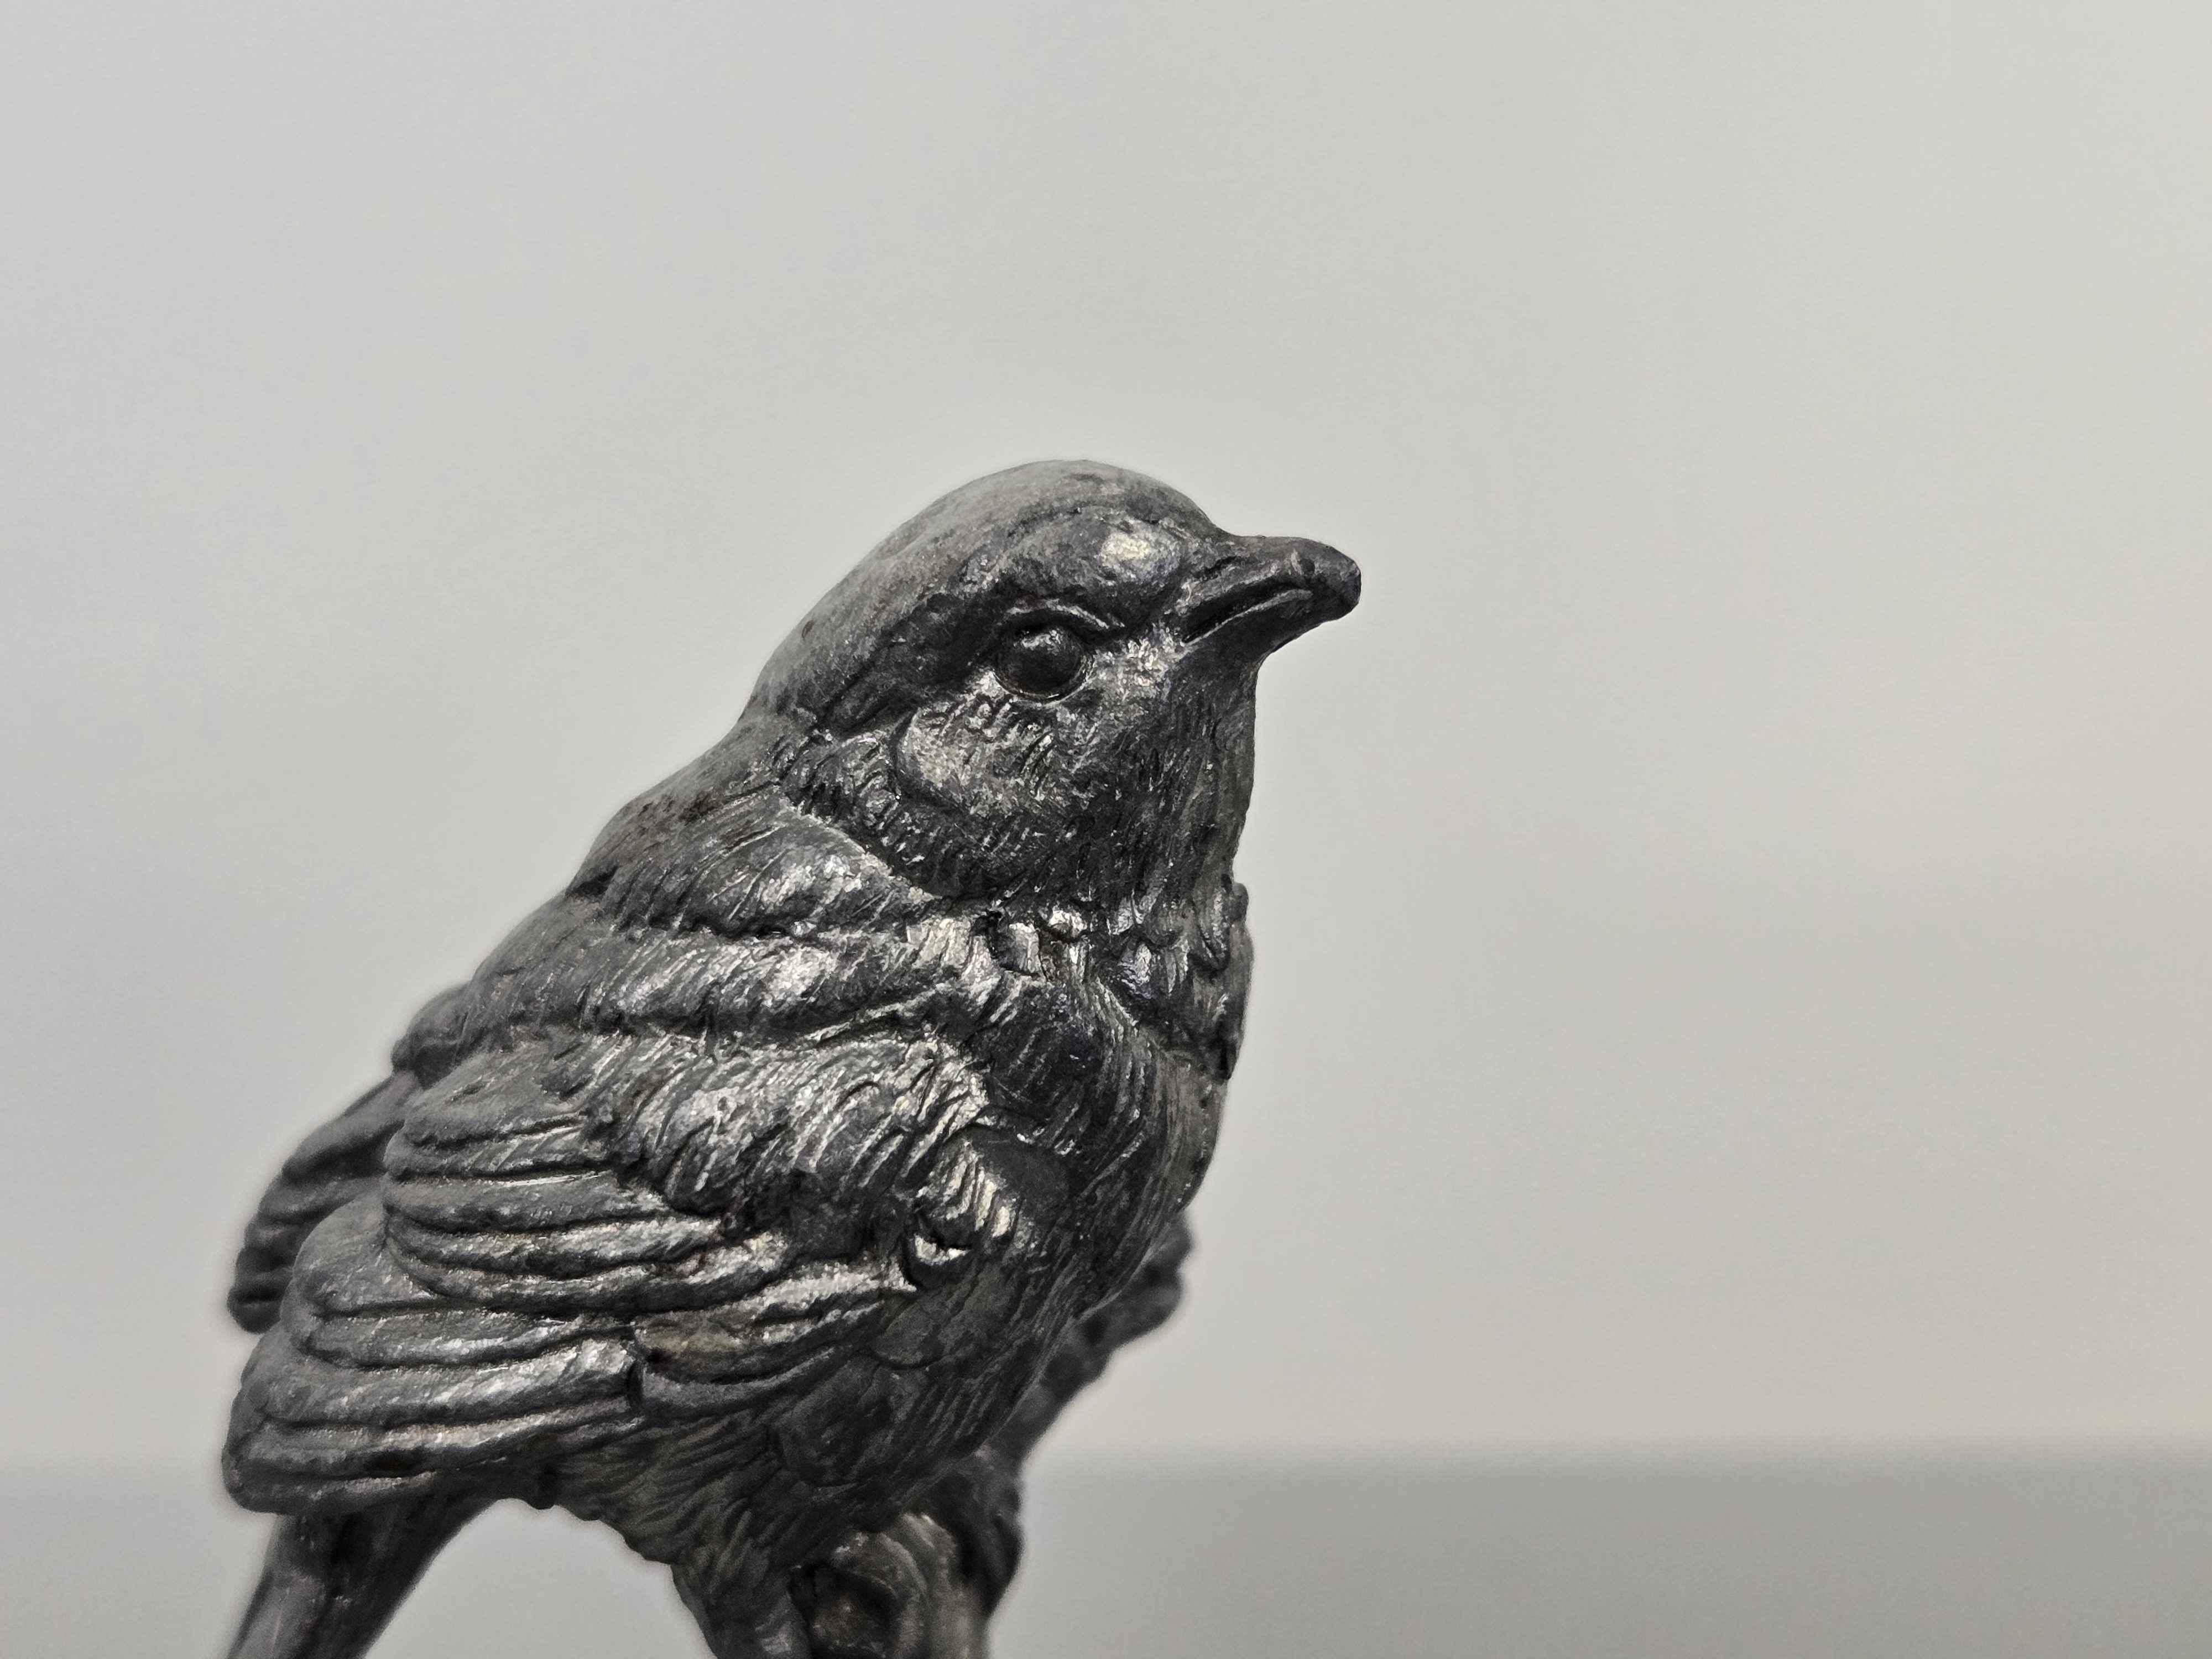
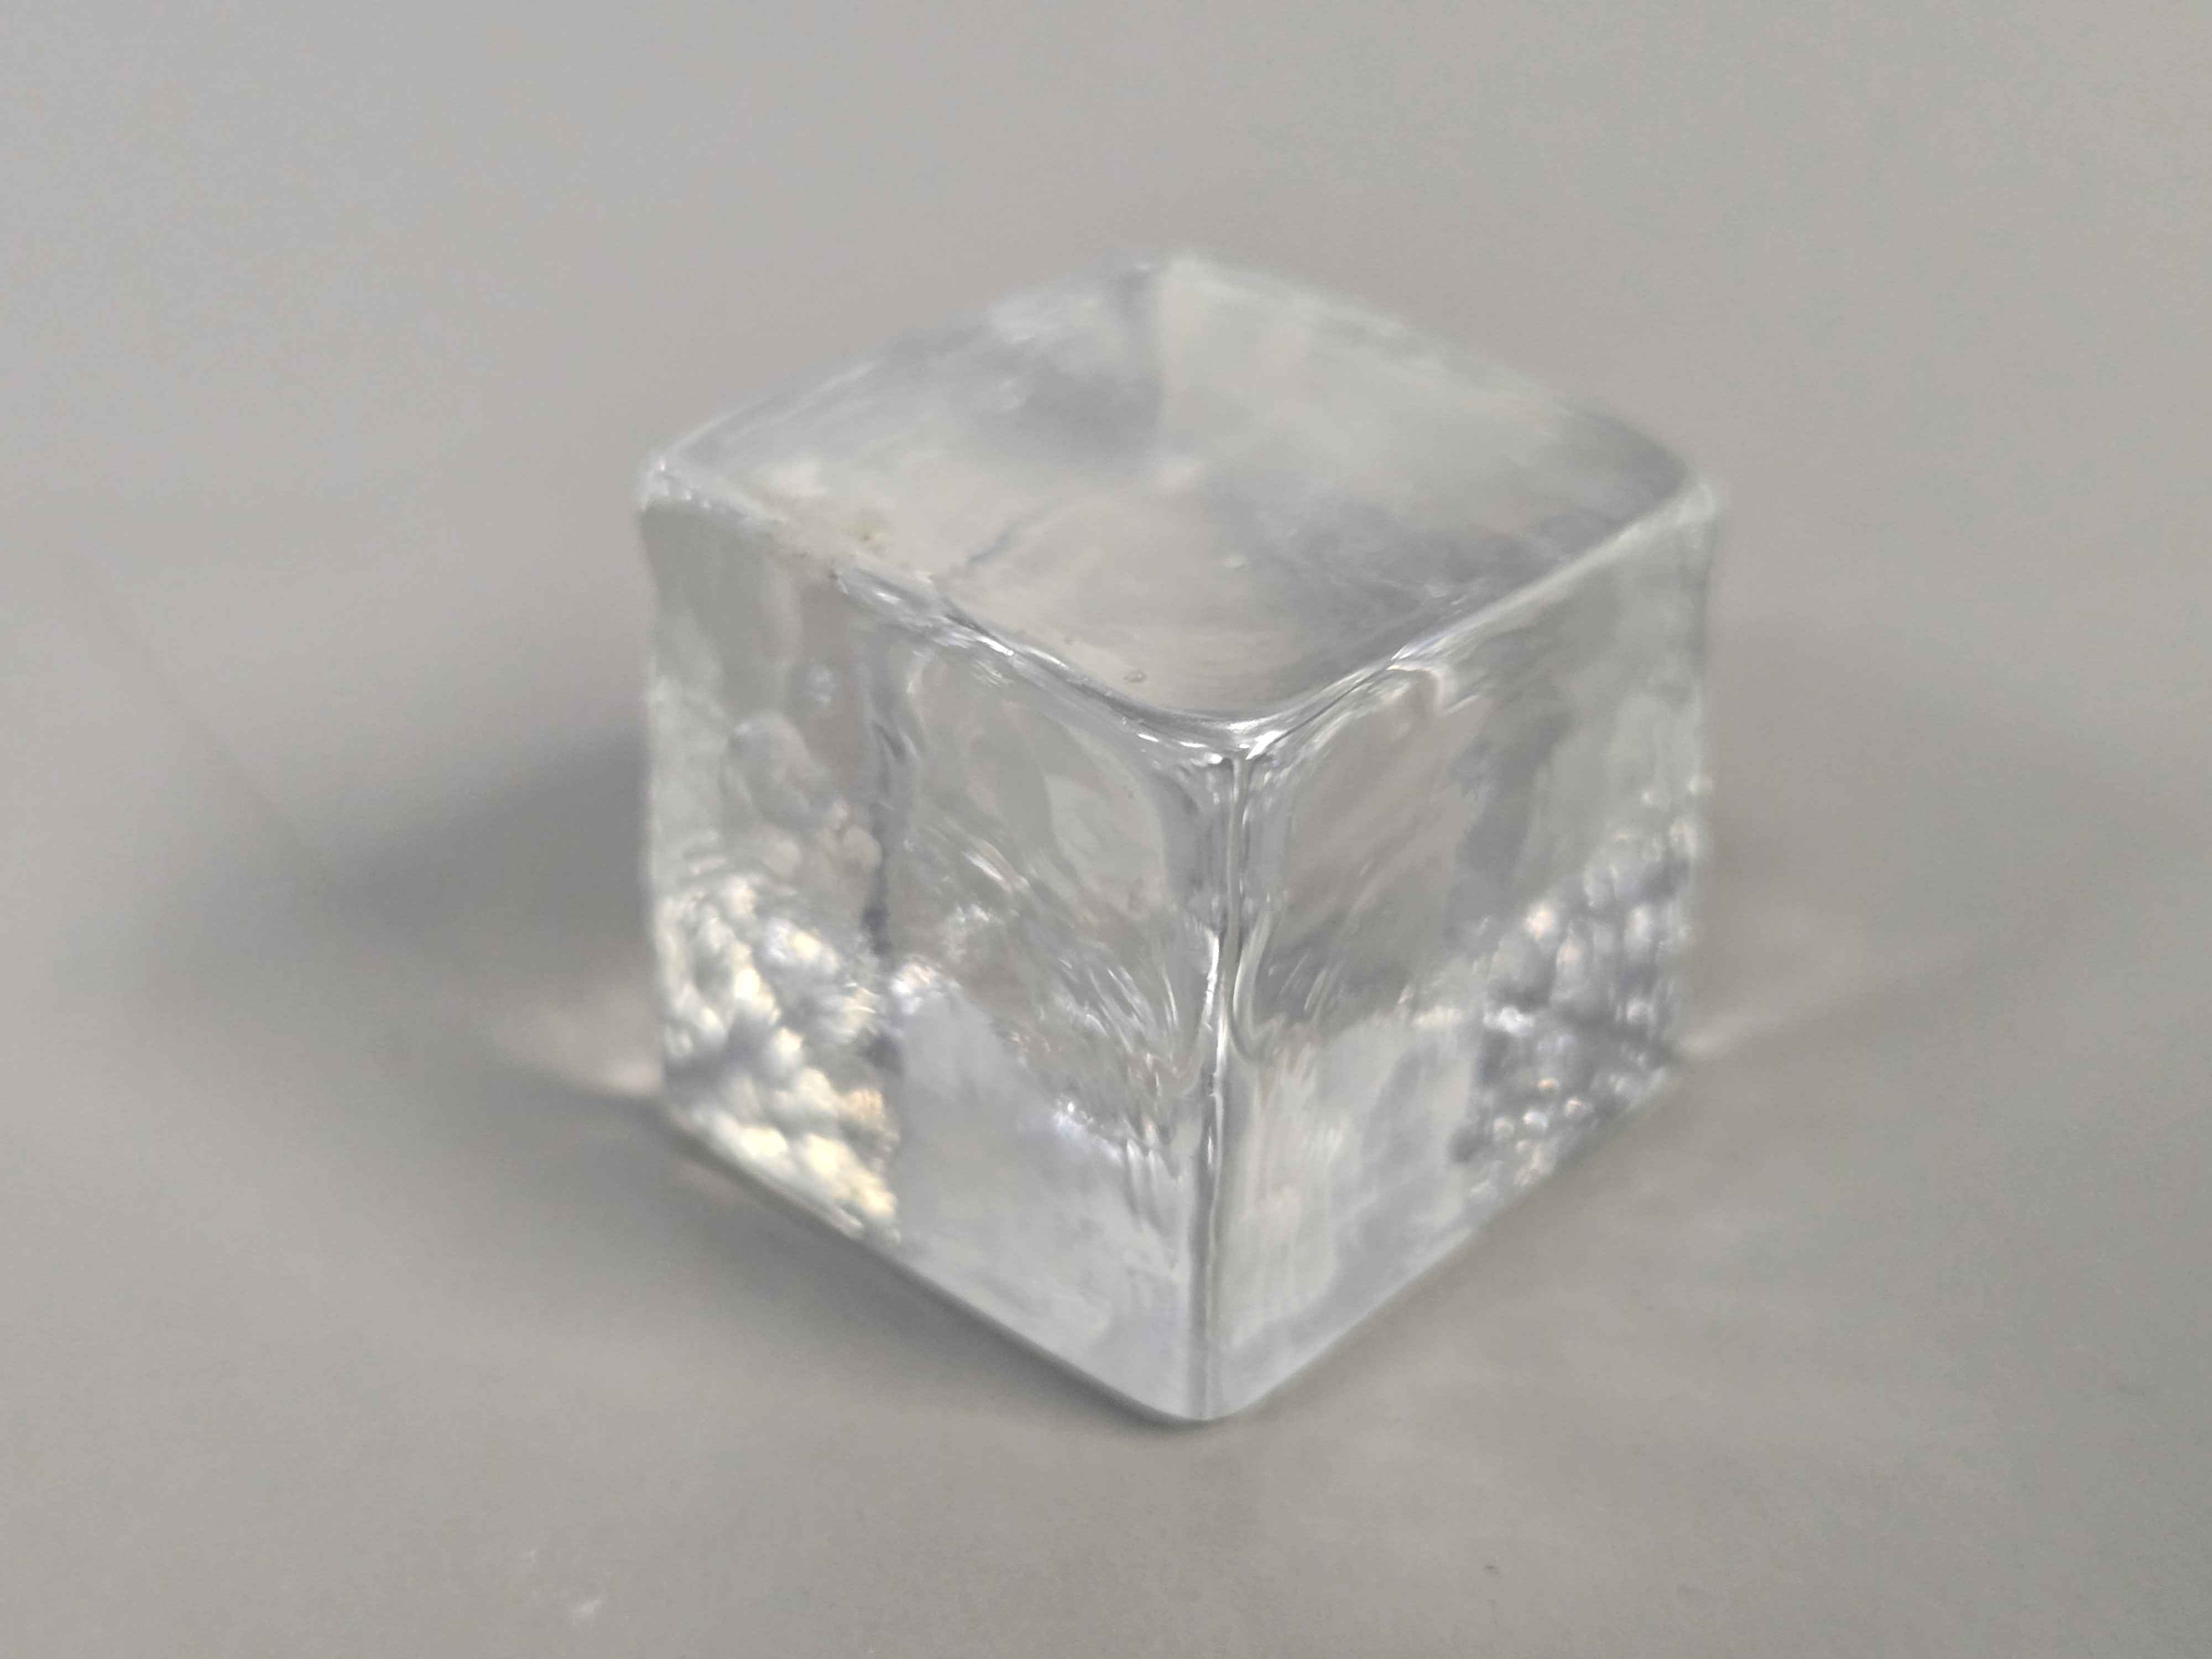
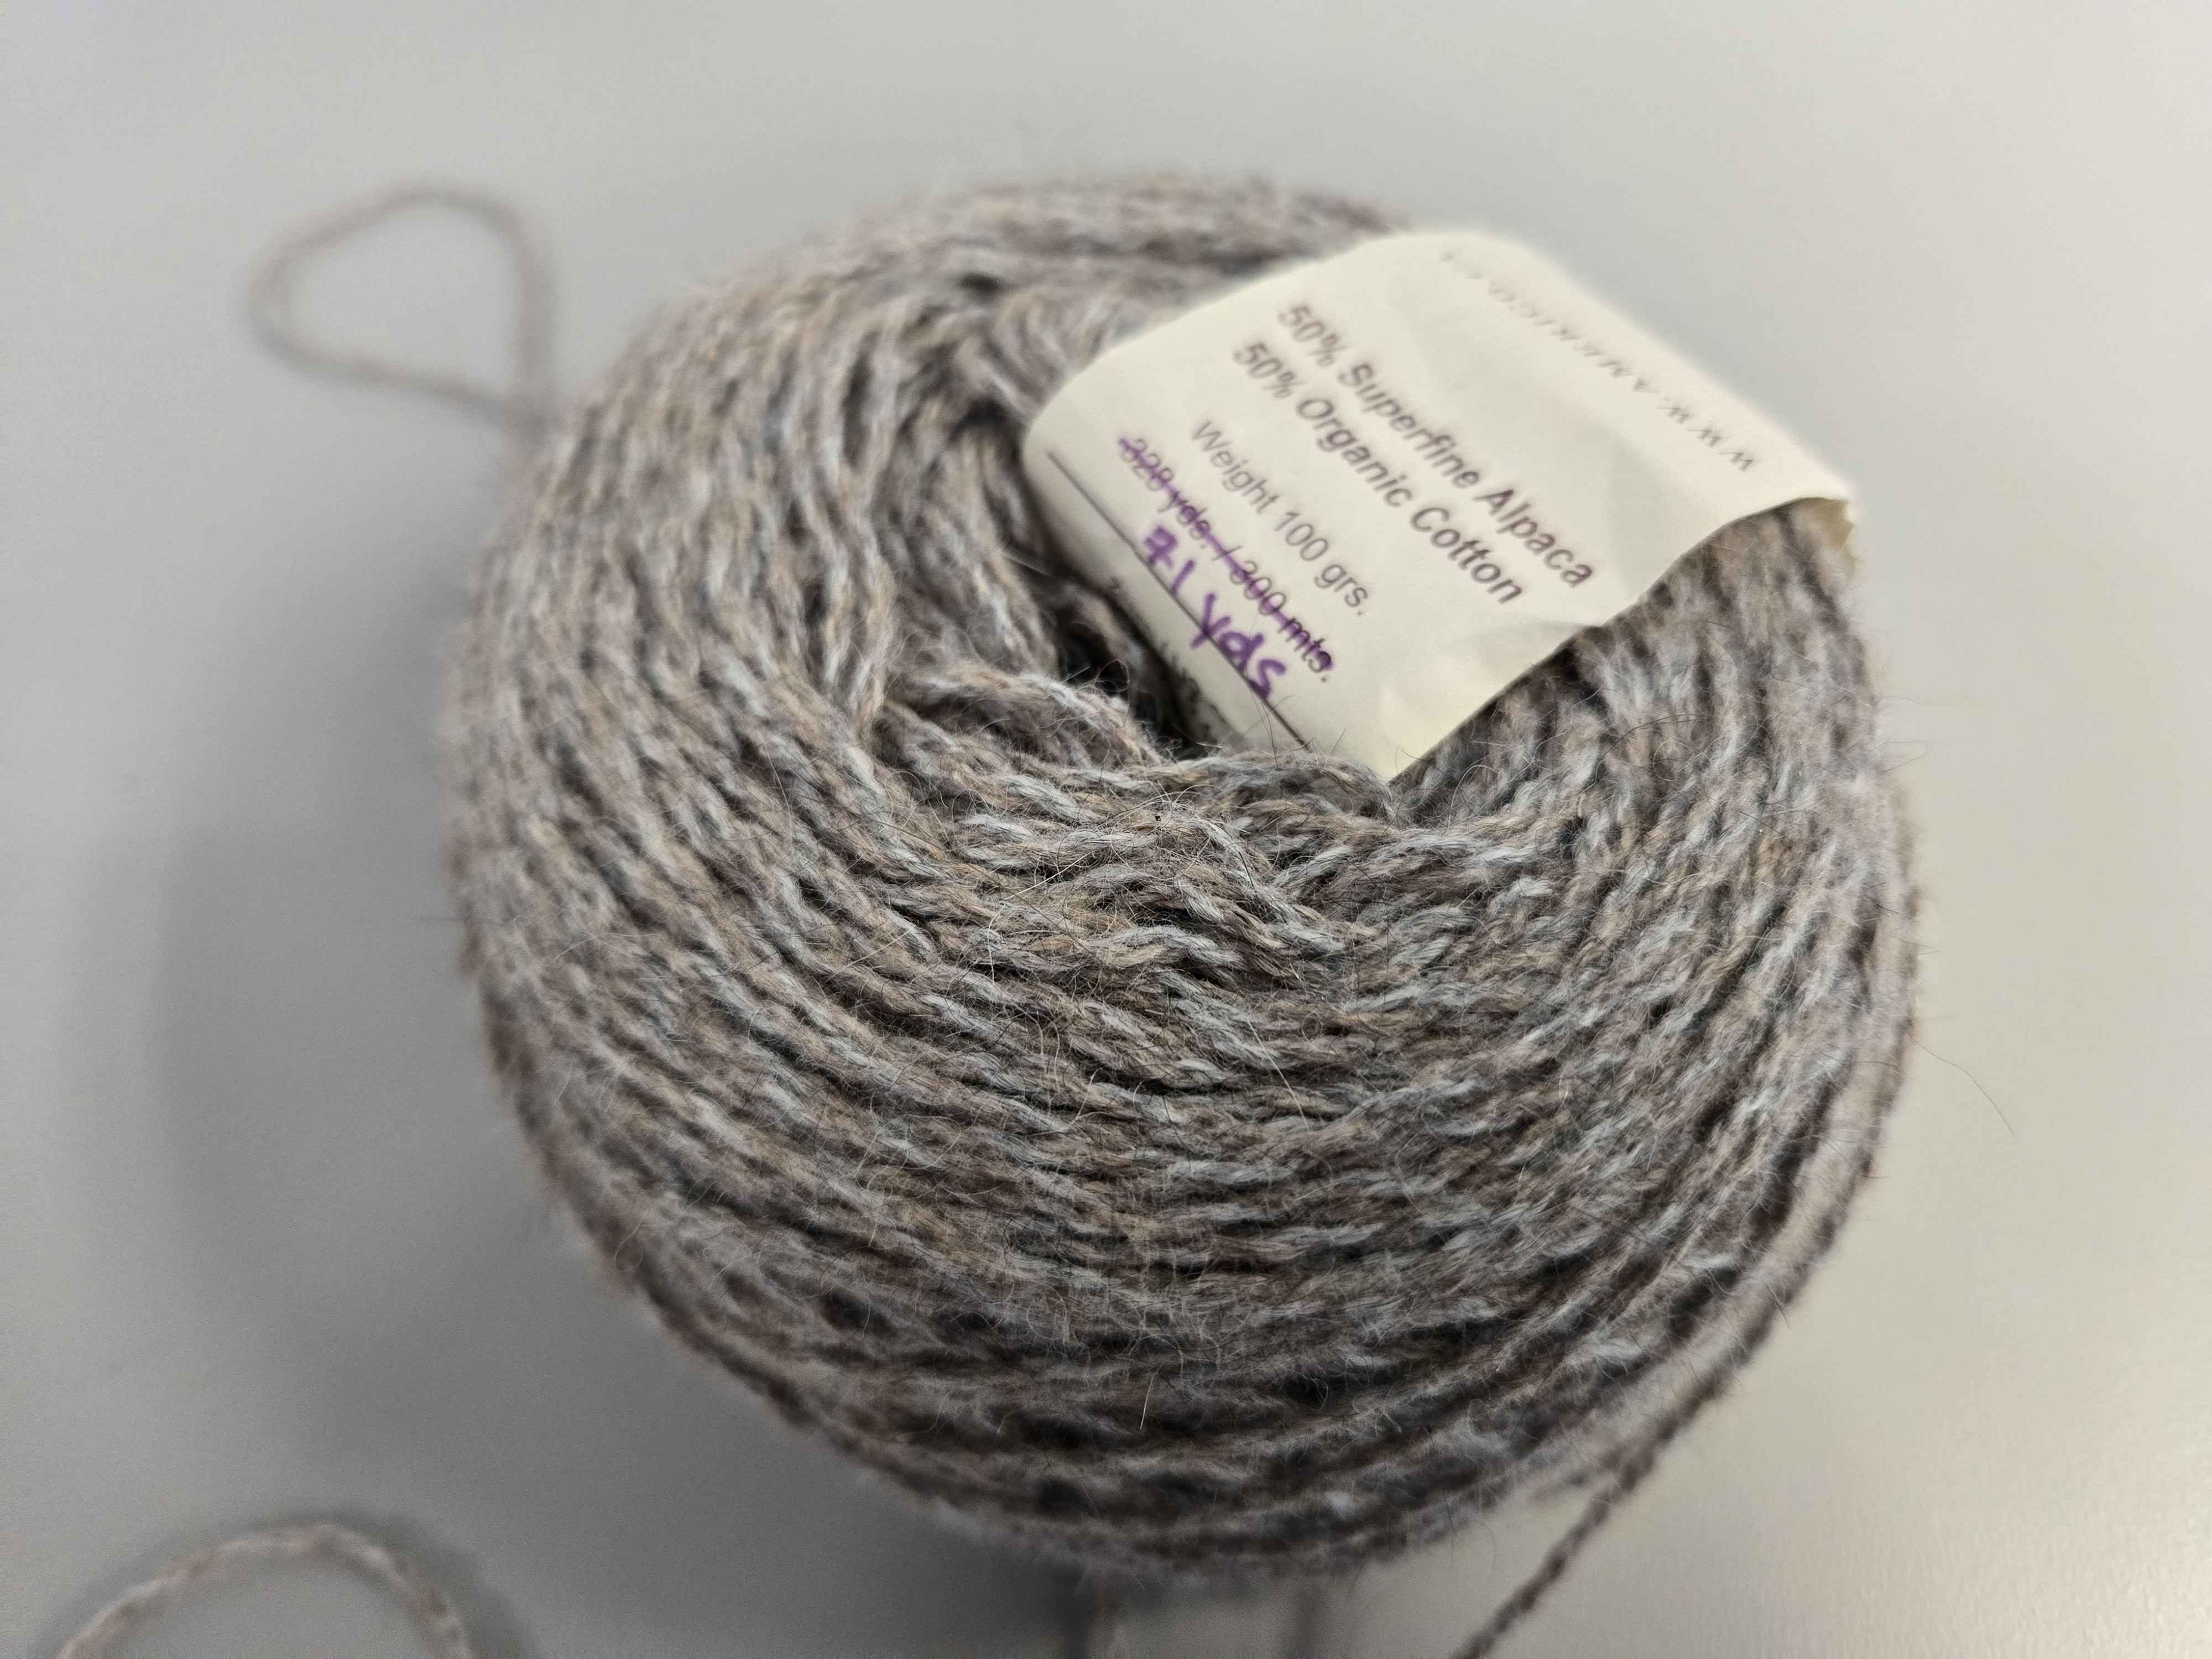
The material of this object is a refined metal. It is a rigid, solid material, with a bit of weight to it despite its small size. It is used as a decoration. The material of this object is refined plastic. It is a rigid, solid, opaque material, and it is very lightweight. It is used as decoration, or for creative projects. The material of this object is partially refined textile, specifically alpaca wool and cotton. It is a soft, flexible material, and it is rather lightweight. It is used for making clothing and other creative projects.

Project 1


Project 1 Models

Published 3D Model 1

My first model of chapstick, created in Cinema 4D. I mostly used primitive cylinders to create this model.

Published 3D Model 2

My second model of my Owala water bottle, created in Cinema 4D. I edited a singular cylinder to create this model.

Published 3D Model 3

My third model of a plushie, created in Cinema 4D. I used many primitive shapes, deformers, and other modifiers to create this model.

×

Powered by w3.css